


Basic operation
Preparation
Preparation
Preparation
Preparation
Before turning the
SA
geyser
music system
on, check that all connections are correct
and reliable.
Plug the AC powercord into a corresponding
AC outlet.
Press POWER on the front panel.
Optimise the sound of your loudspeakers
Optimise the sound of your loudspeakers
Optimise the sound of your loudspeakers
Optimise the sound of your loudspeakers
By activating the EQ+ or EQ- four speaker
settings appear in the display: “EQ OFF”,
“EQ WALL”, “EQ COMPACT” or “EQ
FLOOR”. Leave the setting according to the
type of loudspeaker you are using or the
sound quality you prefer.
NOTE. Your EQ settings will only be
memorized when the device is switched off
to standby mode. When switched off on the
POWER button on the front panel, the EQ
settings are not memorized.
The VARIBASS
VARIBASS
VARIBASS
VARIBASS function will increase the
amount of bass at low volume. VARIBASS is
activated or deactivated by the “function”
button on the front panel and hereafter
turning the volume control.
Volume adjustment
Volume adjustment
Volume adjustment
Volume adjustment
Press the and - buttons on the
remote or turn the volume button
on the front panel to turn the volume up and
down.
Note: Do not keep the volume at maximum
level for longer periods to ensure the
longevity of the unit.
Mute
Mute
Mute
Mute
Press the button on the remote once,
and the sound will be muted.
Press the button once again to restore
the sound at the last used level.
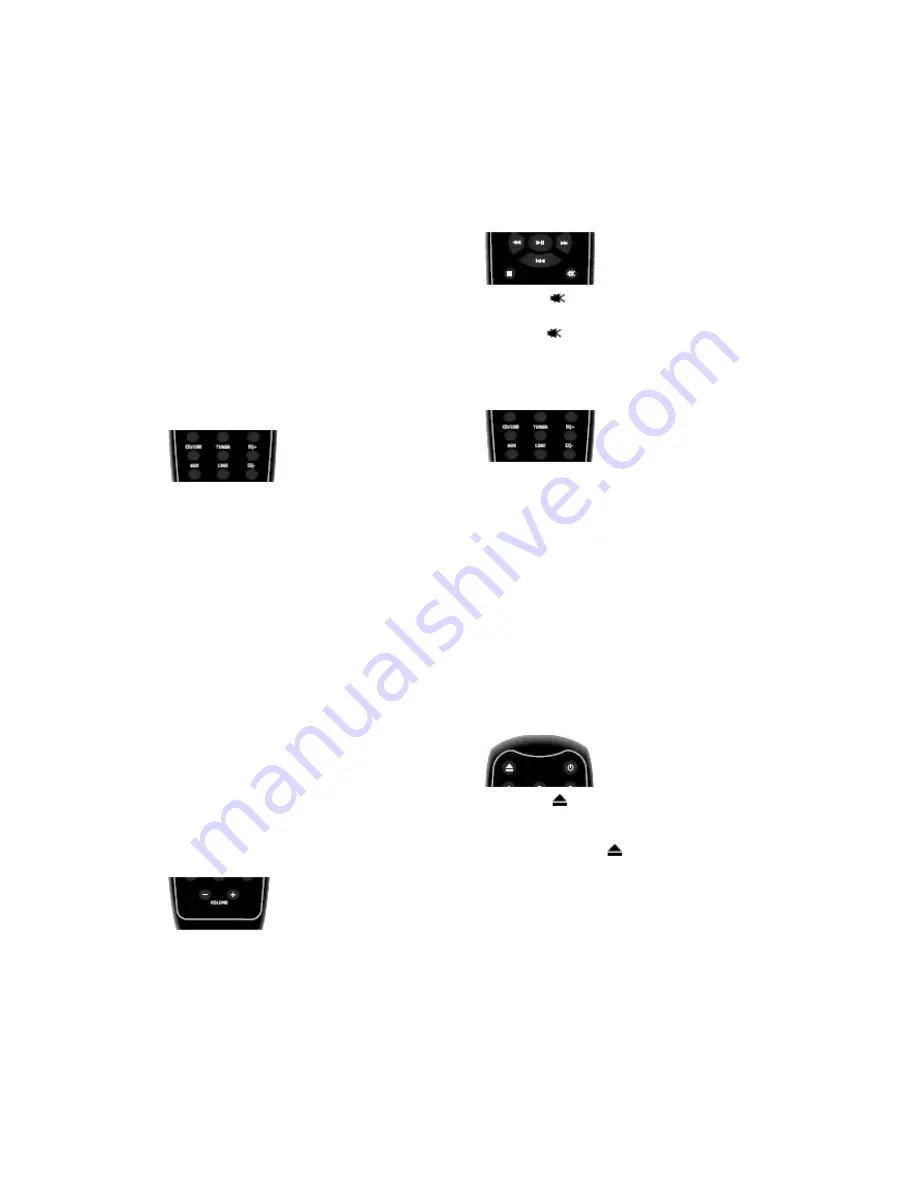
Input selection
Input selection
Input selection
Input selection
Turn the INPUT button on the front panel to
select the input, or
Press CD/USB buttons on the remote to
select the input, press once is CD input,
press twice is USB input available;
Press the TUNER button on the remote
select TUNER, then press the FM/AM button
once again to change between the FM and
AM band.
Press AUX buttons on the remote to select
AUX input.
Open/Close
Open/Close
Open/Close
Open/Close
Press the
on the remote control or
OPEN/CLOSE on the front panel to open
the disc tray, and put the preferred disc in
the disc tray. Press
or OPEN/CLOSE
once again to close the disc tray. The disc
will automatically start playing.
Note: The printed side of the disc must be
faced upward!
Содержание Geyser
Страница 1: ...english instruction manual...
Страница 6: ...Front and rear panel...
Страница 7: ...Remote control...


