


40
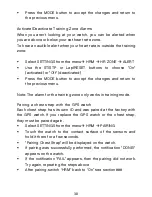
When the “Scanning” function is activated, the GPS watch
automatically switches between the 3 displays. To turn on automatic
switching between views:
Select SETTINGS from the menu
WORKOUT
VIEWSCAN
ON
Customize the Displayed Training Data
Training data can be displayed on any row or screen in the workout.
Choose the stats that you want to easily view based on your
priorities. For example, you can view current heart rate, heart rate
zone, and workout time on one screen, then distance, pace and
speed on another.
The screens can be customized in the watch settings or by
connecting the watch to your computer and making changes in the
Runtastic Connect software. Using the Runtastic Connect software
is the faster and easier method (see section ### for instructions)
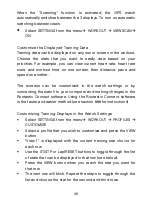
Customizing Training Displays in the Watch Settings
Select SETTINGS from the menu
WORKOUT
PROFILES
CUSTOMIZE
Select a profile that you wish to customize and press the VIEW
button.
"View 1" is displayed with the current training stat choice for
each row.
Use the ST/STP or Lap/RESET buttons to toggle through the list
of stats that can be displayed in that row (see below).
Press the VIEW button when you reach the stat you want for
that row.
The next row will blink. Repeat the steps to toggle through the
list and choose the stat for the second and third rows.
Содержание GPS Watch with Heart Rate Measurement
Страница 1: ...GPS Watch with Heart Rate Measurement Operating instructions Edition 04 2013...
Страница 5: ...5...
Страница 70: ...70...


