18
Overall Settings for the XPS-30
Saving XPS-30’s Data to USB Flash Drive (BACKUP)
Here’s how to backup user data to USB flash drive.
Types of data that can be saved
5
User data for patches and performances
5
Favorites
5
User data for vocoder/auto pitch
5
Samples
5
User patterns
5
System settings
5
User scale
5
DAW CONTROL
NOTE
Never turn off the power or remove the USB flash drives while the screen indicates
“Processing....”
1.
In the UTILITY screen, move the cursor to “BACKUP,” and press the [ENTER]
button.
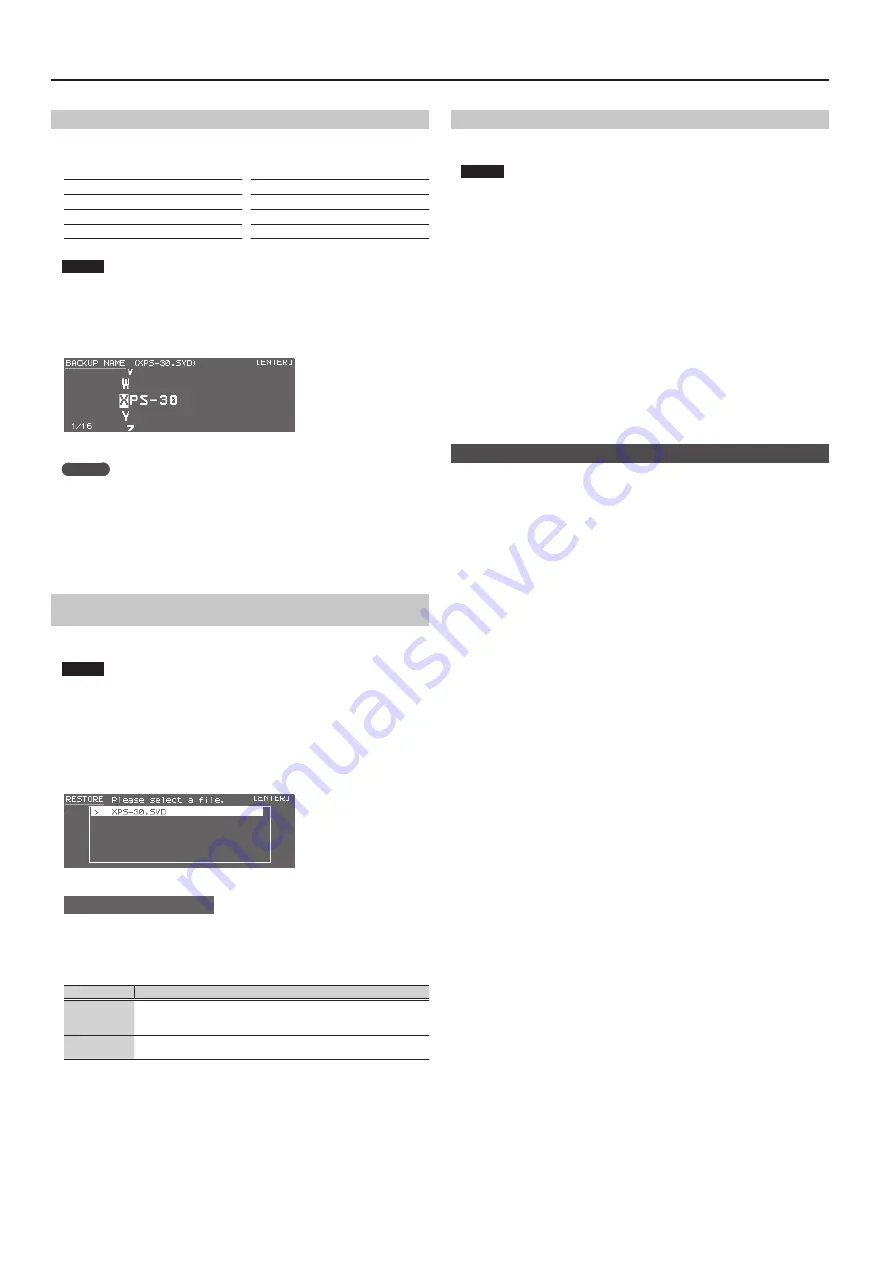
The BACKUP NAME screen appears.
2.
Enter the file name.
MEMO
For more about entering a name, refer to “Saving Your Settings (Write)” (p. 10).
3.
When you’ve specified the file name, press the [ENTER] button.
A confirmation message appears.
If you decide to cancel, press the [EXIT] button.
4.
Move the cursor to “OK,” and press the [ENTER] button.
When backup is completed, the display indicates “Backup Completed!”
Restoring Saved Data from USB Flash Drive Back into the XPS-30
(RESTORE)
Here’s how to restore backed-up user data from USB flash drive into the XPS-30
(Restore).
NOTE
5
When you execute the restore operation, all user data is rewritten. If the XPS-30
contains important data, back it up on a USB flash drive using a different name
before you execute the restore operation.
5
Never turn off the power or remove the USB flash drives while the screen
indicates “Processing....”
1.
In the UTILITY screen, move the cursor to “RESTORE,” and press the [ENTER]
button.
The RESTORE screen appears.
2.
Move the cursor to the file that you want to restore.
Deleting or renaming a file
1.
In the RESTORE screen, press the [MENU] button.
The FILE UTILITY window appears. The window closes if you press the button
once again.
2.
Move the cursor to “DELETE” or “RENAME,” and press the [ENTER] button.
Function
Explanation
DELETE
When you press the [ENTER] button, the message “Are you sure?” appears.
Move the cursor to “OK” and press the [ENTER] button.
The selected file is deleted.
RENAME
When you press the [ENTER] button, the RENAME screen appears, allowing
you to rename the selected file.
3.
Press the [ENTER] button.
A confirmation message appears.
If you decide to cancel, press the [EXIT] button.
4.
Move the cursor to “OK,” and press the [ENTER] button.
When restore is completed, the display indicates “Completed. Please Shut down.”
5.
Turn the power of the XPS-30 off, then on again.
Returning to the Factory Settings (FACTORY RESET)
You can return all of the XPS-30’s user settings to the state when the instrument was
shipped from the factory (Factory Reset).
NOTE
5
If the XPS-30’s internal memory contains important data that you’ve created,
be aware that all of this user data will be lost when you execute the factory
reset operation. If you want to keep this data, save it to USB flash drive before
you continue.
5
Never turn off the power or remove the USB flash drive while the screen
indicates “Processing....”
1.
In the UTILITY screen, move the cursor to “FACTORY RESET,” and press the
[ENTER] button.
A confirmation message appears.
If you decide to cancel, press the [EXIT] button.
2.
Move the cursor to “OK,” and press the [ENTER] button.
When factory reset is completed, the display indicates “Completed. Please Shut
down.”
3.
Turn the power of the XPS-30 off, then on again.
Playing the Demo Songs
1.
Press the [MENU] button.
The MENU screen appears.
2.
Move the cursor to “DEMO PLAY,” and press the [ENTER] button.
The DEMO MENU screen appears.
3.
Use the [
K
] [
J
] buttons to select a demo song, and press the [ENTER]
button.
Demo song playback starts.
*
No data for the music that is played will be output from MIDI OUT connector and
USB COMPUTER port.
Содержание XPS-30
Страница 22: ...22 MEMO...
Страница 23: ...23...


