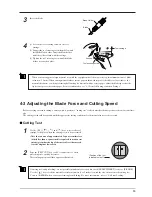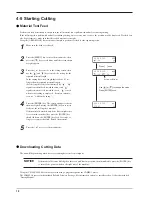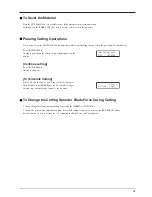
17
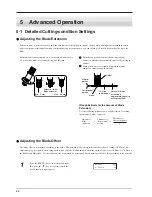
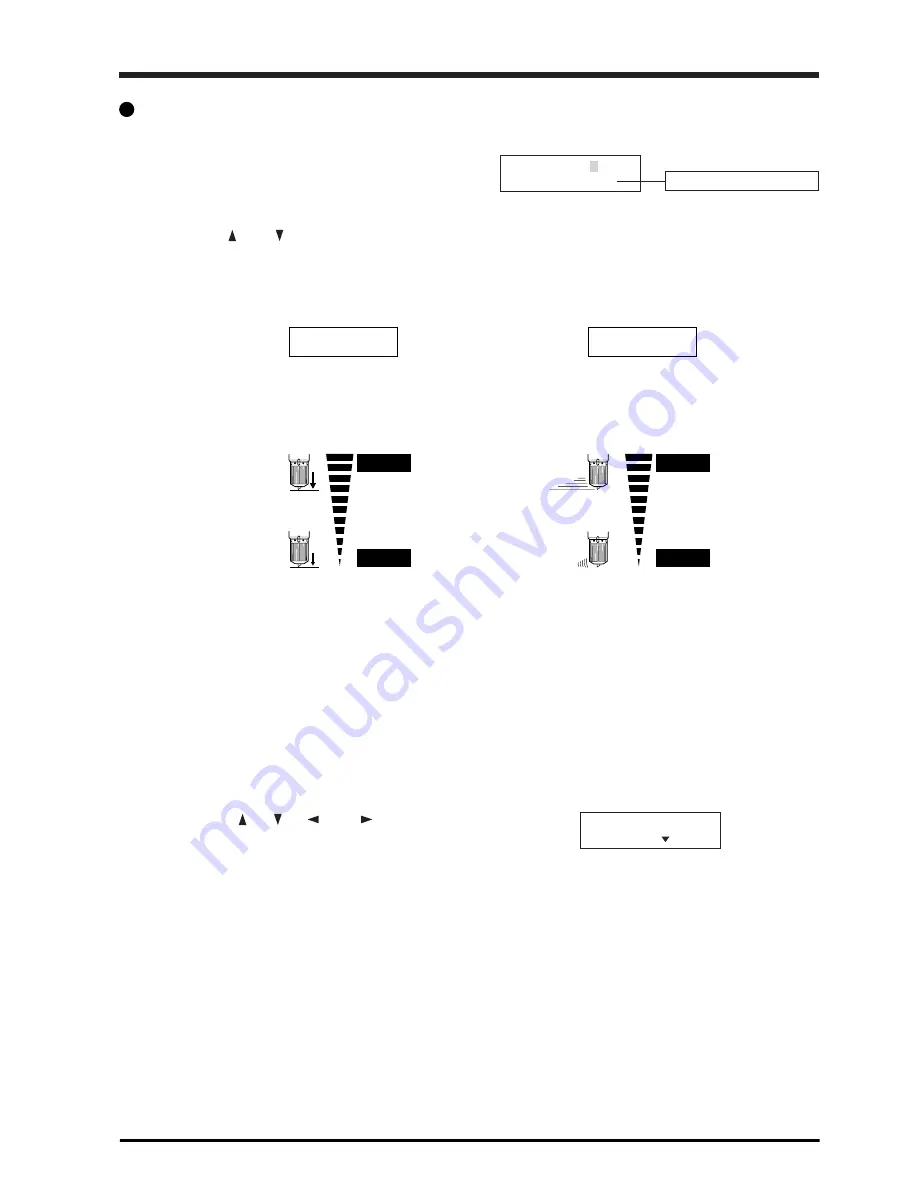
• Some parts of the sheet remain uncut.
• Cutting takes a long time.
Blade force
• The material peels during the cutting.
• The cutter requires frequency replacement.
• Cutting extends through the base paper, and normal
advancing of the sheet becomes impossible.
• The blade protector is damaged.
Too large
Too small
Cutting-speed
• Uncut areas remain in places.
• The cut depth differs according to the location
(nonuniform cutting depth).
• The material peels.
• The cut shape is distorted.
Too fast
Too slow
W 146mm L___mm
372mm
50cm/s
0.250mm 30gf
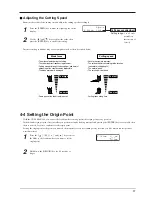
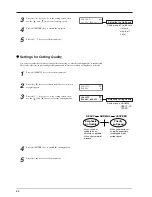
Adjusting the Cutting Speed
Examine the results of the cutting test and adjust the cutting speed accordingly.
1
Press the [SPEED] key to make the right appear on the
display.
Setting range:
1 to 85 cm/s
(settable in
increments of
1 cm/s)
Cutting-speed adjustment
2
Use the [
] and [
] keys to adjust the value, then
press the [ENTER] key to enable the setting.
Incorrect cutting conditions may cause symptoms such as those described below.
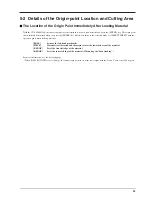
4-4 Setting the Origin Point
With the CX-500/400/300, you can set the location where cutting starts (the origin point) at any position.
If the default origin point in effect just after you perform setup by loading material and pressing the [ENTER] key is acceptable, then
there is no need for you to explicitly set the origin point.
Setting the origin point at the point you want on the material lets you start cutting at any location you like, which can help reduce
wasted material.
1
Press the [
], [
], [
] and [
] keys to move
the blade to the location where you want to set the
origin point.
2
Hold down the [ORIGIN] key for 0.5 seconds or
longer.
Содержание CX-300
Страница 21: ...21 POWER ERROR LED goes out 4 Turn off the power ...
Страница 63: ...63 MEMO ...
Страница 64: ...R5 020403 ...

