Network Video Recorder User Manual
39
Once you've filled in the required information and agreed to Terms of Service, click
“Sign Up” button at the bottom of the page.
Note:
Terms of Service requires valid contact information on file in order to maintain
your account. Any accounts found with incomplete or fraudulent information will be
terminated.
Step2: Confirm your account
Once you have submitted your account information into the new user form, it will send
a confirmation email to the address you provided. You will need to check that account and
look for the email from No-IP.com. The email contains a link you must click in order to
confirm your account.
So please click the URL link to activate your account in the confirmation email, and
then automatically
enter the “Account Confirmed!” interface.
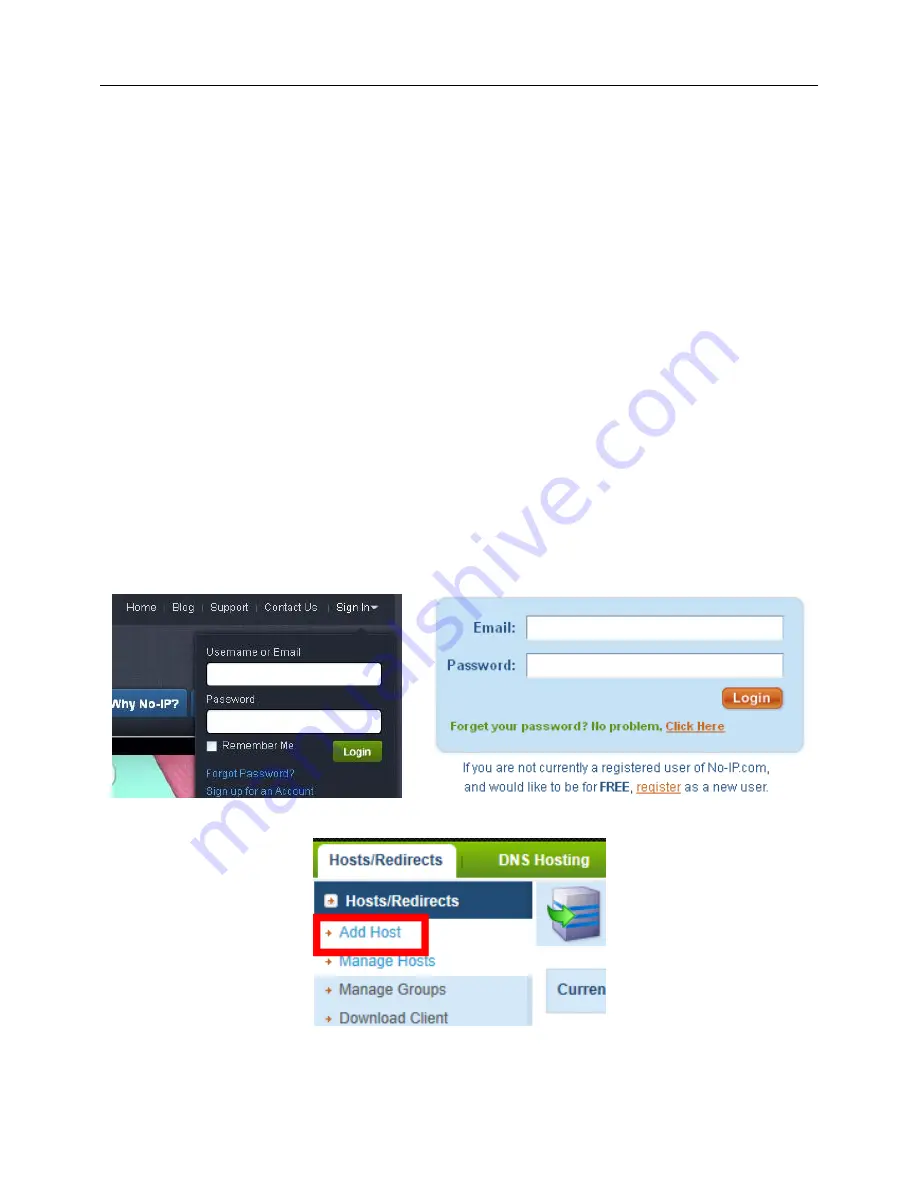
Step3: Login to your account
Select “Sign In” on the top of No-IP home page to pop up drop-down menu, or click
“Sign In” button to enter “Client Login” interface. Enter email address and password that
you signed up and click Login button. As shown below:
Step4: Add a host or domain to your account
In order to add a host to your account, select the "Add" link from the "Hosts/Redirects"
menu. This will bring up the Add a Host page. And now you're ready to fill in the details of
your new hostname.
Содержание QH-NVR
Страница 1: ...Network Video Recorder User Manual ...
Страница 72: ...Network Video Recorder User Manual 65 Fig 5 6 Fig 5 7 ...
Страница 107: ...Network Video Recorder User Manual 100 ...


