Network Video Recorder User Manual
26
Step2:
Click
button, then click the time grid to add recording time; click
button, then click the time grid to delete recording time. Blue means selected area, black
means unselected area.
Step3:
Cancel the selected status of
and
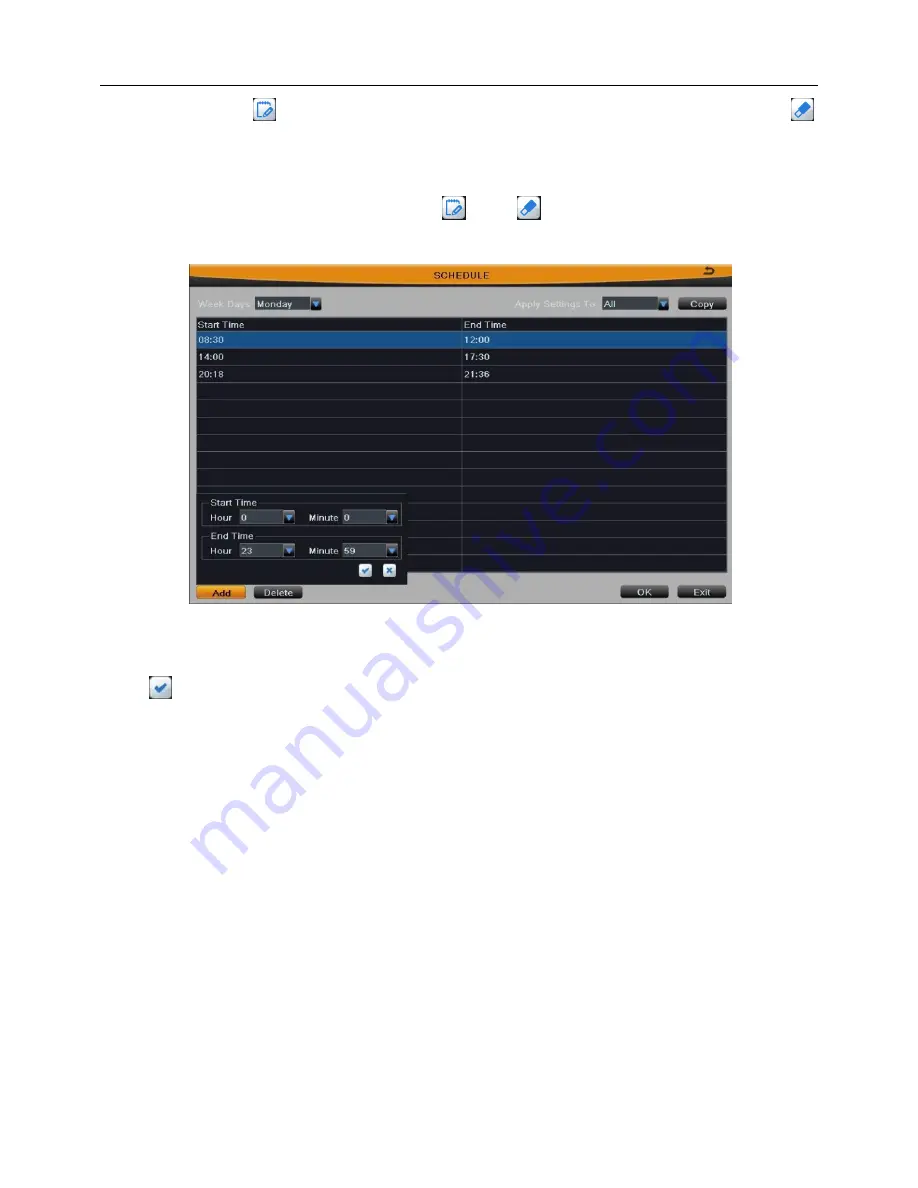
button. Double-click the grid area
to edit the week schedule of recording. As shown in Fig 3-16:
Fig 3-16
Select a week day; click “Add” button, then set the start & end time of recording plan,
click
to add a certain day schedule; select a plan in the week schedule list, click
“Delete” button to delete the selected plan.
You can copy and apply time settings to the other date or every day.
Click “Copy”
button to copy the specified day schedule to other date.
Click “OK” button to save the setting, click “Exit” button to exit current interface.
Step4:
User can also
edit the schedule by date. Click “Holiday” button to enter the
holiday schedule page, click again to enter the schedule page. Then click “Add” button to
set the holiday schedule by date/week/month, the setup steps are familiar with Step3.
Step5:
User can copy and apply channel settings to the other channel or all channels.
Click “Copy” button to copy the specified channel schedule to other channel.
Step6:
Click “Default” button to
restore the def
ault setting; click “Apply” button to save
the setting; click “Exit” button to exit current interface.
3.2.4.2 Motion
The interface of motion alarm recording is shown in Fig 3-17. The setup steps of
Содержание QH-NVR
Страница 1: ...Network Video Recorder User Manual ...
Страница 72: ...Network Video Recorder User Manual 65 Fig 5 6 Fig 5 7 ...
Страница 107: ...Network Video Recorder User Manual 100 ...


