


39
Setting Parameters
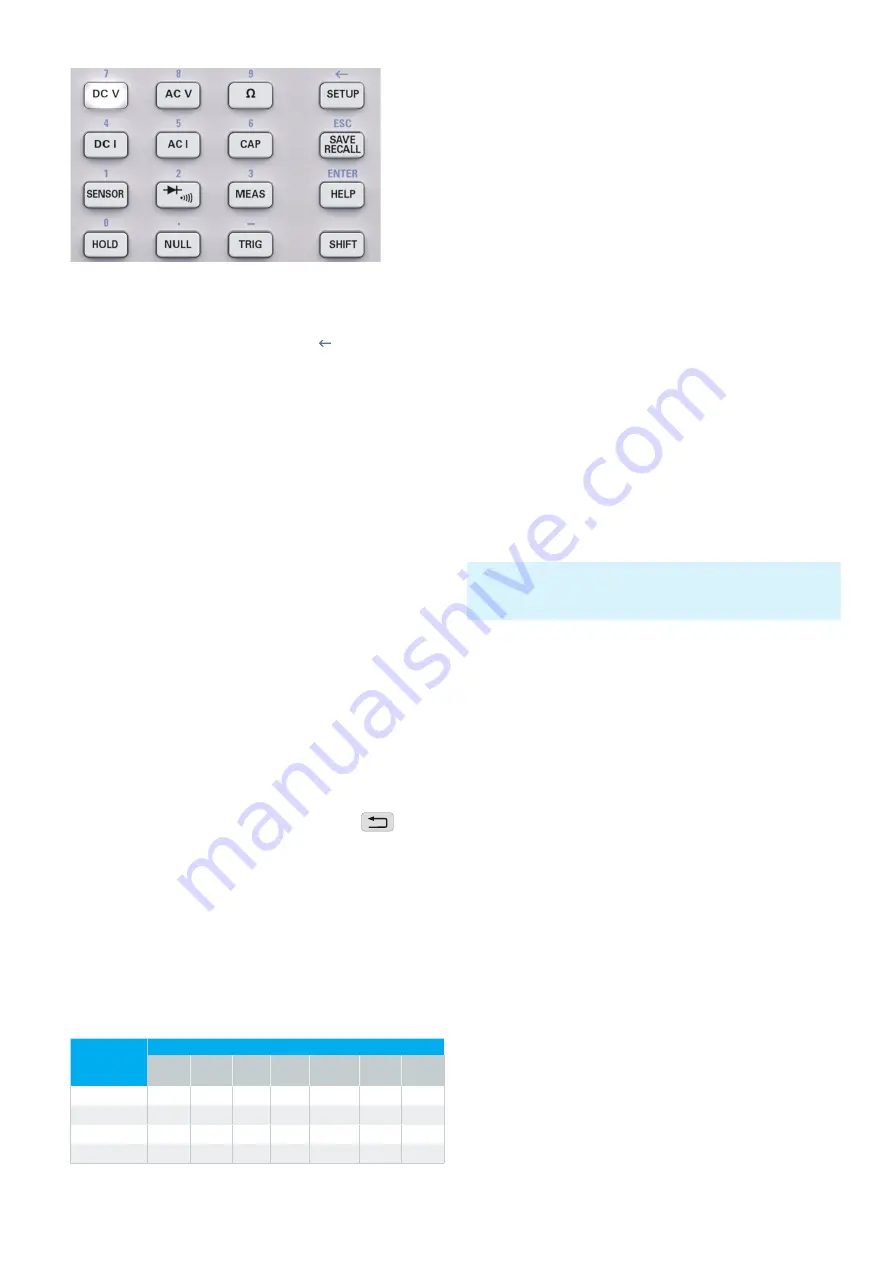
menu key with the corresponding unit. Before confirming
the parameter unit, you can delete any value that has been
entered incorrectly by pressing the key (SHIFT + SETUP
key). The ESC key allows you to cancel the operation to en-
ter parameters. This will close the editing window.
4.2.2 Knob with Arrow Keys
You can also use the knob to enter the parameter values.
The input will be modified gradually, and the respective
input parameter will be set instantly. The nominal value
is increased by turning the knob to the right, and it is de-
creased by turning it to the left. Dimensionless values, such
as while setting the display, are changed via knob. You can
select the desired decimal point via arrow keys (e.g. with
activated LIMITS function for HIGH and LOW LIMIT value).
The upper and lower arrow key of the ¸HMC8012 have
no function.
4.3 Soft Menu Keys
The soft menu keys on the upper right of the screen allow
you to use the shown menu field in the display. Use the
numeric keypad or the knob to set the respective selected
parameter. If a menu field has been selected via soft menu
keys, this function will be marked in yellow and will be acti-
vated to set the parameter and function. If a specific setting
makes an instrument setting unavailable, the respective
soft menu key will be deactivated and the label will be dis-
played in gray. With the lowest soft menu key
a menu
can be closed or a lower menu level can be returned.
4.4 Displaying Several Measurement Values
The ¸HMC8012 offers the option (depending on
the selected measurement function) to simultaneously
show multiple measurement values on the display. The
main measurement value is labeled as „Main“. A second
measurement value can be activated via soft menu key
2nd Function (depending on the measurement function).
If you press the soft menu key 2nd Function, you can use
the soft menu key SELECT and the knob to select a se-
cond measurement value. The second measurement value
(2nd) will be displayed in blue above the display of the
main measurement value (Main). If you select the option
None via knob, the second measurement value will be
deactivated.
4.5 Automatic / Manual Selection of the Measure-
ment Range
Depending on the selected measurement value, you can
change the measurement range via soft menu keys RANGE
UP or RANGE DOWN. Pressing RANGE DOWN will switch
to the next lower measurement range, pressing RANGE
UP will switch to the next higher measurement range. This
will deactivate the automatic selection of the measurement
range (AUTO RANGE).
If the function AUTO RANGE is activated, the measurement
instrument automatically selects the optimal measurement
range. Activating the automatic mode enables you to
switch to a higher measurement range when 90% of the
respective range end value have been reached. Operation
will switch to the lower range if the value falls below 10%
of the range end value.
If the set measurement value is too large (whether the measu-
rement range is selected manually or automatically), the display
shows the message OVER RANGE.
Main
(main
measure-
ment value)
2nd (secondary measurement value)
DC V
AC V
DC I
AC I
Fre-
quency
dB
dBm
DC V
−
●
●
−
−
●
●
AC V
●
−
−
−
●
●
●
DC I
●
−
−
●
−
●
●
AC I
−
−
●
−
●
●
●
Tab. 4.1: Displaying Several Measurement Values
Fig. 4.2: Numeric keypad and editing keys


