6
Template Router Pass Key
Lowercase Letter Step-by-Step
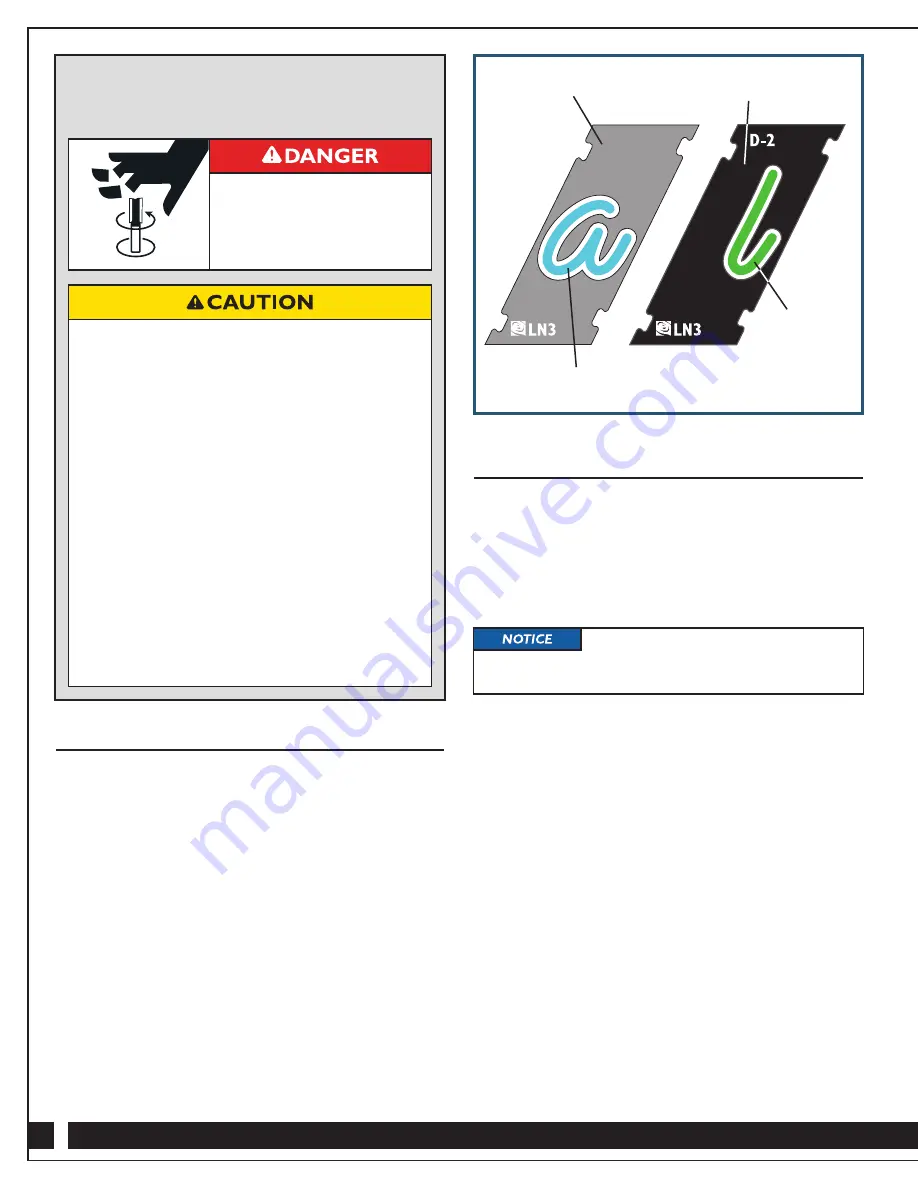
Returning to the “hand” example, “h” and “n” are routed in the
first pass, during which spacers will take the place of “a” and “d.”
When the “a” and “d” are routed, spacers take the place of “h”
and “n.”
Fig. 3.
Pass 1:
Lay out the lowercase “h” template, and then add the
LN3 Mid Spacer Template. (This is because it is a substitute in
this pass for the “a” template, which bears the template size code
“LN3,” and because it appears in the middle of the word.) Attach
the “n” template. Then attach the LN3 End Spacer because it is
standing in for “d” at the end of the word and the “d” template
bears the template size code “LN3.”
Pass 2:
Replace the “h” template with the LN3 End Spacer. (This
is because the “h” template bears the “LN3” template size code,
and the spacer will be placed at the front end of the word.) Next,
attach the “a” template, followed by the LN3 Mid Spacer because
it is taking the place of the “n.” Then attach the template marked
D-1 to rout the first part of the “d.”
Pass 3:
The only change would be to replace the D-1 template
with the D-2 template to complete the letter.
Capital Letters Step-by-Step
Capital letters work the same way as lowercase letters when used
at the beginning of words. The situation is different, however,
if the word starts with a capital letter but also includes another
capital letter in the middle of the word. (Example word: McGraw)
As with the lowercase word, the process will involve laying out
and routing alternating letters in stages, with different spacer
templates in between. (In the example, you would rout “M” and
“G” and “a” first.)
Fig. 4.
Pass 1:
Lay out the capital “M” template. Connect an LN2 End
Spacer to the “M.” (This is because it is standing in for the “c”
template, which is marked “LN2,” and because we’re treating
“McGraw” as two separate words: “Mc” and “Graw.”) Add the
capital “G” template. Then attach another LN2 Mid Spacer
(because it is standing in for “r” and both “r” templates are
marked “LN2”) and add the lowercase “a” template. Finally, attach
an LN4 End Spacer (because it is taking the place of the “w”
template, which is marked “LN4,” at the end of the word).
Pass 2:
Replace the capital “M” template with the corresponding
Cap 2 Spacer and add the lowercase “c” template. (
Important:
The lowercase “c” will not interlock with the Cap Spacer
replacing the capital “G.” This is normal, and the templates
are held in place with the Word Anchors and the tape used to
secure the templates.) Replace the capital “G” template with the
corresponding Cap1 Spacer, making sure the template contacts
the lowercase “c” template. Then replace the LN2 Mid Spacer
with the lowercase R-1 template to rout the first part of the “r” and
replace the lowercase “a” with an LN3 Mid Spacer (because the
“a” is marked “LN3”). Finally, replace the LN4 End Spacer with
the lowercase “w” template.
Pass 3:
Replace the lowercase R-1 template with the lowercase
R-2 template to complete the letter.
When a capital letter appears in the middle
of the word, you must treat the word, in effect, as two
separate words, each beginning with a capital letter.
THESE WARNINGS PERTAIN
TO THE REST OF THE STEPS
IN THIS BOOK:
>
To avoid serious injury, keep
hands and fingers away from
spinning router bit. Maintain
awareness of the bit at
all times.
>
Use Interlock Signmaker’s Templates
ONLY
with a plunge router outfitted with a baseplate
that can accept the included center guide bushing
and retaining ring. Use of the templates with a
fixed-base router is likely to result in damage
to the templates and workpiece, as well
as possible injury.
>
Always use the recommended size of router bit and
guide bushing for your template set. Failure to do
so could result in damage to the templates and
workpiece, as well as possible injury.
>
Always secure the templates to your workpiece and
your workpiece to the work surface. Failure to do
so could result in damage to the templates and
workpiece, as well as possible injury.
>
Always allow the plunge mechanism on your router
to fully retract the bit at the completion of a letter
before moving the router to the template of the
next letter. Failure to do so could result in damage
to the template.
Previously placed template
Previously routed
Route
this pass
Template placed
in this pass


