


33
As a policy of continual improvement, RMF reserves the right to alter the specification without prior notice.
201.028 REV 1
Date of Issue: 18 June 2018
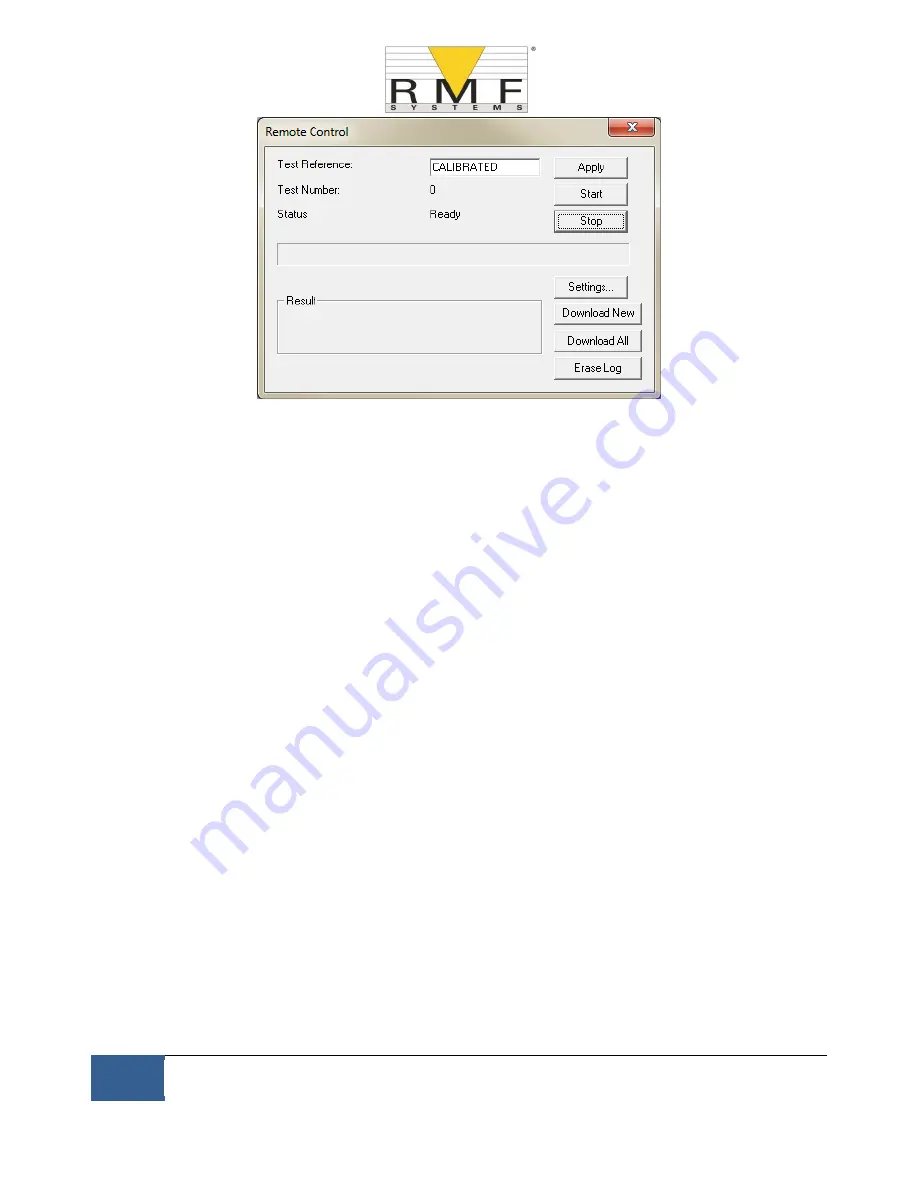
Figure 6.19
To perform a test, first optionally edit the
Test Reference
and press
Apply
to register the new value. This is a
descriptive label which can be used to identify or group the test later (along with the test number and test
time/date). An example would be a machine number or customer name. The Test Reference can be up to 15
characters in length.
When connected the CMS
status
should show "Ready". The operator can then press the
Start
button to begin the
test. The progress bar shows how much of the test has been completed.
The test can be abandoned at any time by pressing the Stop button. If the Start button is pressed during a test,
then the current test is abandoned and a new one started. When the test has finished, the Result area will display
the contamination level in the set format and water content and temperature (if applicable).
After a test the Test Number is automatically incremented and the status of the test is displayed. If the status is
Ready
then the operator can press the Start button again to begin a new test.
It is also possible to configure the CMS to automatically begin another test, after an optional delay. In this case
the status will be
Testing
or
Waiting
.
The CMS incorporates a data logger, so previous test results can be downloaded into the test database using the
Download New and Download All buttons. The difference between these is that Download New only transfers
results that have never been downloaded before.
Download All
transfers all results that are stored in the CMS.
Erase Log deletes the test results from the memory of the CMS, see figure 6.19.
When the user has finished operating the CMS the dialogue can be dismissed using the close control (the "X" at
the top right corner of the dialogue) or by pressing the Esc key. Pressing the Settings... button brings up the
Remote Device Settings dialogue.
6.3.3 Settings
The CMS can be reconfigured using the Remote Device Settings dialogue. This is normally done as part of the
installation or commissioning process.
After making any changes, pressing the OK button will update the CMS with the new settings. Or press Cancel to
leave the settings as they were.
Содержание CMS 2
Страница 1: ...User Manual CMS2...


