


81
b.
S
elect “1.HZ Alignment” to enter into
define HZ Alignment function.
[1]
[ENT]
Roads
1.
HZ Alignment
2.
VT Alignment
3.
Stn Setup
4.
Stake Out Roads
c.
Select “Define HZ AL”.
[1]
HZ Alignment
1.
Define HZ AL
2.
Edit HZ AL
3.
Receive HZ AL
4.
Delete HZ AL
d.
Input the chainage of start point, and N,
E coordinates. After finishing one item,
press [ENT] to move to the next item.
Input chainage
of start point, N,
E coordinates
[ENT]
Start Pt
01
CH:
0.000
N:
0.000m
E:
0.000m
e.
The display enters to the Define HZ
alignment main menu.
Define HZ
AL
01
CH:
1.000
AZ:
78
°
45
’
19
”
Str
Arc
Trns
Pt
Straight Line
When the start point or other line type is defined, user can define line. A line consists of azimuth angle and
distance. The distance value can not be negative.
STEP
OPERATION
DISPLAY
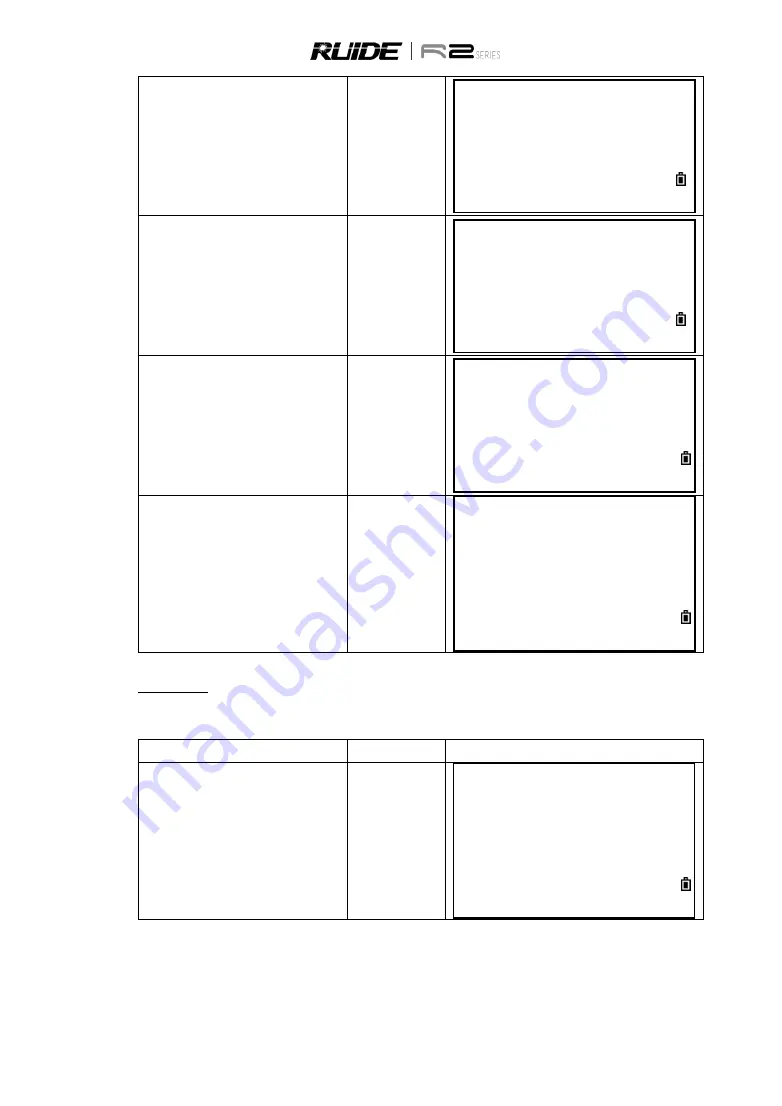
a.
In Define HZ AL screen press [Str] to
enter into the straight line defining menu.
[Str]
Define HZ
AL
01
CH:
1.000
AZ:
0
°
00
’
00
”
Str
Arc
Trns
Pt


