AirLink 6940XP Operator’s Manual
Maintenance
•
56
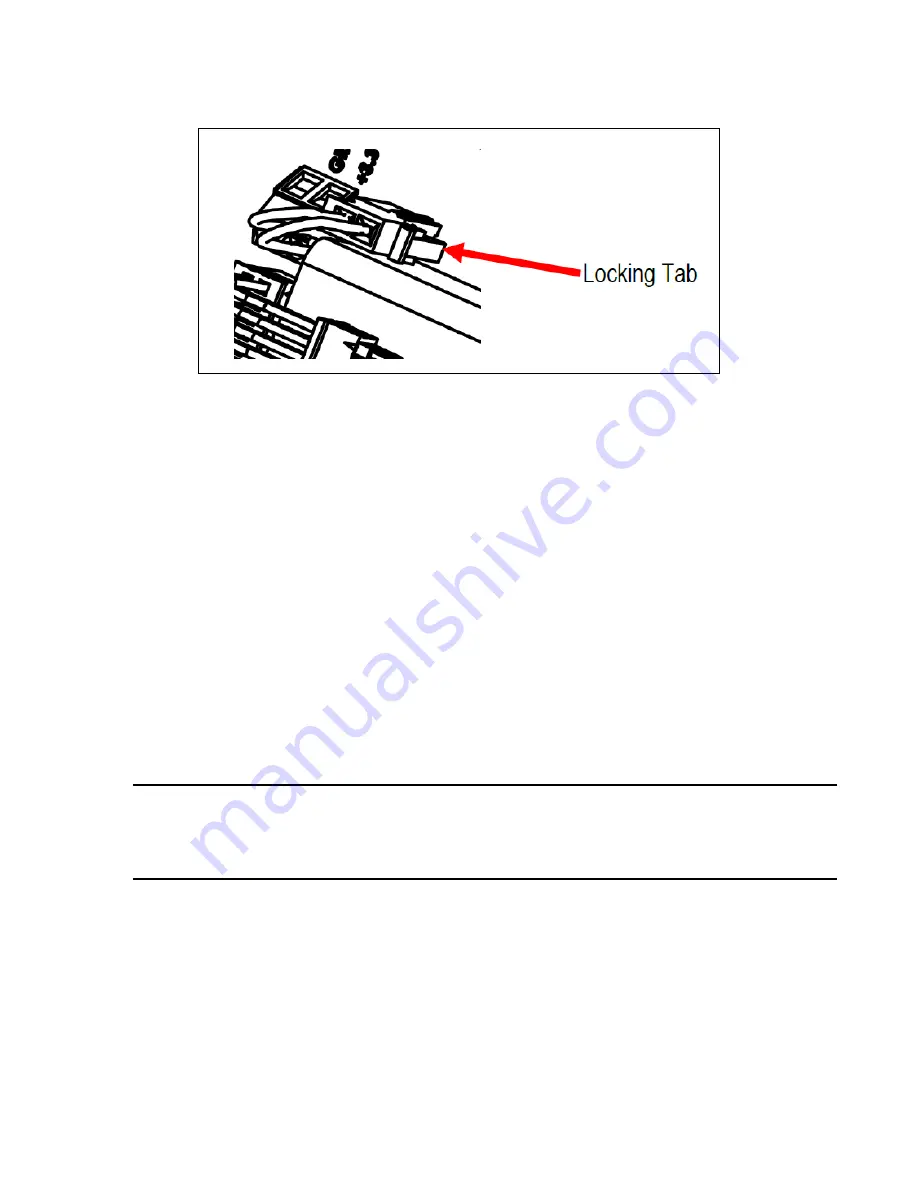
4. Locate the battery connector on the terminal board assembly. Squeeze the locking tab on the
battery plug and gently pull it straight out of the battery connector.
5. Unscrew the captive thumbscrews securing the battery bracket into place.
6. Gently remove the old battery pack.
7. Gently slide the new battery pack in the same orientation as the old battery pack.
8. Screw the captive thumbscrews to secure the new battery pack using the battery bracket.
9. Plug the battery into the 2-pin battery terminal on the terminal board.
10. Place the internal system back into the enclosure, matching each mounting post to its
corresponding eyelet anchored within the base of the enclosure.
11. Using the handles, gently push to seat the internal system into the mounting posts.
12. Verify that the sealing ring, seated at the threaded opening of the device enclosure, is correctly
in place.
13. Secure the enclosure lid back onto the enclosure, rotating the lid until it is tightly screwed into
place.
WARNING: When securing the lid onto the device, tighten the enclosure lid by hand ONLY.
Overtightening of the lid by use of hand-tools could result in damage to the O-
ring, potentially compromising the moisture seal, resulting in an unsafe
environment.
14. Press
ADD
to initiate the 1-minute startup (3.5 minutes for LEL versions).


