44
Getting to Know Your Table Saw (continued)
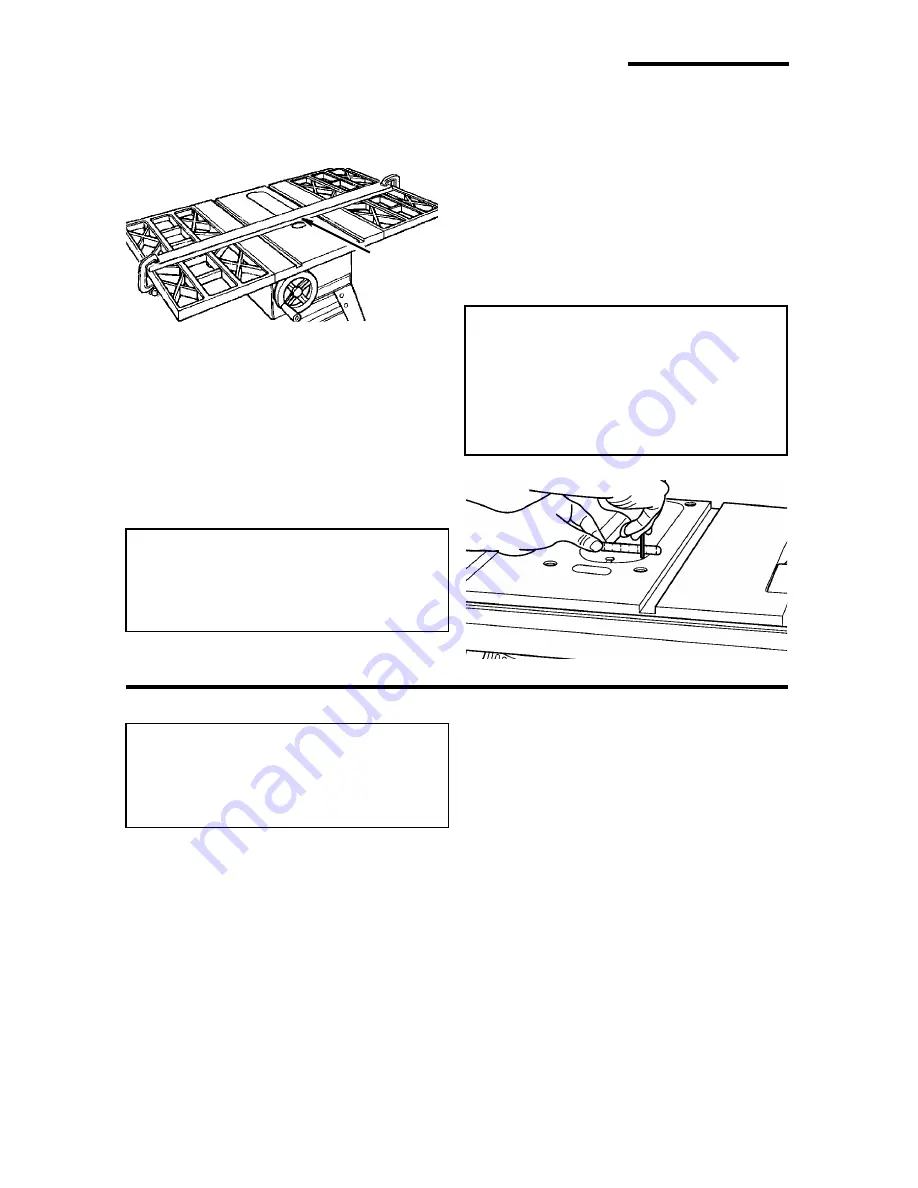
6. Clamp a 1 x 4 or larger board across
the zero clearance insert as shown.
Make sure the board covers the flat
head screw.
7. Make sure blade guard is properly
installed.
8. Reconnect power to the saw.
9. Turn the saw “ON”.
10. Slowly and cautiously raise the saw
blade into the zero clearance insert by
rotating the elevation handle clock-
wise 4 turns. Return the saw blade to
completely lowered position.
WARNING: To reduce the risk of
injury keep both hands off of the
saw table top and wear approved
safety goggles.
11. Turn the saw “OFF” and unplug.
12. Remove clamps and board.
13. Loosen the flat head screw and reposi-
tion the zero clearance insert until the
key slot drops over the flat head screw.
14. The zero clearance insert should be
flush with the table top. Check near
each set screw as shown. Adjust the
four set screws as necessary. Tighten
the flat head screw. Do not tighten the
screw to the point where it deflects
the zero clearance insert.
CAUTION: The zero clearance
insert must be even with the
table surface. Inserts too high or
low can let the workpiece “snag”
or catch on uneven edges. Work-
piece could twist and kickback.
Installing Zero Clearance Insert/Dado Blades
WARNING: To reduce the risk of
injury from accidental start, make
sure switch is “OFF” and saw is
unplugged.
NOTE: Before using the dado blade read
and understand the Safety and Operating
instructions contained in the owners man-
ual furnished with your table saw and the
instructions furnished with your dado
blade.
1. Adjust the dado blade to the desired
width and mount on table saw arbor.
Tighten arbor nut.
Do not install the outer loose collar
(the one next to the arbor nut) when
installing the dado blade.
2. If necessary, loosen the flat head
screw and position the zero clearance
insert until the key slot drops over the
flat head screw.
3. Adjust the side positioning set screw
found on edge of insert to eliminate
side play (See “Installing Zero Clear-
ance Insert”).
4. The zero clearance insert should be
flush with the table top. Check near
each set screw (see “Installing Zero
Clearance Insert”). Adjust the four set
screws as necessary. Tighten the flat
head screw. Do not tighten the screw
to the point where it deflects the zero
clearance insert.
Flathead
Screw


