English – 15
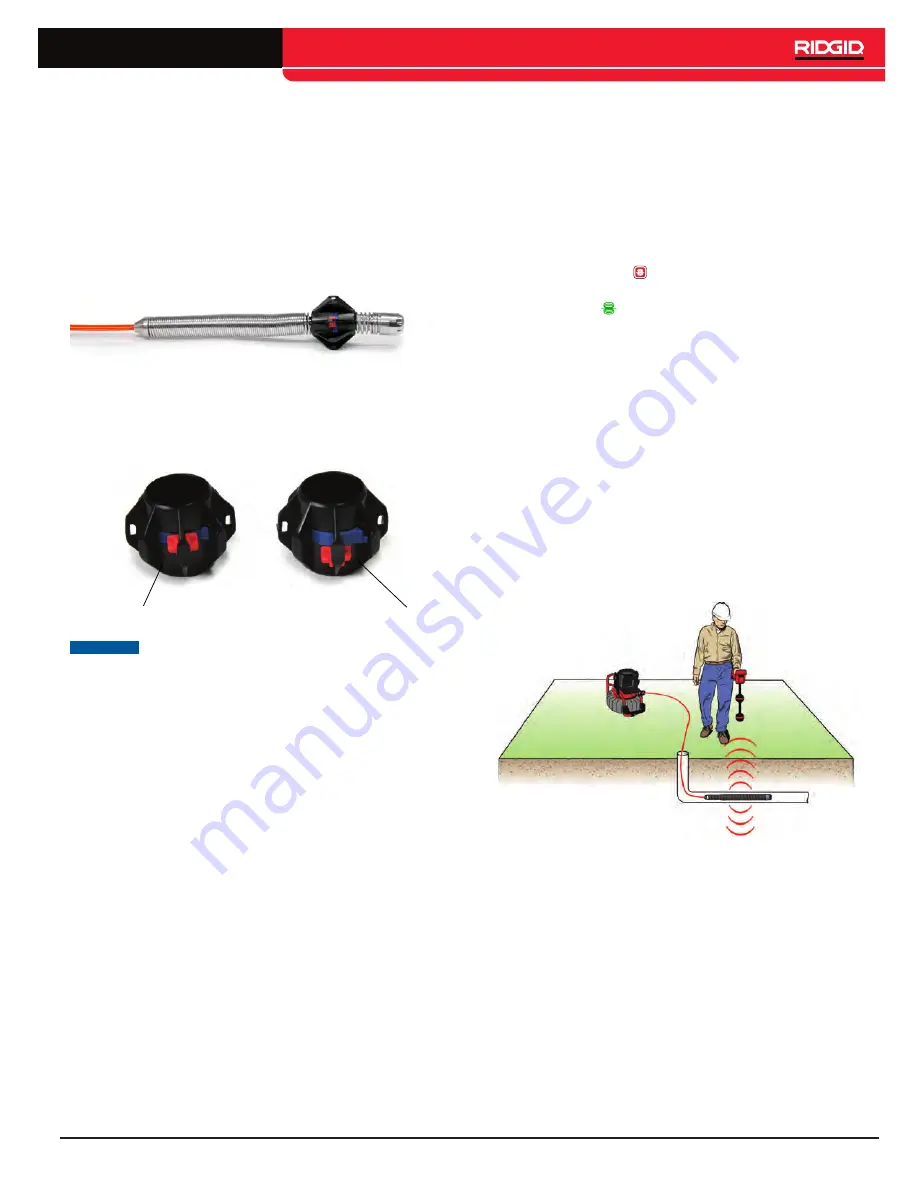
Ball Guide Installation
Ball guides are designed to slip onto the spring and lock
into place. Depending on work conditions, you can place
a ball guide on the spring behind the camera to tilt the
camera head upward to view the top of the pipe.
1. Make sure the ball guide is unlocked.
2. Slide the ball guide beyond the camera on to the
spring.
3. Press down on the blue locks to secure the ball guide
onto the spring.
4. Slide the red locks over the blue locks to secure the
ball guide into place.
Locked
Unlocked
NOTICE
If a ball guide gets snagged in a pipe, it
can fall off the spring. To avoid losing
ball guides and obstructing the pipe, do
not use excessive force to push through
the pipe when you feel resistance.
Locating the Sonde
You can use the integrated sonde to locate a point of in-
terest in the pipe at any time during the inspection. The
sonde is located in the spring and is assembled between
the end of the push cable and the camera. The sonde
transmits a locatable 512 Hz signal that can be detect-
ed by receivers such as the RIDGID SeekTech SR-20,
SR-24, SR-60, Scout
™
, or NaviTrack
®
II.
Press the Sonde key to enable and disable the sonde.
When the sonde is enabled, the LED by the key is lit and
the sonde icon displays on the screen. The 512 Hz
sonde signal can cause interference lines that may be
visible on captured media.
To locate the sonde, follow these steps:
1. Power on the receiver and set it to sonde mode.
2. Locate the sonde’s general direction so you know
which way the pipe goes:
• Power on the sonde and push the push cable no
more than 5 m [15 ft] into the pipe.
• Sweep the horizon with the receiver in a slow
arc.
3. The signal strength is highest where the receiver de-
tects the sonde.
Note: For additional instructions on sonde locating, refer
to the manual for the receiver model you are using.
www.
GlobalTestSupply
.com
Find Quality Products Online at:


