• Before beginning work, ground yourself by touching something metal to discharge any static
electricity. Static electricity can damage the interface units.
• Do not subject the interface units to physical shocks.
• Be sure to turn off the machine before installing the wireless LAN option.
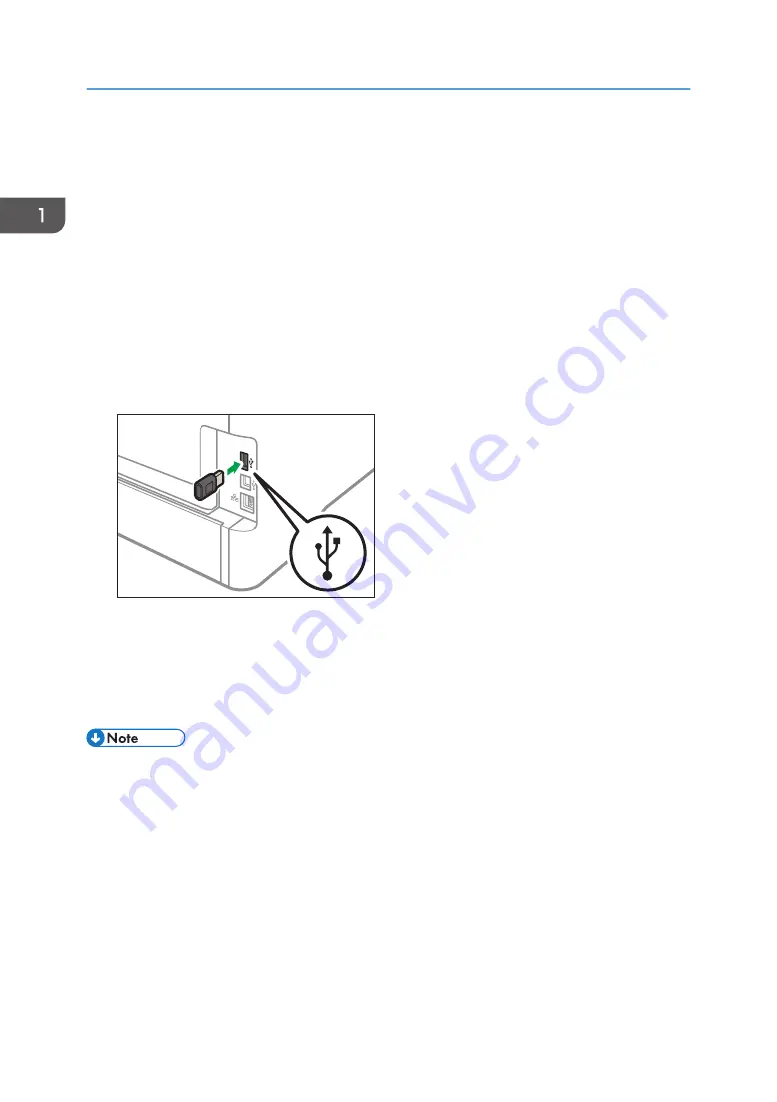
• Insert the wireless LAN option into the USB port on the back of the machine. Do not insert it into the
USB flash disk port of the front of the machine.
• We recommend installing the printer driver on your computer after completing the configuration for
the wireless LAN option.
1.
Check the contents of the package.
2.
Turn the machine off and unplug the power cord.
3.
Fully insert the option.
DYG340
Check that the option is firmly connected to the USB port.
4.
Plug in the power cord, and then turn on the machine.
5.
Configure settings from the control panel.
For details, see Setup Guide.
• Check that the wireless LAN option was correctly installed by printing the configuration page. If it is
correctly installed, "Wireless (Wi-Fi) Status" will appear for "Network Settings" on the configuration
page. For details about printing the configuration page, see page 89 "List/Test Print Menu".
• If the option was not installed properly, repeat the procedure from the beginning. If it cannot be
installed correctly even after trying the installation a second time, contact your sales or service
representative.
1. Guide to the Machine
20
Содержание SP 3710DN
Страница 2: ......
Страница 10: ...5 Click the manual you want to refer to The PDF file manual opens 8 ...
Страница 14: ...12 ...
Страница 65: ...Canceling a print job while printing 1 Press the Job Reset key DYG402 Basic Operation of Printing 63 ...
Страница 72: ...3 Printing Documents 70 ...
Страница 142: ...6 Maintaining the Machine 140 ...
Страница 206: ...MEMO 204 EN GB EN US EN AU M0C3 8504B ...
Страница 207: ... 2018 ...
Страница 208: ...M0C3 8504B AU EN US EN GB EN ...


