


Learning about the MFP
8
1
Learning about the MFP
Identifying the MFP
Use the following table to determine the features and options of the MFP (multifunction printer).
For more information about installing input options, see
Installing and removing options
or the instructions that came
with the option.
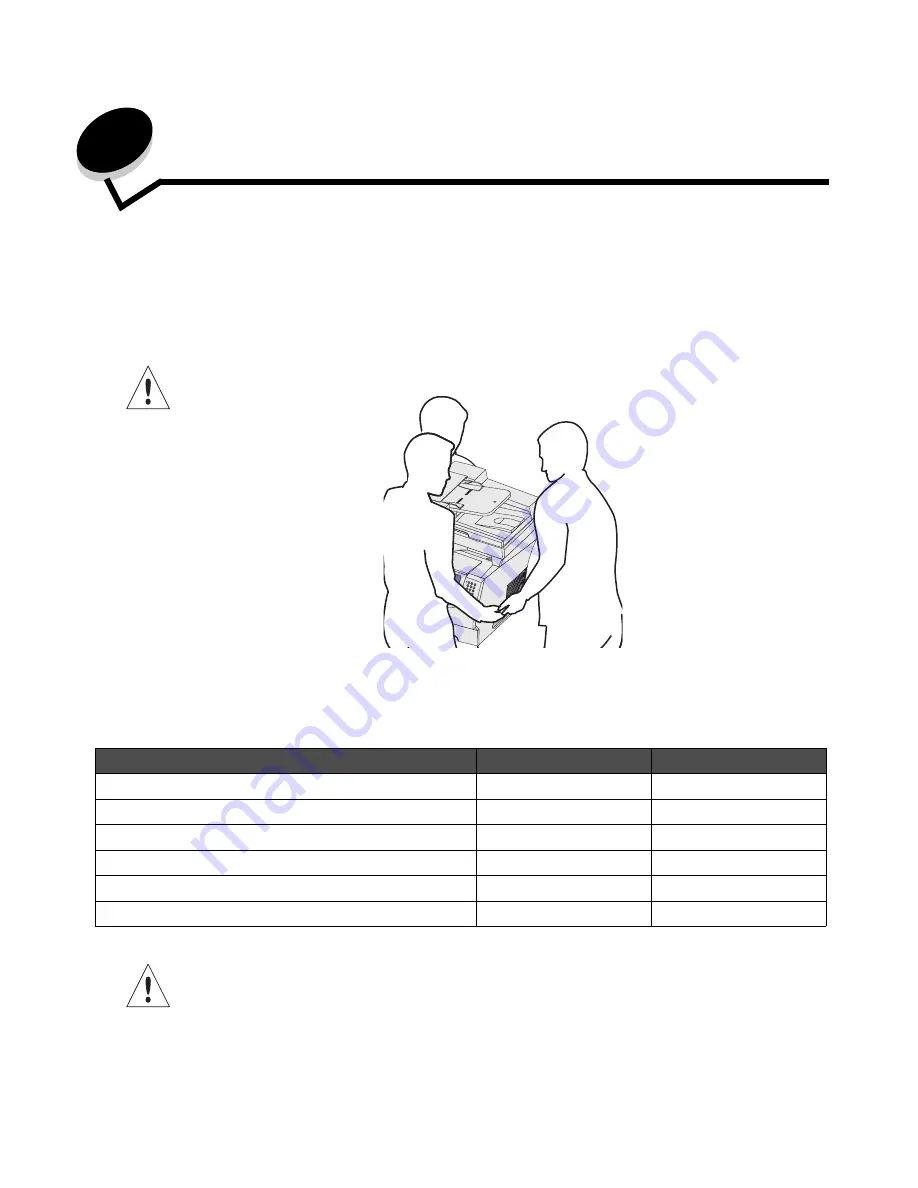
CAUTION:
The MFP requires three people to lift it safely.
Models
The MFP is available in two models. The following table lists some common features and differences between the models.
CAUTION:
Do not set up this product or make any electrical or cabling connections, such as the power cord
or telephone, during a lightning storm.
Model
I
Model
II
Input capacity
500 sheets
1000 sheets
Standard memory
256MB
256MB
Maximum memory capacity, non-network/network
768MB
768MB
Hard drive
No
Yes
Option card connectors
1
1
Duplex ability
Duplex in, simplex out
Duplex in, duplex out
Содержание InfoPrint 1570
Страница 1: ...InfoPrint 1570 MFP MT 4542 User s Guide S510 4976 00...
Страница 146: ...146 Index V verify print 59 W weight paper 76 width guide 62...
Страница 147: ......
Страница 148: ...Printed in USA S510 4976 00...