127
O
th
e
r P
lay
b
ack
F
u
n
c
ti
o
n
s
3
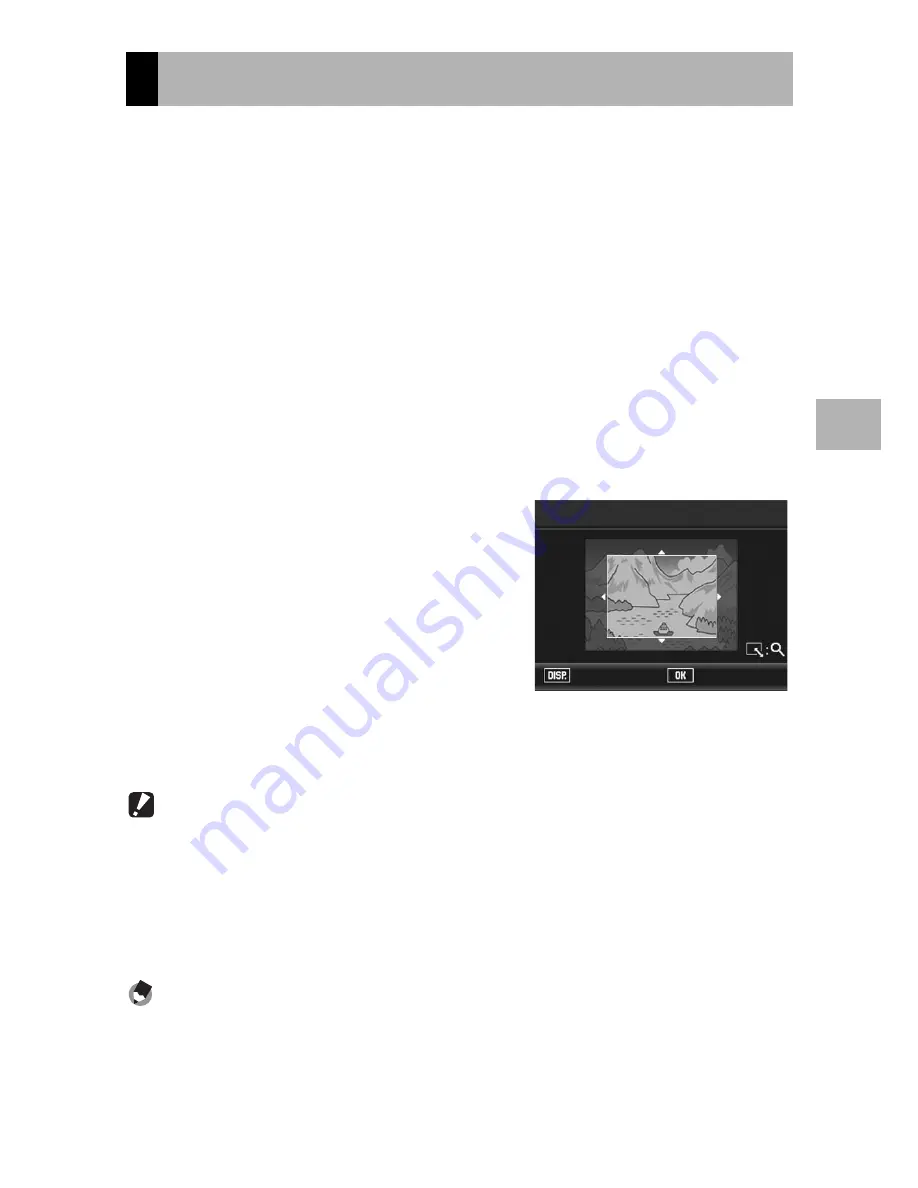
This function allows you to trim a still image you have shot and then
save it as a separate file.
1
Press the
6
(Playback) button.
2
Press the ADJ./OK button
!"#$
to display the file you
want to trim.
3
Press the MENU button.
• The playback menu appears.
4
Press the ADJ./OK button
"
to select [Trim] and press
the button
$
.
• The [Trim] screen appears.
• To cancel trimming, press the DISP. button.
5
Turn the zoom lever toward
8
or
9
to set the size of the
trimming frame.
6
Press the ADJ./OK button
!"#$
to set the position of
the trimming frame.
7
Press the ADJ./OK button.
• The trimmed image is recorded. The original image remains
unchanged.
Caution------------------------------------------------------------------------------------------
•
You can only trim still images shot using this camera.
•
You cannot trim images shot in Movie, S-Cont or M-Cont mode.
•
Subfiles with [Sub File Size] set to lower than [N640[VGA]] cannot be trimmed, when
shooting a still image with a subfile with [Record Dual Size] set to [On]. (
G
P.101, 165)
•
While you can trim an image repeatedly, the image is recompressed each time and
there will be some decline in image quality.
Note ----------------------------------------------------------------------------------------------
•
If an image is trimmed, the compression ratio changes to Normal.
•
The available settings for the trimming frame size differ depending on the original
image size. Each time you turn the zoom lever toward
8
, the trimming frame
decreases in size by one level. You can decrease the frame size through 13 levels
down to the smallest size.
Trimming Still Images (Trim)
Trim
Execute
Cancel


