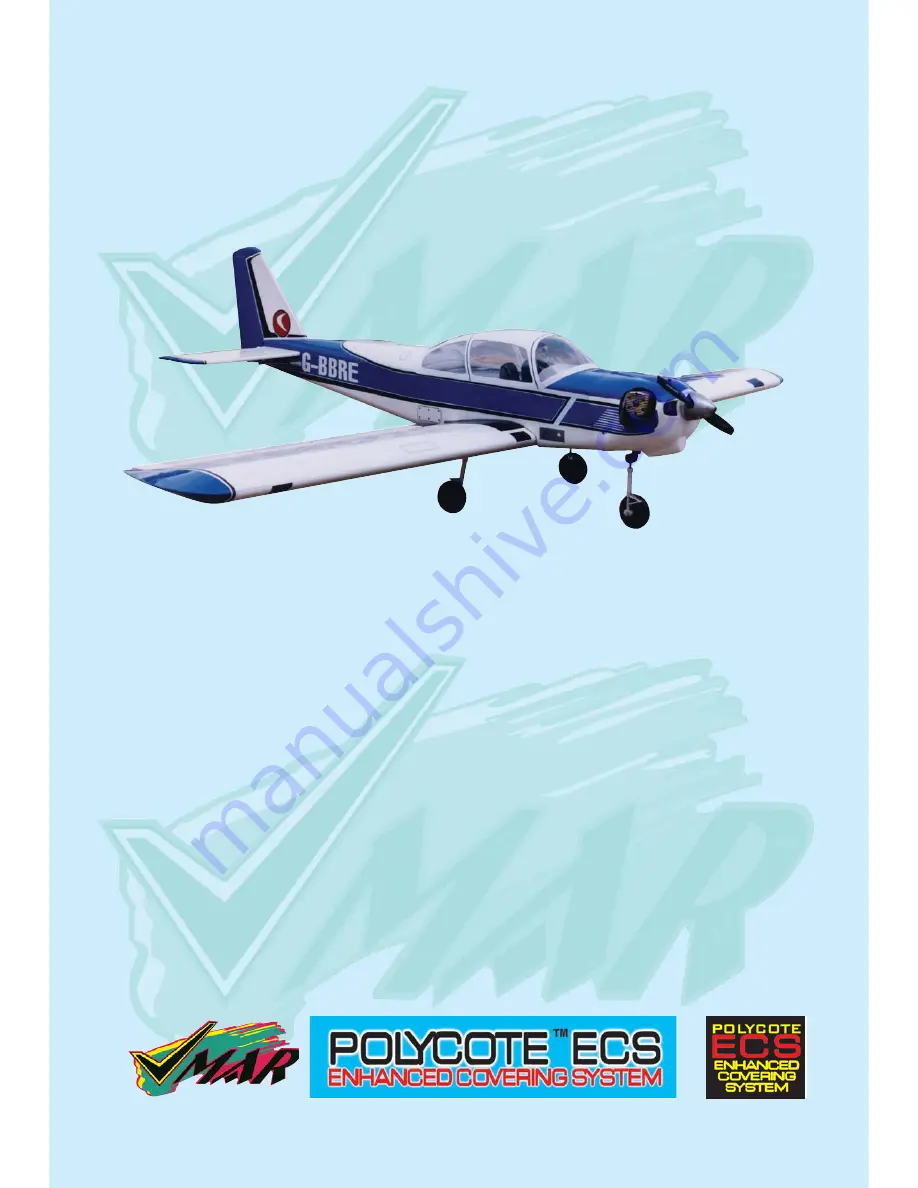
Richmond FUJI FA-200 Скачать руководство пользователя страница 1

FUJI FA-200

AERO SUBARU

SEMI SCALE SPORT MODEL

Assembly

and

Operations Manual

Please review this manual throughly

Before assembling or Operating

The

AERO SUBARU

Semi scale sport model

AERO SUBARU

We’ve used our ULTRA TOUGH POLYCOTE ECS Enhanced Covering System
for this Model

TM

Содержание FUJI FA-200

Страница 1: ...T MODEL Assembly and Operations Manual Please review this manual throughly Before assembling or Operating The AERO SUBARU Semi scale sport model AERO SUBARU We ve used our ULTRA TOUGH POLYCOTE ECS Enh...

Страница 2: ...t use 5 minute epoxy to join the wings 1 3 Apply CA glue to secure dowels into their places 1 4 Apply plenty of epoxy glue to the wing joiner 2 Trial fit the wing joiner into the wing panels It should...

Страница 3: ...the center line 2 1 Apply plenty of 30 minute epoxy glue 2 3 Slowly close the gap 2 4 Use tape to hold tightly together Once the glue has cured completely allow several hours at least the tape can be...

Страница 4: ...he aileron channel in the receiver Turn on the transmitter and then the receiver Center the aileron trim lever on the transmitter Remove the servo arm mounting screw and the servo arm Step 2 Mount the...

Страница 5: ...e receiver channel In the case of analog radios couple the servos together using a Y harness Step 8 Turn on your radio and activate the ailerons using the aileron stick and ensure a smooth full motion...

Страница 6: ...ER TICAL STABILIZERS To install the stabilizers to the fuselage you will need Fuselage Vertical stabilizer with pre installed rudder Horizontal stabilizer with pre installed elevator 7 1 The completed...

Страница 7: ...nd bottom of the tailplane using a water sol ublenon permanent felt tip pen as shown here 9 1 Mark the top of the horizontal stabilizer 9 2 and the bottom Now remove the horizontal stabiliz er using a...

Страница 8: ...lot Make sure that it is glued square to the horizontal stabilizer and fuselage FITTING THE VERTICAL STABILIZER WITH RUDDER 12 1 Trial fit the vertical stabilizer onto fuselage 13 1 Mark both sides of...

Страница 9: ...nding gear components shown below 2 main landing gear esemblies 2 main wheels 60mm x 20mm 8 sheet metal screws with 4 traps 2 collars 15 1 Main landing gear components 15 2 Turn over the wing to locat...

Страница 10: ...lage by removing the 4 nuts washers 17 4 Pitts type muffler is suitable for VMAX 46 and VMAX 52 17 5 Install the muffler to the engine and connect fuel lines 17 1 Power module with pre installed engin...

Страница 11: ...nose gear push rod to the EZ con nector 18 3 Slide the nose gear to the bearing passing through the steering arm Secure the steering arm to the nose gear by tighting the hex nut to the mark on the nos...

Страница 12: ...d throttle are Installed in the servo tray mounted in the fuselage Remove servo tray from the fuselage mounting the servos to the servo tray as shown 21 1 Universal servo mount 21 2 Note the orientati...

Страница 13: ...tighten collars securely CONNECTING THE PUSHRODS TO THE RUDDER Connect the rudder servo to the receiv er and turn on your transmitter Confirm that the neutral positions of the rudder servo are sustain...

Страница 14: ...ure that all trims are in their neutral posi tions Check that the ailerons elevator and rudder are centred If any adjustments are needed do these by uncoupling the relevant clevis and turning it clock...

Страница 15: ...tteries and range testing the system before and after each flight 31 3 Check that all controls are working correctly before and after each flight The CG for your AERO SUBARU is located at 80 to 85 mm...

Страница 16: ...rd party who knows how to fly and how to set up a model air craft 33 3 Once you have completed your first flight get in the habit of checking your model over before and after each flight Don t fly if...

Отзывы: