background image

26

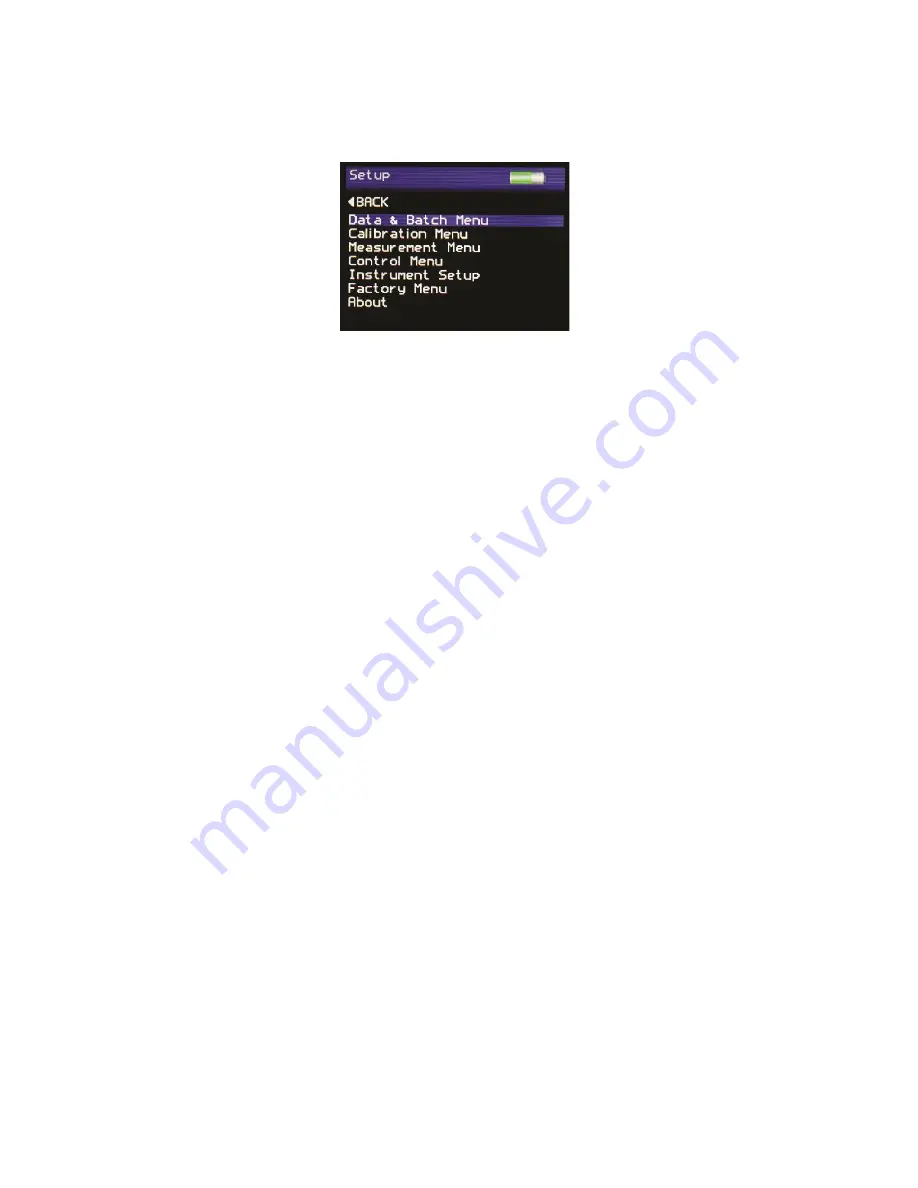
Instrument Setup Screen

The Instrument Setup screen is used to configure the instrument’s basic operating
environment to the user’s preference. Pressing the Up and Down buttons navigates
through the options, pressing the Enter button selects that option.

Selectable settings in the Instrument Setup screen are:-

Language – Set instrument language to English (default), Spanish, Italian, French,
German, Chinese.

Backlight – Set screen intensity to either 20%, 40%, 60%, 80% or 100% brightness.

Power Off – Set instrument to automatically power off after either 30sec, 60sec, 90 sec
or 120 sec or inactivity or DISABLE this feature.

Power Switch – Set On/Off button to switch the instrument ON ONLY, switch the
instrument ON & OFF, or set it to ON (Fn) to operate as a Function Select button.

Selecting the Power Switch to Function Select mode provides easy access to two
regularly used features, Rotate Screen and New Batch.

In the home screen, press and hold the On/Off button.

Pressing either the Up button will rotate the screen. Only one rotation is possible each
time the On/Off button is pressed.

Pressing the Down button allows a New Batch to be started, this action is either
Confirmed or Cancelled by selecting the required box when prompted using the Left
and Right buttons and pressing the Enter button.

Sound – Enable or disable button press sound

USB Charge – Set the USB charge current to either 500mA or 100/500mA.

Set Date & Time – Set the date and time on the instrument. Press the Down button to
set time. Pressing the Left and Right buttons selects the date or time and the Up and
Down buttons increment / decrement the value. Pressing the Enter button again saves
the value.

Pressing the Left button returns the display to the home screen

Содержание NG Flex 60

Страница 1: ...purchasing this Rhopoint product Please read these instructions carefully before operating this product and retain them for future reference The images shown in this manual are for illustrative purpo...

Страница 2: ...cts they reserve the right to change information included in this document without prior notice Copyright 2016 Rhopoint Instruments Ltd All Rights Reserved Rhopoint Novo Gloss and Rhopoint are registe...

Страница 3: ...peration 8 Menu Screen 11 Batching Options 12 Setup Screen 13 Calibration Screen 15 Calibrating the Novo Gloss Flex 60 16 Measurement Screen 18 Pass Fail Setup Screen 19 Control Screen 20 Bluetooth Co...

Страница 4: ...o the ambient temperature Ensure that the instrument is not exposed to moisture chemicals or any corrosive vapours Do not interfere or place any objects inside the measuring aperture as damage to the...

Страница 5: ...ces 10 70GU To improve the measurement performance on low gloss surfaces 0 10 GU the instrument has a GUh range gloss unit high resolution The GUh range gives x10 resolution and improved repeatability...

Страница 6: ...dapter Rhopoint NG Flex 60 measuring head and remote connecting cable BAM traceable high gloss calibration adapter including certificate BAM traceable low GUh range gloss calibration adapter including...

Страница 7: ...the instrument is in menu or operate mode as detailed in the operation sections that follow Label No Function 1 Measurement button 2 High resolution graphic display 3 Up Down Left Right buttons 4 Cali...

Страница 8: ...e to the lower current available from these devices the charge time would be a minimum of 6 8 hours Do not operate the instrument whilst it is charging Switching on the unit To switch on the unit touc...

Страница 9: ...ent data in either portrait mode Or landscape mode Note The Main Menu Statistics and Main Measurement screen are available in portrait view Other menus and graphs can only be accessed when the instrum...

Страница 10: ...he instrument keypad Pressing the right button in the home screen the NG statistics screen is shown for the current batch Memory must be switched on to access the statistics screen Label No Function i...

Страница 11: ...tics when in the NG statistics screen When pressing the up down buttons NG data can be displayed either all together or individually Pressing the up button in the NG graph screen accesses the gloss gr...

Страница 12: ...surement the no of measurements and statistics data updated to previous values Start new batch start new batch of readings batch name is incremented by 1 Clear current batch delete entire batch of mea...

Страница 13: ...o Viewing Batch Data To access the stored batch information connect the instrument to a PC using the USB data cable supplied A new device name NG METER can be viewed and accessed via MY COMPUTER in th...

Страница 14: ...button selects that option Data and Batch Menu Batch Data options See Data Batch Menu Screen Calibration Menu Calibration options See Calibration Menu Screen Measurement Menu Geometry setup See Measur...

Страница 15: ...99 by pressing the Left and Right buttons to select the relevant digit and the Up and Down buttons to increment decrement the value Pressing the Enter button saves the batch size If Batch names have b...

Страница 16: ...of the instrument a dialogue box being displayed upon completion to either Cancel or Confirm Calibrate to GU a traceable high gloss tile is used to calibrate GU ran GUh a traceable low gloss tile is...

Страница 17: ...te the instrument remove the measurement adapter and attach the calibration holder The instrument serial number on the calibration holder and instrument must be matched Place the measurement head and...

Страница 18: ...To field indicates which tile must be used for the calibration If the wrong range or tile is selected an error message is shown Cancel the calibration change the tile or range and begin the calibrati...

Страница 19: ...Enter button selects the required measurement frequency of either 2 5 or 10 seconds When auto measure mode is activated a dialogue box is displayed after the Enter button is pressed and before the be...

Страница 20: ...e right navigation button allows the user to edit the pass fail criteria Once the Pass Fail feature is enabled any measurement which falls between the max and min values will be considered a pass and...

Страница 21: ...uetooth Enables or disables Bluetooth Bluetooth Mode Selects Bluetooth data mode RC Not currently used for future use Data Basic data transfer mode transmits On Screen Parameters Pressing the Left but...

Страница 22: ...st be visible to allow pairing 3 If the Bluetooth icon is not visible enable it as detailed in Control Screen Ensure that Bluetooth mode is set to either Data or Data 4 In Windows go to START menu and...

Страница 23: ...rresponds to the NG instrument 7 Click Enter the devices pairingcode in the Add a Device screen 8 Enter the pairing code 0000 Make sure the NG remains switched on throughout this process to disable or...

Страница 24: ...h Data Widget Installation Instructions The Bluetooth BT Data Widget software supplied with the instrument is a mini program that converts transmitted measurement data into keystrokes that are automat...

Страница 25: ...o start 4 Click on the blue refresh arrow to search for paired NG s 5 The buttons are greyed out while the DATA widget searches for SWITCHED ON NG s that have been PAIRED to the PC 6 Look in the data...

Страница 26: ...ired 8 Click the tick to connect the instrument 9 The transmitter icon now appears on the NG All readings will now be automatically transferred to any open windows package Download example EXCEL sprea...

Страница 27: ...utton Selecting the Power Switch to Function Select mode provides easy access to two regularly used features Rotate Screen and New Batch In the home screen press and hold the On Off button Pressing ei...

Страница 28: ...er configurable settings available Pressing the Enter button returns the display to the home screen About Screen The About screen is for information only It provides information relating to the instru...

Страница 29: ...28 Notes...

Страница 30: ...Specification Colour Screen Adjustable brightness 6 button touch sensitive interface Construction All aluminium construction enclosure optics standard holder Integrated calibration holder with in pos...

Страница 31: ...om Internal battery USB USB mains charger Recharge Time USB mains charger 4 5 hrs Memory 8 MB 999 Readings User definable batching Data Transfer Bluetooth PC compatible USB connection No software inst...

Отзывы: