37
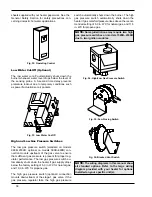
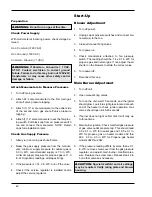
The optional single-try ignition module will lock out after
failing to light one time. To reset it, press and release
the small, recessed black push button located inside of
the cut-out on the lower right-hand corner of the igni-
tion module case (see Fig. 29). Turning off the power
to the heater WILL NOT reset the ignition module.
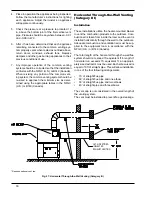
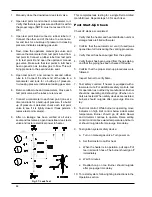
High Limit (Manual Reset)
The heater is equipped with a manual reset high limit
temperature device. Push the reset button and adjust
the setting to 40 - 50°F above desired operating tem-
perature.
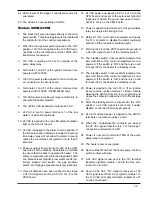
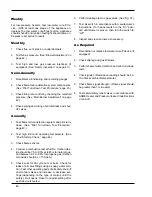
Flow Switch
This dual-purpose control, mounted and wired in se-
ries with the main gas valve, shuts off heater in case of
pump failure or low water flow.
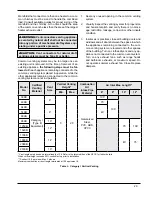
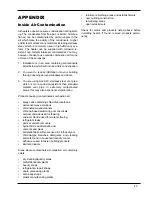
Operating Control
The heater may be equipped with different types of
operating controls. Consult the individual control data
Fig. 30: High Limit (Manual Reset)
Fig. 31: Flow Switch
Ignition Module
When additional heat is needed, the combustion air
blower starts to purge air from the combustion cham-
ber for about 15 seconds. On proof-of-air flow, the air-
proving switch closes and the igniter is energized. To
ensure safe operation, the gas valve cannot open until
the igniter is verified. The main burner is automatically
lit when the device is powered and pre-purged. The
heater performs its own safety check and opens the
main valve only after the igniter is proven to be capable
of ignition.
Code
Condition
On
System OK;
No faults present
Off
Possible control fault;
Check power
1 Flash
Low air pressure, brief
flashing normal on start-up
2 Flashes
Flame in combustion
chamber; No call for heat
3 Flashes
Ignition lockout
4 Flashes
Low igniter current
5 Flashes
Low 24 VAC, check control
supply voltage
6 Flashes
Internal fault;
Replace module
Fig. 29: Ignition Module
Table O: Ignition Module Diagnostic LED Codes
56. The stage 4 temperature controller contacts close.
57. Power is sent to gas valve 4.
58. The heater is now operating at full fire.
The standard ignition module will attempt to light three
times before locking out. To reset it, turn off power to
the heater, wait 30 seconds and re-apply power.
Reset button
on 1-try
module
Содержание Raypak Delta Limited 399B
Страница 23: ...23 Fig 21 2 Stage Wiring Connections Fig 22 3 Stage Wiring Connections Fig 23 4 Stage Wiring Connection...
Страница 39: ...39 Wiring Diagram Models 399B 1259B...
Страница 40: ...40 Wiring Diagram Models 1529B 2339B...
Страница 51: ...51 DIAGNOSTIC DETAIL 12 J 7 J 6 J 5 J 3 0 2 0 16 S 1 F 2 F 3 F 4 F BLOWER DETAIL...
Страница 53: ...53 13 J 8 J 10 J 11 J 4 J 2 J 3 J 6 C 14 J 9 J 1 J CONTROL BOX DETAILS...
Страница 57: ...57 ILLUSTRATED PARTS LIST MODELS 989B 2339B 10 J 3 O 5 O...
Страница 58: ...58 12 H 6 H 7 H 8 H 2 H 9 H 3 H 5 H 1 H 4 H 1 P HEAT EXCHANGER DETAILS BURNER ASSEMBLY DETAILS...
Страница 59: ...59 CONTROL BOX DETAILS 9 J 8 J 23 S 13 J 10 J 3 O 10 J 3 O 5 O FRONT SWITCH DETAILS...
Страница 66: ...66...
Страница 67: ...67 Raypak Inc 2151 Eastman Avenue Oxnard CA 93030 805 278 5300 Litho in U S A NOTES...


