4
➢
Configuration
Once the System is installed and wired properly the Antenna Controller is ready for setup and
configuration.
Correct configuration is the key to successful operation. You will need to connect the Antenna
Controller to a Computer to configure the system or you are planning on interfacing the Antenna
Controller to an iDirect or Hughes Modem a connection is required.
Even though the ACU-2 is a Stand-Alone Antenna Controller which does not require an Ethernet
connection to operate and find a satellite, there are too many possible configurations that may be
required that would be too time consuming to set up on a 2 Line LCD Display. These settings are
LNB LO, RF Frequency Band, Receive Polarity, DiSEqC and Tone settings, along with many others.
NOTE: If an Ethernet connection is not possible you could also set up the configurations by removing the SD
Card located on the rear of the controller and modify several configuration files. This type of configuration is
risky and could corrupt other files used in normal operation. Please contact RF Mogul if this type of setup is
necessary.
Turn on the ACU-2 Controller Power (Rocker Switch
–
illuminated) located on the front right side of
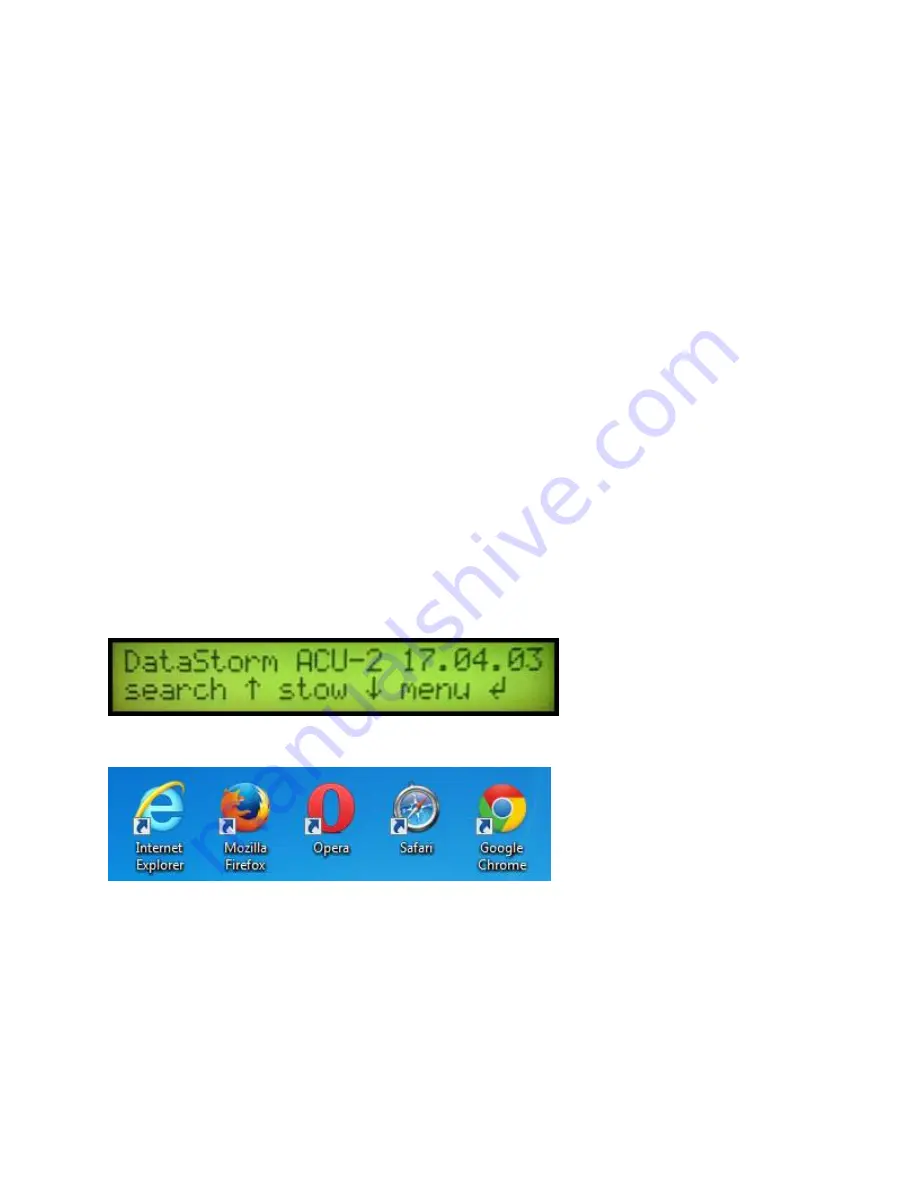
the controller. The LCD display should power on as shown below.
Open a Web Browser.
Enter the Controller IP Address.
The default is 192.168.1.250
. IF you cannot access the
Antenna Controller using this IP Address you can find the current IP Address using the Menu
Functions from the Front Panel. (see LCD Menus below for more information)
If you still have problems connecting you can bypass the router/switch by using a LAN Crossover
cable and setting your computer Network to 192.168.1.1 Once you are in the Antenna Controller you
will be able to change the controller IP Address in Network Settings.


