POP 2 3D Scanner
User Manual
COPYRIGHT ©2022 REVOPOINT 3D ALL RIGHTS RESERVED
22
If the 3D Model Preview window displays a "Lose track" notice during scanning, please re-target the POP 2 3D scanner to a
previously-scanned area (blue) and keep still for several seconds so that the POP 2 can re-acquire tracking. When the red
portion of the display changes to green, scanning can resume.
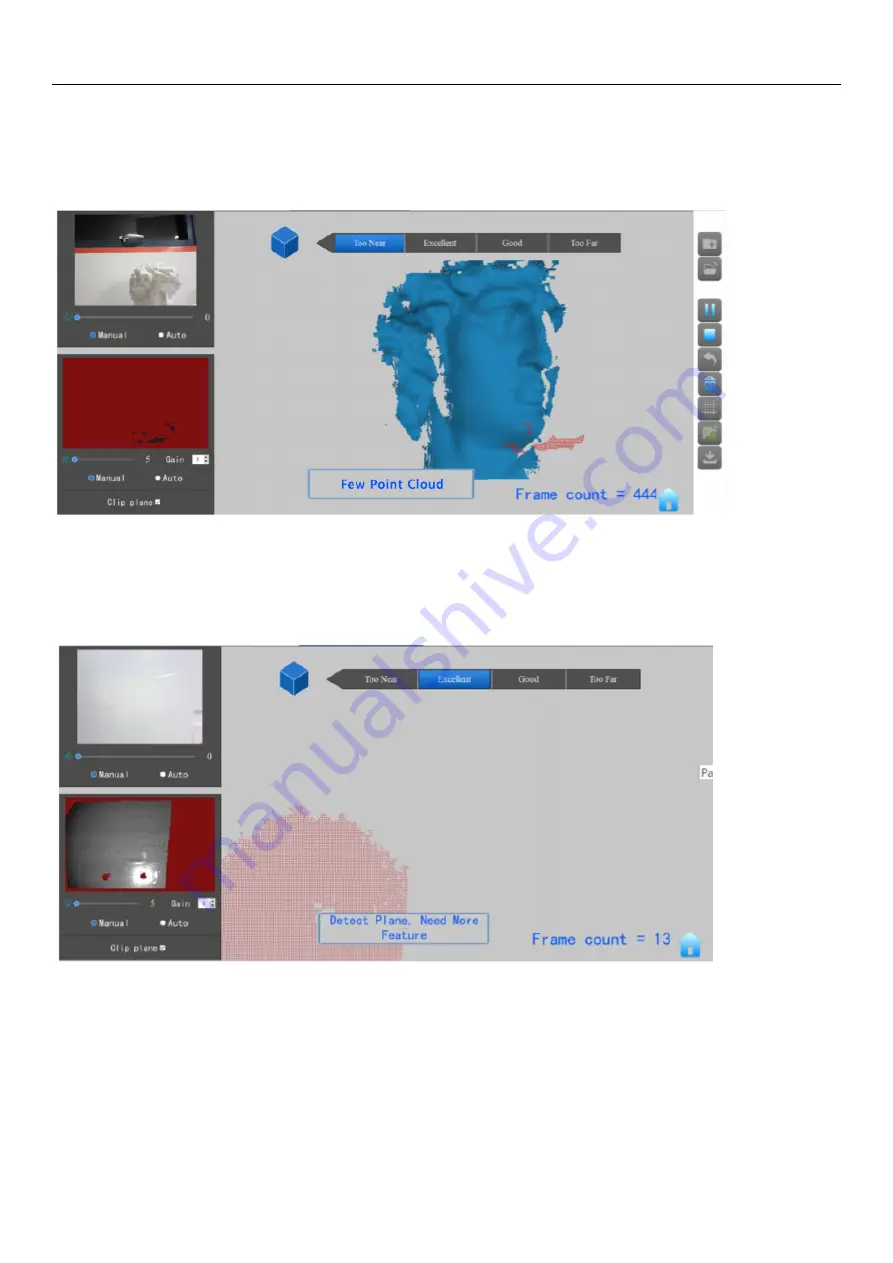
Too Few Points
If the "Few Point Amount" prompts appear, check whether the distance between POP 2 and the object is too close or too far
and adjust the distance between the POP 2 and the object so that the distance indicator highlights “Excellent” before
scanning is continued.
Detect Plane
This prompt appears when a plane or object with too few features is scanned and the POP 2 cannot properly relate the
frame’s point cloud to the other frames. If no usable data has been scanned, the best course of action is to Stop scanning,
select Restart to clear out the useless data, then start a new project, this time selecting Marker mode after attaching markers
to the scanning surface or the surrounding area to solve this problem. If a significant amount of scan data has been acquired,
then pause the scan, use Undo as necessary to eliminate the chaff, then Stop, Complete and Export the scan data before
continuing in Marker mode.


