41
Wireless NVR Kit Manual
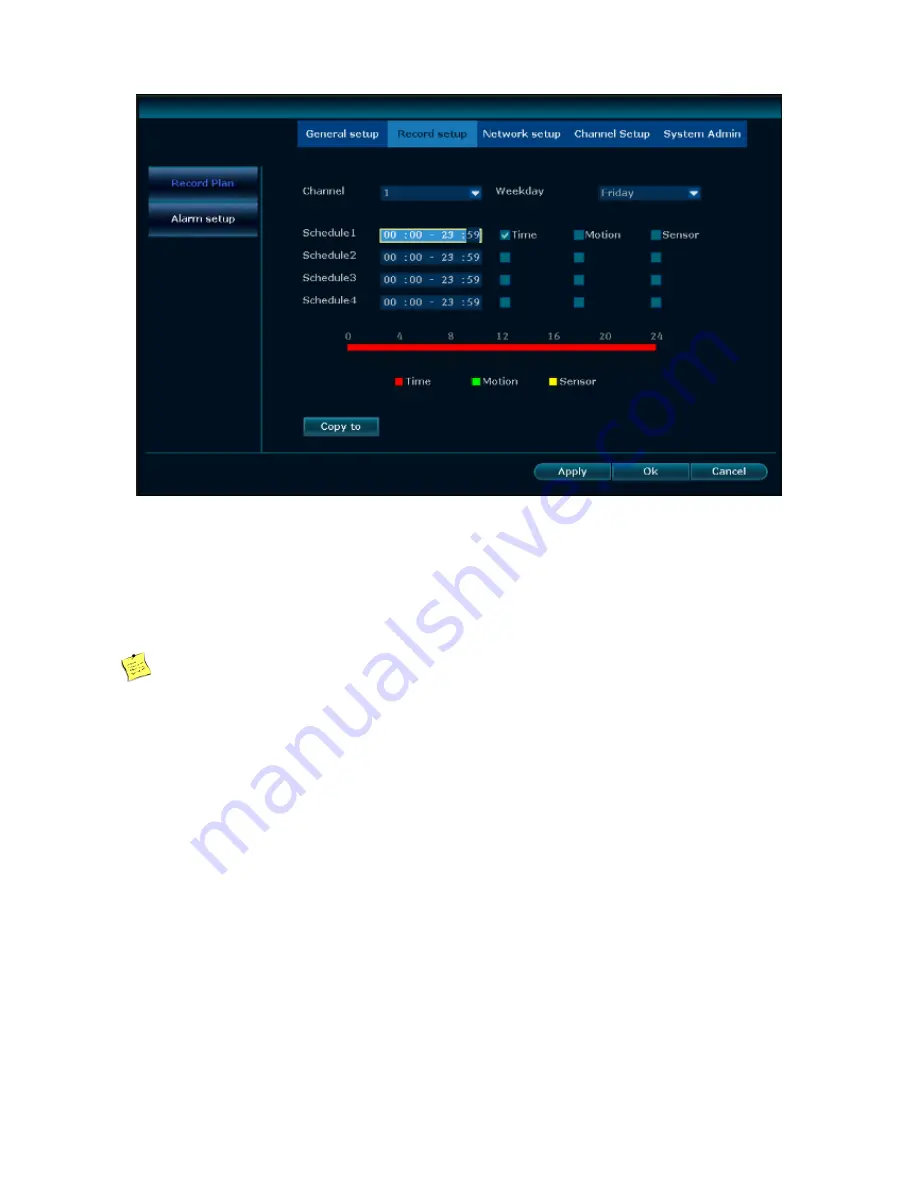
3, Use the drop-down box to select the channel and week which need to set the timed recording.
4, Set the time period for the scheduled recording, check the time check box.
5, If the other channels are the same as the channel recording schedule setup, click "Copy to" and check the other
channels or all to copy the setup of the channel to other channels.
6, Click the "Apply" button to save the setups.
Explanation
Time video can be set to a total of four video time periods the user can set according to their own needs. If
you need 24 hours recording, you only need to set the time period 1 from zero to 24 o’clock, other time
periods do not need to be set.
The time period set by the user will be displayed in color bar. User can visually see whether the set time
period meets their own needs
。
4.6.3 Motion detection recording
Function explanation
:
Set the motion detection video, the system will record when detecting the movement of
objects.
Steps
:
1
、
Right click on the main interface and select System Setup from the shortcut menu.
2
、
On the System Setup screen, click Video Setup and select the recording schedule.
3
、
Select the channel and the week that needs motion detection.
4
、
Check the motion checking box.
5
、
Set the motion detection area and sensitivity, the specific steps are as follows
:


