42
4.3 Setting Cube Servo and Sensor IDs
Every Cube Servo and Sensor has its own ID. Cube Servo and sensor are preset with ID, however user can still
change the ID to a preferred number and re-label it with the sticker provided. User will need to make sure that all
the Cube Servo or Sensors connected to a rero controller must has different ID, else communication error will
occurred and rero controller will not be able to detect the connected Cube Servos Sensor.
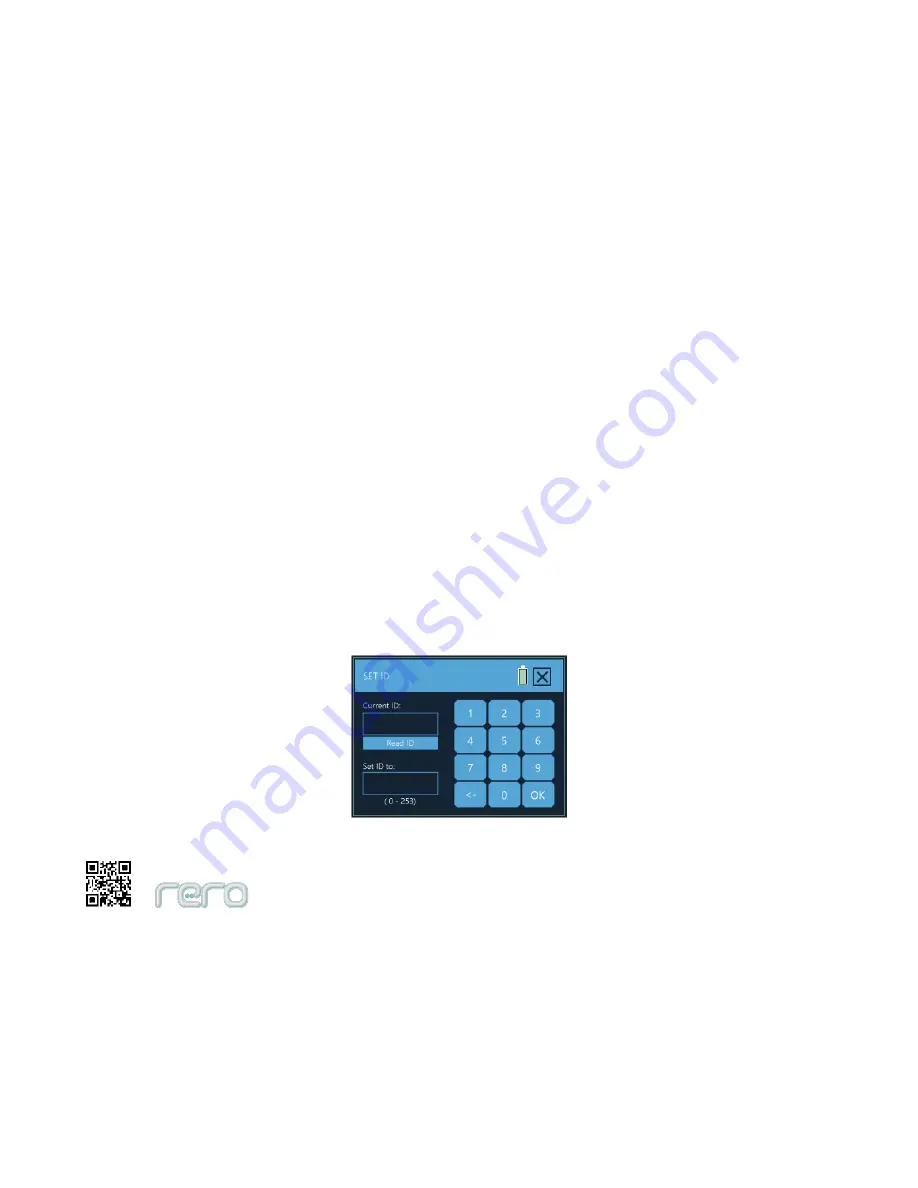
To change the ID, user must connect only one Cube Servo or only one sensor to rero controller. Go into SET ID
menu of rero controller and key in the ID that you want to set and press ‘OK’ button to set the ID. User can press
‘Read ID’ button to get the current ID of servo or sensor. Remember to change the ID sticker and label it with correct
ID after changing the ID. There are spare stickers provided for this purpose which comes together with rero robotics
kit.
Set ID menu
Содержание rero2.0
Страница 1: ...User s Manual Robot Construction Kit rero2 0 Cytron R D MSC Sdn Bhd ...
Страница 25: ...22 Step 4 Close the cover and lock back the controller cover by turning the thumb screw clockwise ...
Страница 54: ...51 Follow the direction marking when connecting Cube Servo to joints Direction Mark ...
Страница 56: ...53 ...
Страница 58: ...55 ...
Страница 61: ...58 Figure below shows example of using Adaptor Joint to connect a Cube Servo to rero controller ...
Страница 65: ...62 Release rero Cube joint from Interconnect Release rero Interconnect from Cube Joint slot ...
Страница 66: ...63 Release rero claw from Cube Servo ...
Страница 68: ...65 rero Daisy Chained Connection ...
Страница 69: ...66 Wrong or Broken Daisy Connection ...
Страница 99: ...96 rero remote Bluetooth Connection rero Remote main screen Battery Status Bluetooth Status ...


