41
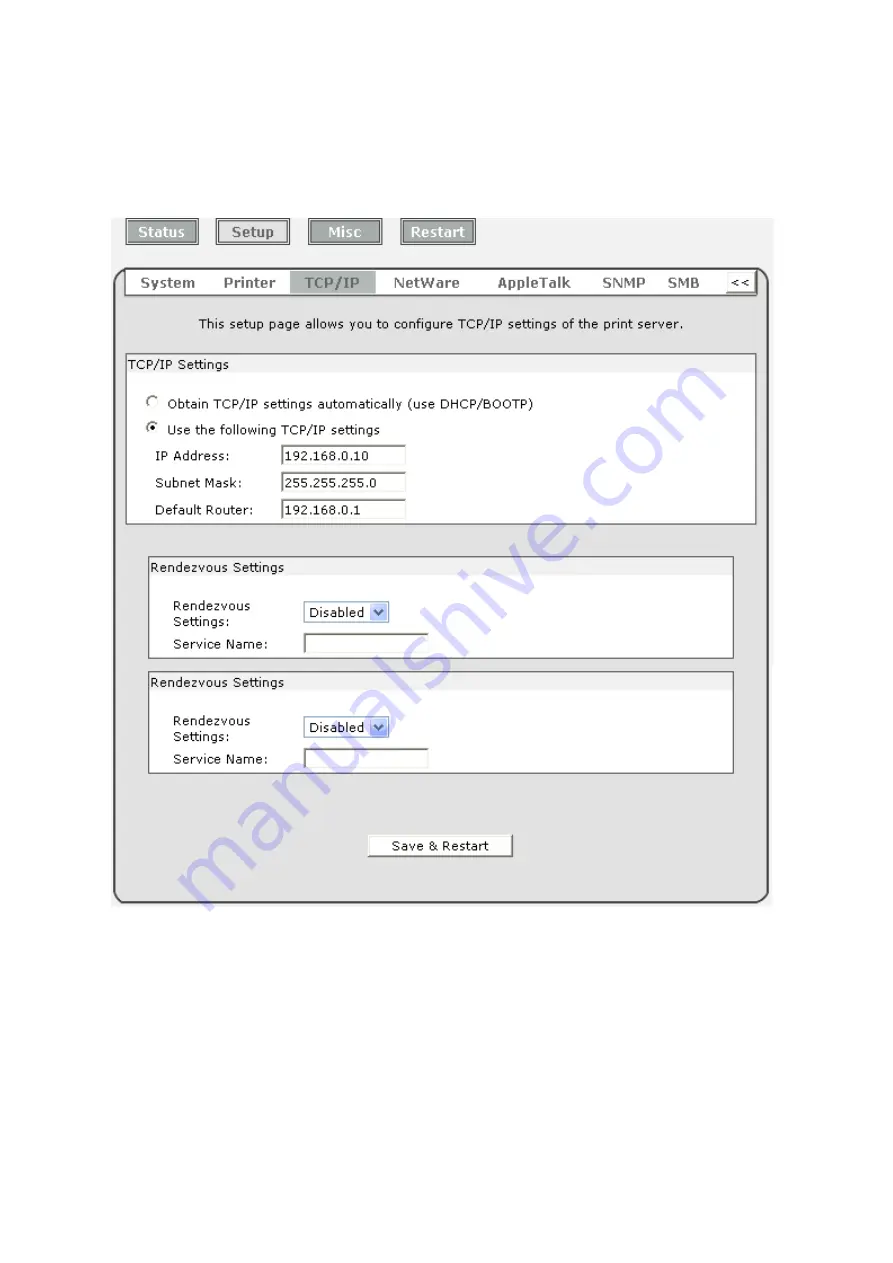
TCP/IP Setup:
1. Click
Setup
, it then appears the sub-menu.
2. Click
TCP/IP
, it then as shown in the following picture.
DHCP/BOOTP:
This option allows you to select DHCP/ BOOTP option.
If there is a
DHCP/BOOTP server on your network. This option allows the print server
to obtain IP-related settings automatically from your DHCP server.
IP Address:
This option allows you to input IP address from the print server. The IP address
must meet the IP addressing requirements of the network segment.
Note:
On the TCP/IP Setup screen, specify a fixed IP address is highly
recommended.
Содержание RP-2801
Страница 6: ...6 Reset Button To printer Network Environment Wired Network with Print Server ...
Страница 11: ...11 ...
Страница 17: ...17 16 Right click select Properties Ports and verify that the print server s port appears ...
Страница 64: ...64 13 Choose the model of printer and click Forward 14 Done ...
Страница 67: ...67 4 Click Browse and select the firmware file 5 Click Upgrade 6 Done ...
Страница 75: ...75 3 Click Add ...
Страница 78: ...78 2 Now you can find the print server from the SMB workgroup of Windows Then double click it ...
Страница 79: ...79 3 Double click it again 4 Now you have to install the printer s driver ...
Страница 80: ...80 5 Choose it from the Add Printer Wizard 6 Install printer successfully ...
Страница 82: ...82 Subnet Mask 255 255 255 0 Reset Button To printer ...


