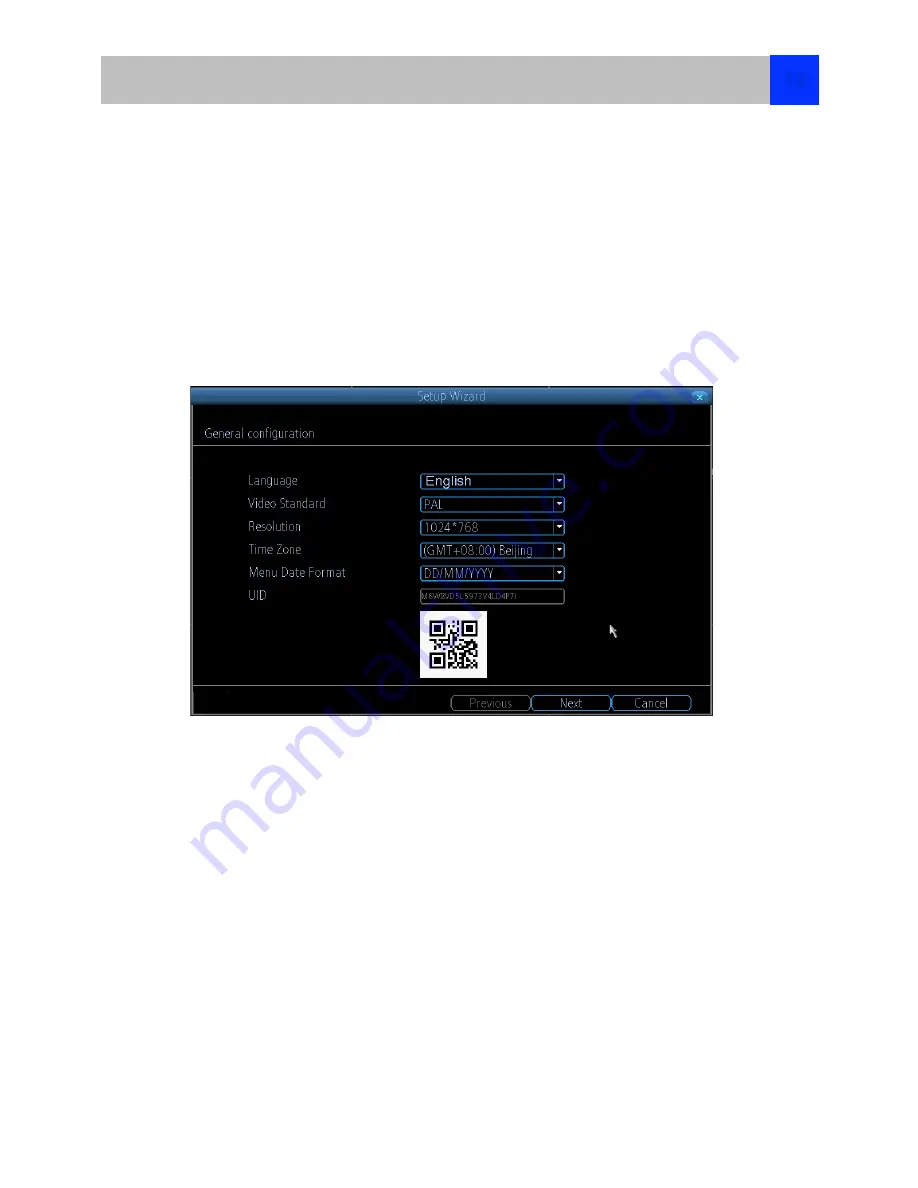
The Setup Wizard will run automatically the first time you start the NVR.
The wizard will guide you through all the settings you need to get your NVR up and working, specifically:
•
Choosing your Language
•
Setting Video Format and Resolution
•
Setting the Date Format and your Time Zone
•
Configuring your email account settings so that the NVR can send you alerts and the NVR UID
•
Synchronizing the NVR’s time with an online server
•
Choosing the settings for Daylight Savings Time (DST)
•
Changing the NVR’s Admin account default password
General Configuration
Language:
Choose the language you’d like the menu system to be displayed in.
Video Standard:
Choose between
NTSC
(USA, Canada, Mexico, Japan, Korea and some other regions)
or
PAL
(UK, Europe, Australia and some other areas). If this is set incorrectly, images from your cameras
will be distorted, black and white.
Resolution:
How many pixels the NVR will output. Typically, you’ll want to set this to be equal to the native
resolution of your monitor/television.
Time Zone:
Choose the time zone you’re in. It’s really important to select the right time zone if you’re using
NTP (Network Time Protocol).
Some common time zones:In the USA
EST (EasternStandardTime) is GMT-5:00, PST(PacificStandardTime) is GMT-8:00.
UK is GMT +0:00, and the East Coast of Australia is GMT +10:00.
Menu Date Format:
How you’d like the date to be displayed.
UID:
This is the NVR’s
U
nique
ID
entifier number which will be used later to connect your PC or
SmartPhone to the NVR using Reolink p2p technology.
Setup Wizard : General
12


