18
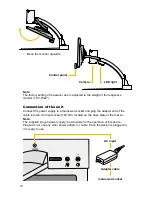
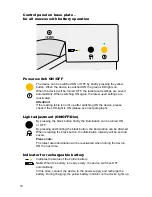
Central button:
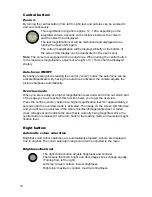
Zoom +/-
By turning the central button (from left to right) text and pictures can be zoomed in
and out continuously.
The magnification range from approx. 1x - 100x, depending on the
integrated camera, depends on the distance between the camera
and the object to be displayed.
The last magnification set will be memorized and displayed when
turning the mezzo ON again.
The current magnification will be displayed briefly at the bottom of
the screen (this display can be deactivated in the user menu).
Note:
The camera is equipped with an auto-focus. When turning the central button
to the maximum magnification, objects of a height of (>)
15 cm shall be displayed
sharply.
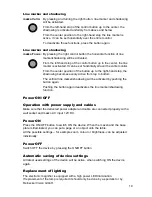
Auto-focus ON/OFF
By briefly pressing and releasing the central (“zoom”) button the auto-focus can be
activated/deactivated. By having the auto-focus activated, the camera adjusts the
picture sharpness automatically..
Overview mode
When you are reading at a higher magnification level and want to find out which part
of the page you have reached, this function helps you to get the overview.
Press the central („zoom“) button at a higher magnification level for approximately 2
seconds until the overview mode is activated. The image on the screen will minimise
and you will see an overview of the whole document/image/printed text. A faded
cross will appear and indicate the area that is currently being magnified. Once the
central button is released it will return back to the reading mode and selected magni-
fication level.
Right button:
Automatic colour saturation
Brightness and colour saturation are automatically adjusted, colours are displayed
true to original.
The colour saturation range can also be adjusted in the menu.
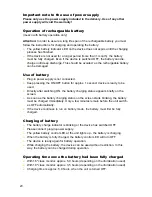
Brightness/Contrast
The right control button adjusts brightness and contrast.
That means that both, bright and dark image zones change equally.
(Turning from left to right).
Left stop: lowest contrast, lowest brightness
Right stop: maximum contrast, maximum brightness

