16
17
15180-101 Rev. F
15180-101 Rev. F
Instrument Setup
(continued)
Instrument Settings
(continued)
Practice Screen
The Practice Screen allows you to enter a business name or other message that will automatically print
with the patient data.
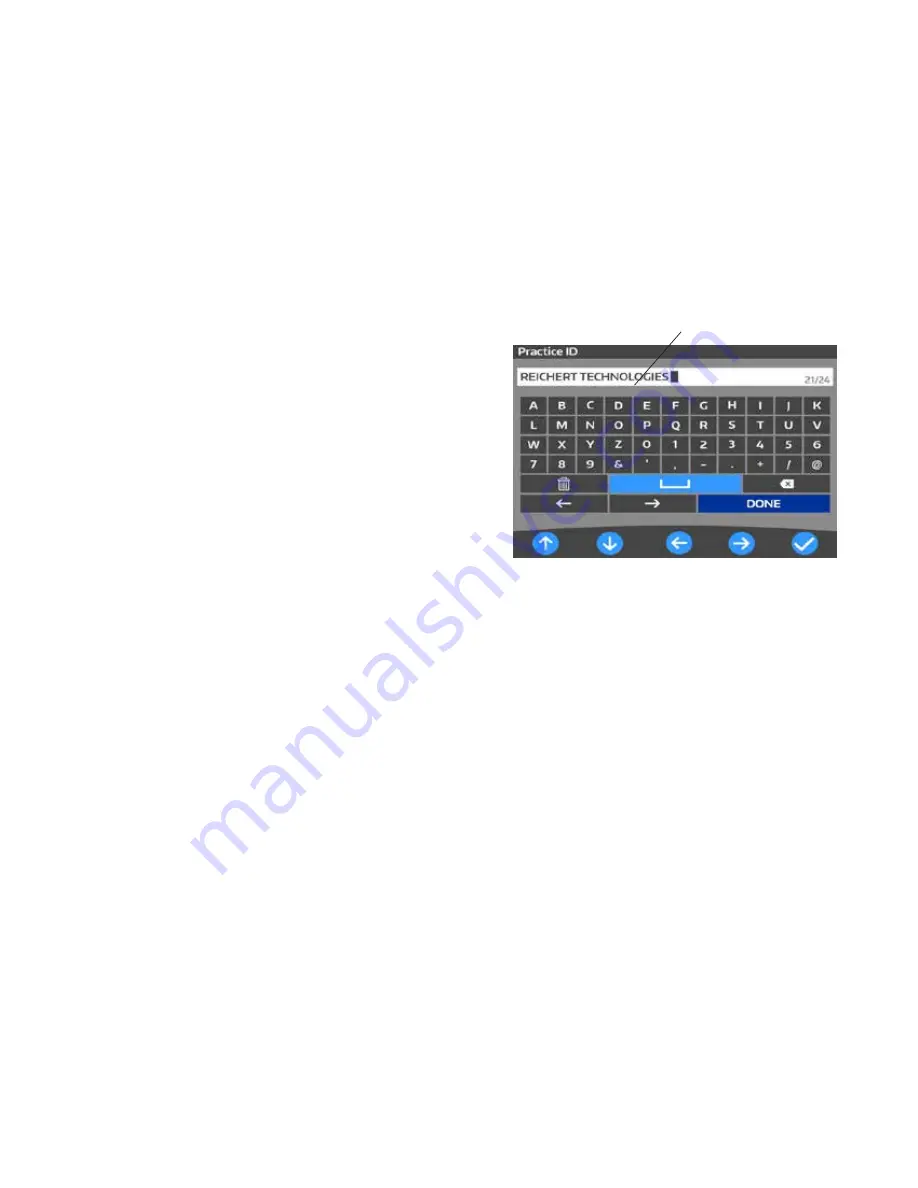
Creating a Message
1. On the Practice ID screen, press the blue UP,
DOWN, RIGHT, or LEFT icons to highlight the
character that you want to appear in the text
box.
2. Select the ENTER icon. The selected
character will appear in the text box.
Refer to Figure SU-14.
3. Repeat Step 1 and 2 until you finish your
message.
4. When you are finished, highlight DONE and
select the ENTER icon to save your message
and return to the Setup Screen.
5. This Practice ID will now print out with the
patient data when you select YES under
Display ID# in the Setup Screen.
Editing Characters in a Message
1. On the Practice ID screen, use the left and right arrow icons in the main selection area, to
highlight the character
in front of
the character you want to change in the text box.
2. Use the UP, DOWN, RIGHT, or LEFT icons to highlight a replacement character from the grid,
then select the ENTER icon. The character will be inserted
behind
the highlighted letter. Refer
to Figure SU-13.
3. Repeat steps 1 and 2 for each character that needs to be changed.
Deleting Characters in a Message
1. On the Practice Screen, use the LEFT, RIGHT, UP, or DOWN icons to highlight the character
in
front of
the character that needs to be deleted. Select the CLEAR icon, located above the DONE
icon.
2. To erase the entire message and start from the beginning, use the UP, DOWN, RIGHT, or LEFT
buttons to highlight the CLEAR icon, and select it. The entire message will be deleted.
Figure SU-14 ID Screen
Text Box


