44
|
Regency
®
E18 Gas Fireplace Insert
|
44
installation
STEP #4: SURROUND INSTALLATION
919-216
12/11/12
1
E18
SURROUND INSTALLATION
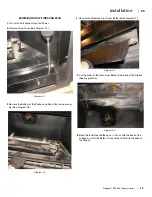
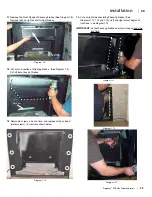
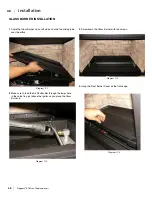
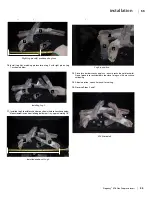
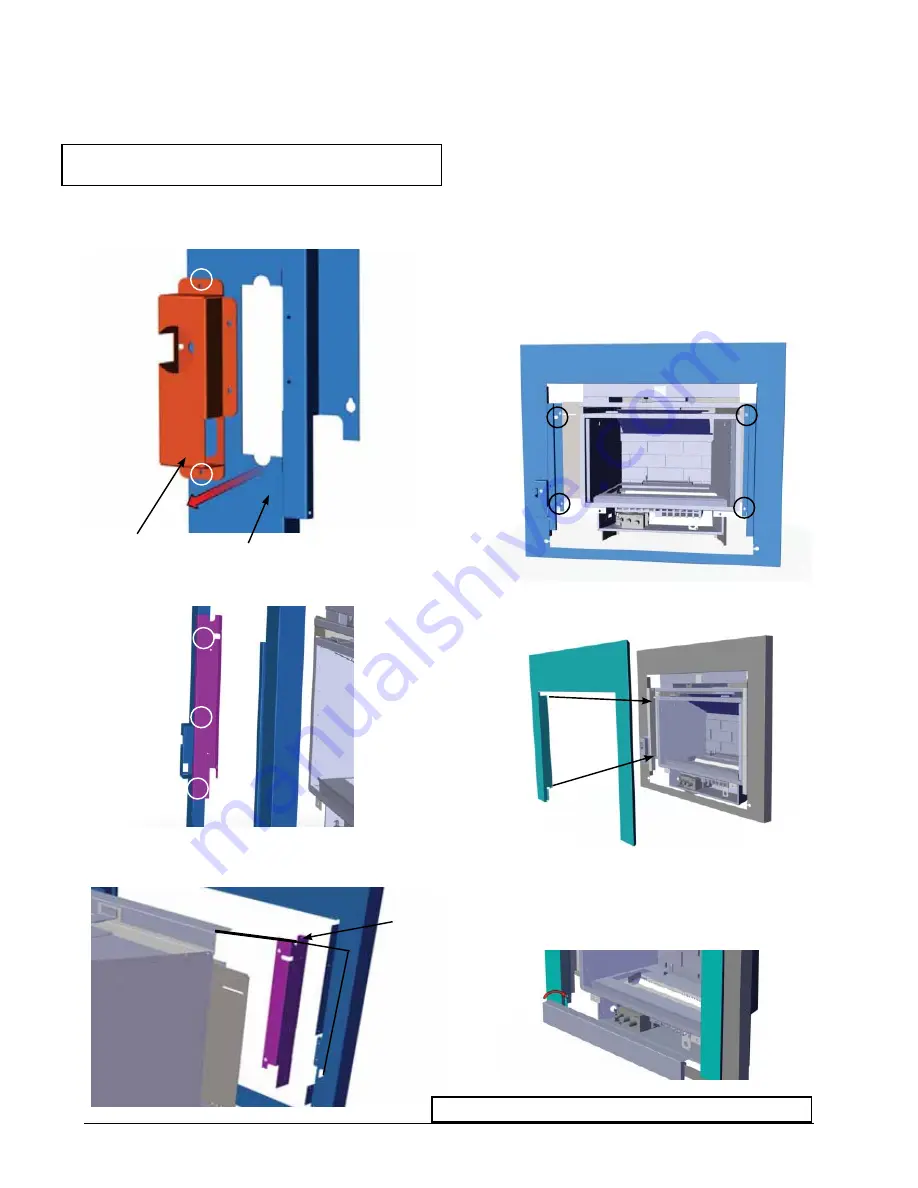
1. Remove glass door from unit (see instructions in manual).
2. Remove control box from rear surround by removing 2 screws.
Disassemble control box, insert switches; reassemble.
3. Remove left mounting bracket by removing 3 screws.
Control Box
Rear surround
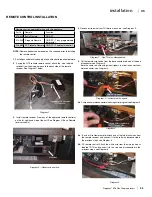
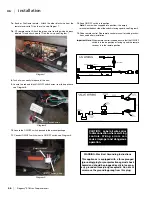
4. Run wire from unit through notch in mounting bracket and then
to control box as shown below.
5. Attach control box to left mounting bracket with 2 screws - reat-
tach mounting bracket.
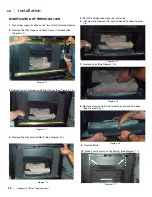
6. Tuck wire harness on left top groove and secure with wire clips.
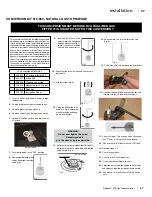
7. Feed power cord through left grommet. (If power outlet is on
the right side of the unit, feed power cord through right grom-
met and use wire clips to secure power cord inside the unit).
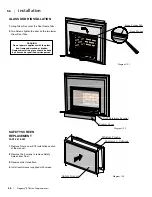
8.
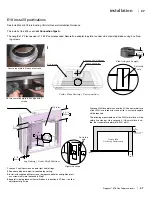
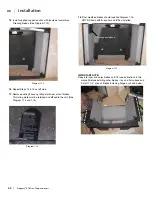
Secure backing plate with mounting brackets to outer box by
screwing 4 self tapping screws on fl anges.
10.
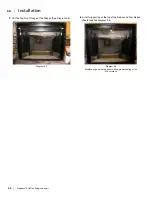
Reinstall glass door (see instructions in manual).
11.
Install control cover, adjust horizontal alignment by sliding
control cover to ensure even spacing on both sides. Ensure
control cover is seated down all the way.
9. Attach front faceplate with 4 screws (2 on each mounting
bracket). (Touch up screws with provided black paint, after
install.)
Notch in
mounting
bracket
Diagram 10.5
Diagram 10.6
Diagram 10.7
Diagram 10.8
Diagram 10.9
Diagram 10.10
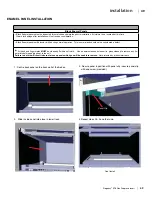
ONLY TRIM KIT SUPPLIED BY THE MANUFACTURER SHALL BE
USED IN THE INSTALLATION OF THIS APPLIANCE.
DRAFT RELIEF OPENINGS MUST NOT BE COVERED OR BLOCKED.
Содержание E18-LP
Страница 1: ......
Страница 74: ...Regency E18 Gas Fireplace Insert 73 73 notes ...
Страница 75: ...74 Regency E18 Gas Fireplace Insert 74 notes ...

