Regency
®
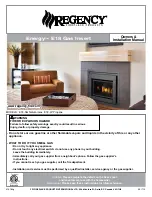
E18 Gas Fireplace Insert
|
13
13
|
installation
919-262a
06/12/13
1
E18
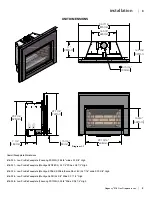
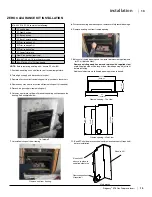
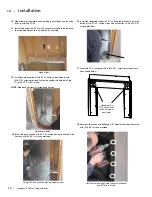
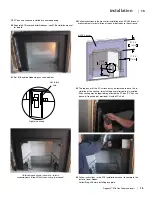
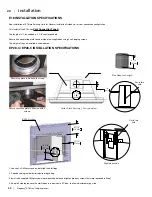
ZERO CLEARANCE KIT INSTALLATION
35-9/16"
(903mm)
41"
(1042mm)
14-1/2" (369mm)
36"
(914mm
)
32-1/2" (825mm
)
37-13/16
"
(961mm)
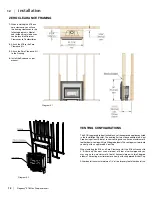
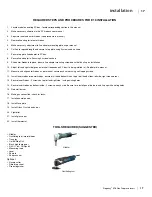
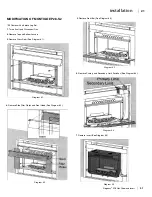
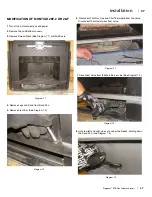
1. Shut down existing unit and allow to cool to room temperature.
2. Turn off gas supply and disconnect electrical.
3. Remove all accessories from existing unit, ie. glass doors, louvers, etc.
4. Remove any tiles, hearth or surround from existing unit (if required).
5. Disconnect gas supply from existing unit.
6. Cut away a perimeter of drywall around the existing unit to expose the
framing. See example below.
7. Uninstall existing unit from framing.
8. Disconnect venting from existing unit - remove carefully to avoid damage.
9. Remove existing unit from framed opening.
10. Measure framed opening and compare to dimension requirements
for ZC kit (noted below).
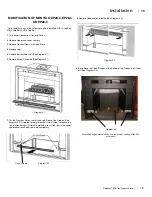
Remove existing wood header and replace with supplied steel
stud. Supplied stud will be longer than framed opening, adjust to fi t
before installing.
Additional adjustments to framed opening may be required.
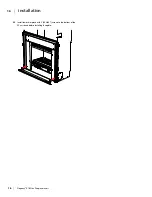
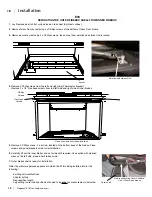
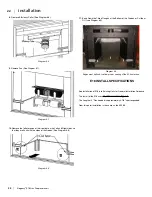
11. Bend ZC kit side pieces as shown and remove knockouts (if required)
before installation.
Bend to 90º
secure in place to
supplied steel stud
Remove knockouts
(if required)
Bend to 90º
616-900 E18 ZC Kit contains the following:
1
ZC Left Section
1
ZC Right Section
1
ZC Base Section
1
ZC Back Center Section
1
ZC Trim surround LH
1
ZC Trim surround RH
1
ZC Trim surround Top
1
ZC Lower Trim piece
1
Steel Stud header (required)
26
(904-897) #8 x 9/16" black wafer screws
25
(904-576) #8 x 1/4" Phillips screws
NOTE: Before removing existing unit - ensure ZC kit will fi t.
Framed opening - Top View
Framed opening - Side View
Cut drywall
Remove unit from framing
Side pieces
ZERO CLEARANCE KIT INSTALLATION
Содержание E18-LP
Страница 1: ......
Страница 74: ...Regency E18 Gas Fireplace Insert 73 73 notes ...
Страница 75: ...74 Regency E18 Gas Fireplace Insert 74 notes ...


