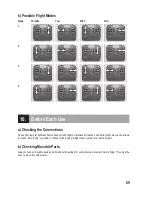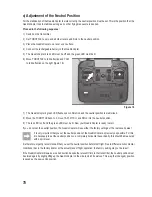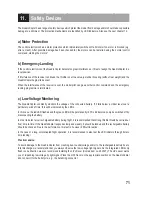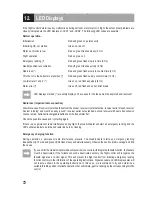
63
b) Programming of Transmitter Channels (General)
Before you begin programming, unplug the rechargeable battery, if connected, from the QuadroCopter. Also disconnect
the connection cable to the PC, if connected, from the QuadroCopter.
The desired modes are set with the DIP switches 1 - 6 (also see figure 17). Switch the corresponding switch to „ON“ for
this.
The following switch assignments are possible:
1 Parameter „Sport-Mode“
2 Parameter „User-Mode“
3 Bootloader mode
4 RC confirmation mode
5 No function
6 No function
To programme the remote control, set the DIP switch 4 to „ON“.
Independently of what remote control mode (mode 1 - 4, also see chapter „Possible remote control modes“)
you want to teach in you have to observe the following order of channel assignment and the signals of the
red LED „LED2“.
During the programming process, please ensure that you only move the required lever, otherwise the
setting will not be recognised!
Switch on your transmitter now. Please ensure that all levers and trims of the transmitter are in neutral position. The
examples given show the procedure using a remote control in mode 2. If you prefer to use another mode, the used
axes may differ (see chapter „Possible Flight Modes“)!
Please also ensure that the slider for the trim is set to neutral position! Otherwise correct recognition of the channels
will not be possible! Please also ensure that lever movements are made in the right direction, otherwise the signals will
be memorised in reverse! Computer remote controls should always be operated without mixer!
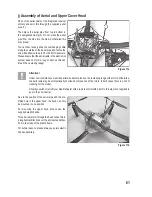
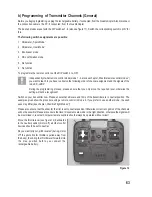
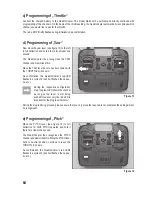
Move the throttle lever (see figure 12) backwards
to the neutral position (motor off), all other control
devices should be set to neutral.
Do you want to try out „pitch reverse“ (during „motor
off“ the pilot stick for throttle is pulled away from
the body), then bring the throttle lever forwards into
the max. position before you connect the
rechargeable battery.
Figure 12
Содержание 450 ARF QC09
Страница 166: ...166 ...
Страница 167: ...167 ...

