background image

reebokfitnessequipment.com

TT1.0/TT2.0/TT3.0

20

21

Console User GUide

pairing via BlUeTooTh


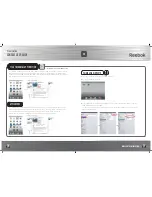
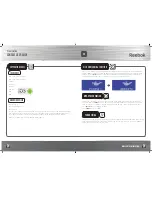
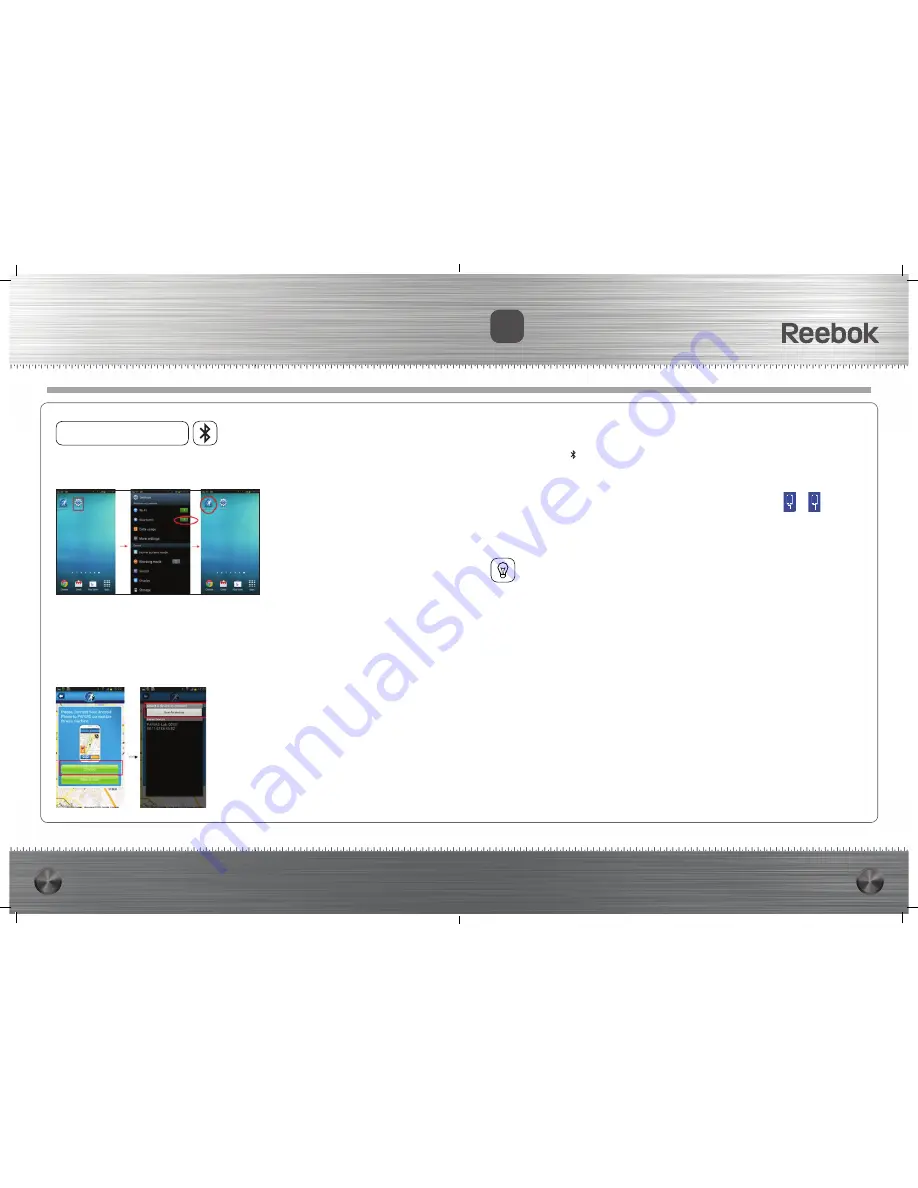
Place the Tablet on to the holder of Treadmill console.

2

 Enter tablet Settings and open 

Bluetooth

 feature.

3

 Press “

HOME

” page button to go to desktop and open the related Pafers APP that downloaded from 

Play Store.

4

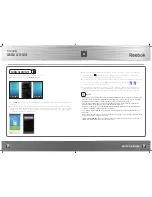
 Once the APP is open the treadmill will detect it.  The connecting option page will open in the APP, 

press Connect and the Android device will detect all Bluetooth devices within range. Locate the TT3.0 
Treadmill and select to pair. *If for any reason you do not recognise the name of the Treadmill please 
contact your local office for further advice*.

Please wait for a few seconds until the status of the device changes to ”connected”, then check 

if the Bluetooth icon    is showing on the top right hand corner of the device.  If connected 
successfully this will turn white, if not connected it will remain grey.

After Bluetooth is connected successfully for 10 seconds, the symbol of mobile device connection 

status on the bottom right corner of treadmill console screen will change from       to       and 
console will beep to confirm the connection.

Once finished using the APP you will need to close it completely, please close used APP in the 

background. Then please go back to Android tablet Settings page to close Bluetooth function. 
After approximately 10 seconds the computer beep and will return to the regular LCD operation.

NOTES

• After pairing successfully, please start treadmill APP within 2 minutes. If App is not started within 

2 minutes or the distance between tablet and treadmill is over 2meters, the connection will be 

interrupted automatically. To resume the devices will need to be paired again.

• The operation and function of every APP are different, please contact dealer or visit Pafers 

website for APP instructions, attentions and function introduction. 

• APP will not change the unit of Metric/English automatically, when the unit between APP and 

console are different, please switch the unit in APP.

•  The software will be updated or a new APP will be launched on an unfixed schedule (Refer to 

APP store)

• APP contains the functions set out in this document, we suggest users use 3G or Wi-Fi network 

in order to enjoy the complete functions.
FITNESS MANAGEMENT Register your personal account in APP and sign in, you can record or 

review your fitness data for every exercise session.  

UK

UK

Содержание TT1.0

Страница 1: ...UK TITANIUM CONSOLE USER GUIDE TT1 0 TT2 0 TT3 0...

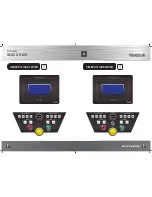
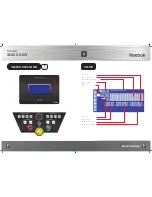
Страница 2: ...reebokfitnessequipment com TT1 0 TT2 0 TT3 0 2 3 Console User Guide Titanium TT1 0 Console Buttons TitaniumTT2 0 Console Buttons UK...

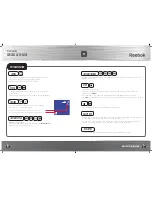
Страница 3: ...m TT1 0 TT2 0 TT3 0 4 5 Console User Guide 1 Calories 2 Program Levels 3 Heart Rate Training Zones 4 HRC Age 5 Time 6 Speed 7 Incline level 8 Weight Distance 9 Information Display TitaniumTT3 0 Consol...

Страница 4: ...The clip on the other end of the safety key must be attached to the user at all times during your workout to ensure the machine stops immediately in the event of an emergency USB Input To connect i po...

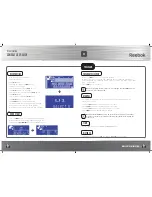
Страница 5: ...handlebar controls Program selection Rotate the i Drive button to select required program MANUAL P1 P2 P3 P4 P5 P6 RANDOM 1 BASIC RANDOM 2 NORMAL RANDOM 3 ADVANCED RANDOM 4 HIGH LEVEL USER H R C 60 H...

Страница 6: ...et program profile Select P2 using the i Drive button and press to confirm Select intensity level using the i Drive button and press to confirm P2 has a preset intensity level the range is 1 10 Enter...

Страница 7: ...l maximum heart rate 220 age Maximum heart rate Rotate the i Drive button to adjust the desired workout time range is 20 00 99 00 minutes and press to confirm The display will then indicate the goal B...

Страница 8: ...calculated at 120bpm 190 max HR 63 Use the i Drive button select BODY FAT Press i Drive to confirm The program will use the personal data Gender Height Weight from the profile being used see user pro...

Страница 9: ...s an i Pod pad connection wire via a USB port on the computer the user can place the i Pod Pad onto the treadmill computer and connect directly This will allow the user to use the device functions whi...

Страница 10: ...rs treadmill APP downloaded from iTunes Store 7 Once the APP is opened the Treadmill and software will pair When they are connected successfully the APP features screen will be unlocked you can use ev...

Страница 11: ...and console will beep to confirm the connection 7 Once finished using the APP you will need to close it completely please close used APP in the background Then please go back to Android tablet Setting...

Страница 12: ...n Bluetooth function search the treadmill device name and pair again 6 After pairing successfully re start the Pafers APP If the problem is not resolved check if the Bluetooth device is correctly pair...

Страница 13: ...measurements KPH Press speed key to change the unit Press i Drive button to confirm Power saving This product is manufactured in compliance with the Erp Regulations and is fitted with a power saving...

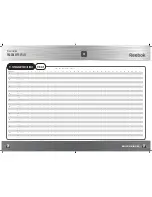
Страница 14: ...1 0 KPH 1 6 2 4 3 2 3 2 3 2 3 2 3 2 3 2 3 2 3 2 3 2 3 2 3 2 3 2 3 2 3 2 3 2 3 2 3 2 3 2 3 2 3 2 3 2 3 2 3 2 3 2 3 2 3 2 2 4 1 6 P6 ELEVATION 0 0 1 0 1 0 1 0 1 0 1 0 4 0 1 0 1 0 1 0 1 0 4 0 1 0 1 0 1...

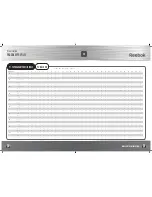
Страница 15: ...6 6 4 9 6 6 4 9 6 7 2 9 6 7 2 9 6 7 2 9 6 7 2 9 6 6 4 9 6 6 4 9 6 5 6 8 8 7 2 4 8 4 0 3 2 P6 ELEVATION 2 0 2 0 3 0 3 0 3 0 4 0 4 0 4 0 4 0 5 0 5 0 5 0 5 0 6 0 6 0 6 0 5 0 5 0 5 0 5 0 4 0 4 0 4 0 4 0...

Страница 16: ...9 6 8 8 9 6 8 8 9 6 8 8 9 6 8 8 9 6 8 8 9 6 8 8 9 6 8 8 8 0 7 2 4 8 4 0 3 2 P6 ELEVATION 0 0 0 0 0 0 0 0 0 0 1 0 1 0 1 0 1 0 1 0 1 0 1 0 1 0 1 0 1 0 1 0 1 0 1 0 1 0 1 0 1 0 1 0 1 0 1 0 1 0 0 0 0 0 0 0...

Страница 17: ...7 0 5 5 7 0 5 5 7 0 5 5 7 0 5 5 7 0 5 5 7 0 5 5 7 0 5 5 7 0 5 5 7 0 5 5 3 5 3 0 2 5 P6 ELEVATION 4 0 4 8 5 6 11 2 8 8 11 2 8 8 11 2 8 8 11 2 8 8 11 2 8 8 11 2 8 8 11 2 8 8 11 2 8 8 11 2 8 8 11 2 8 8...

Страница 18: ...0 7 5 7 0 7 5 7 0 7 5 7 0 7 5 7 0 7 5 7 0 7 5 6 5 5 5 4 5 3 5 3 0 2 5 P6 ELEVATION 4 0 4 8 5 6 7 2 8 8 9 6 10 4 12 0 11 2 12 0 11 2 12 0 11 2 12 0 11 2 12 0 11 2 12 0 11 2 12 0 11 2 12 0 11 2 12 0 10...

Страница 19: ...reebokfitnessequipment com productsupport...

Отзывы: