background image

reebokfitnessequipment.com

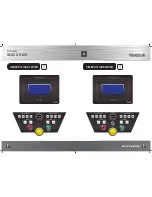
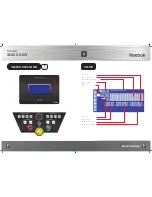
TT1.0/TT2.0/TT3.0

24

25

Console User GUide

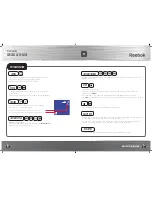
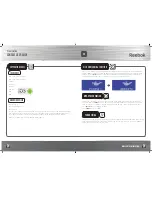
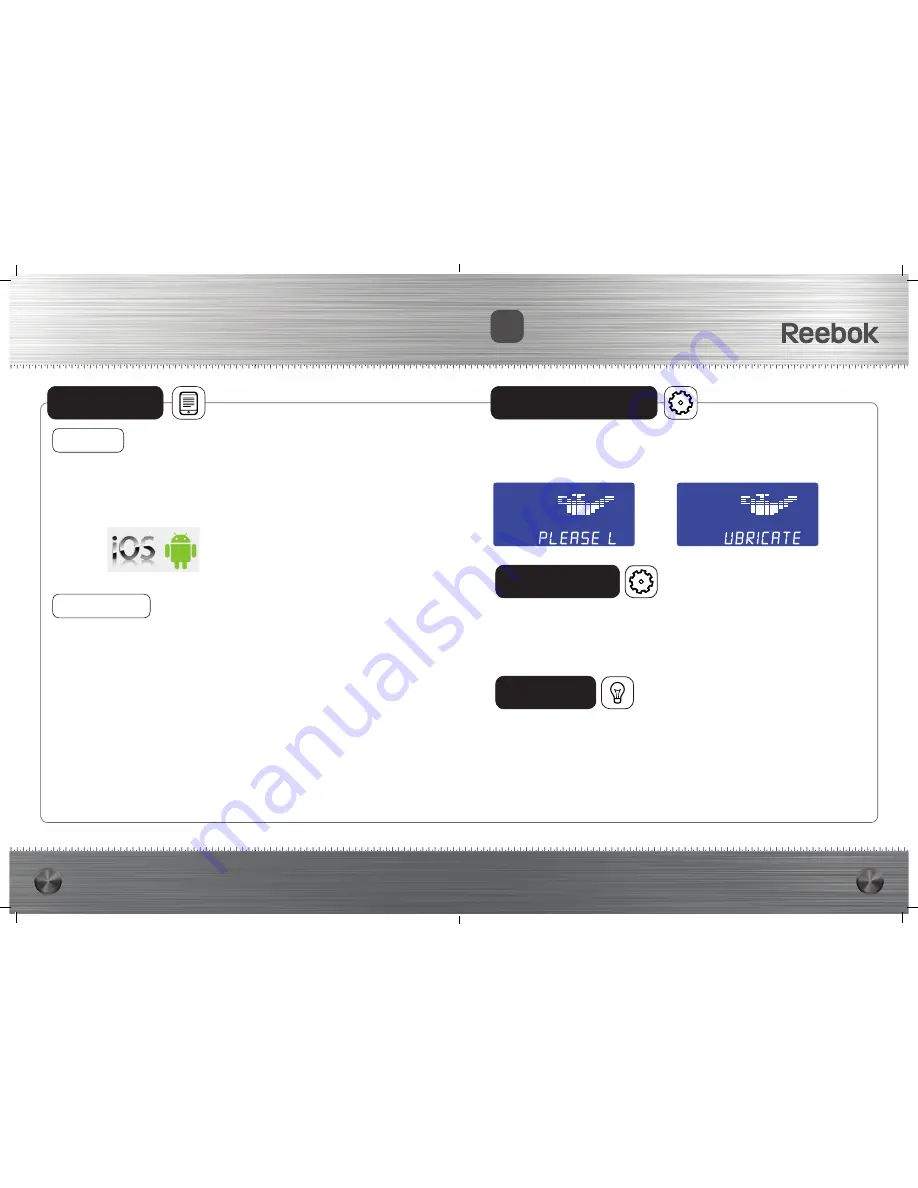
If the console displays the following symbol the treadmill requires lubrication. The default lubrication 
period is 300km. Silicone oil should be added between the running belt and deck. To exit this menu 
simply press the 

i-Drive

 button. The message will appear until the machine has been lubricated,  

after lubricating press the speed +/- buttons for 5 seconds to reset the system.

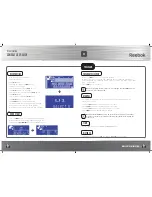
mph-Kph Conversion


Power on the treadmill, enter the user profile setting mode, when in the user weight setting mode, 
press and hold the 

i-Drive

 button for 10 seconds to enter Imperial/Metric Setting mode. Screen will 

show the present unit that ML = imperial measurements (MPH), KM = Metric measurements (KPH).

• Press 

speed +/-

 key to change the unit. 

• Press 

i-Drive

 button to confirm.

poWer saving


This product is manufactured in compliance with the Erp Regulations and is fitted with a power saving 
mode which will activate if the Treadmill is inactive for a period of 4 minutes. To restart the treadmill 
simply remove and reattach the safety key.

ios DeviCes

iPod touch (4th Generation)

iPod touch (3rd Generation)

iPhone 5

iPhone 4S

iPhone 4

iPad Mini

iPad 

iPad 2

anDroiD DeviCes

ASUS Nexus 7

Samsung Galaxy Note 2

Samsung S4

For other iOS or Android devices not listed, in some instances, the APP can still be installed and used. 
Due to different screen sizes however, the picture ratio and resolution may be displayed imperfectly.  
The models listed above have been calibrated, any update will be declared on pafers website. 

Requires IOS 6.0 version or above, Android to 4.0 or above.

siliCon Warning FUnCTion

sUpporTeD DeviCes

UK

Содержание TT1.0

Страница 1: ...UK TITANIUM CONSOLE USER GUIDE TT1 0 TT2 0 TT3 0...

Страница 2: ...reebokfitnessequipment com TT1 0 TT2 0 TT3 0 2 3 Console User Guide Titanium TT1 0 Console Buttons TitaniumTT2 0 Console Buttons UK...

Страница 3: ...m TT1 0 TT2 0 TT3 0 4 5 Console User Guide 1 Calories 2 Program Levels 3 Heart Rate Training Zones 4 HRC Age 5 Time 6 Speed 7 Incline level 8 Weight Distance 9 Information Display TitaniumTT3 0 Consol...

Страница 4: ...The clip on the other end of the safety key must be attached to the user at all times during your workout to ensure the machine stops immediately in the event of an emergency USB Input To connect i po...

Страница 5: ...handlebar controls Program selection Rotate the i Drive button to select required program MANUAL P1 P2 P3 P4 P5 P6 RANDOM 1 BASIC RANDOM 2 NORMAL RANDOM 3 ADVANCED RANDOM 4 HIGH LEVEL USER H R C 60 H...

Страница 6: ...et program profile Select P2 using the i Drive button and press to confirm Select intensity level using the i Drive button and press to confirm P2 has a preset intensity level the range is 1 10 Enter...

Страница 7: ...l maximum heart rate 220 age Maximum heart rate Rotate the i Drive button to adjust the desired workout time range is 20 00 99 00 minutes and press to confirm The display will then indicate the goal B...

Страница 8: ...calculated at 120bpm 190 max HR 63 Use the i Drive button select BODY FAT Press i Drive to confirm The program will use the personal data Gender Height Weight from the profile being used see user pro...

Страница 9: ...s an i Pod pad connection wire via a USB port on the computer the user can place the i Pod Pad onto the treadmill computer and connect directly This will allow the user to use the device functions whi...

Страница 10: ...rs treadmill APP downloaded from iTunes Store 7 Once the APP is opened the Treadmill and software will pair When they are connected successfully the APP features screen will be unlocked you can use ev...

Страница 11: ...and console will beep to confirm the connection 7 Once finished using the APP you will need to close it completely please close used APP in the background Then please go back to Android tablet Setting...

Страница 12: ...n Bluetooth function search the treadmill device name and pair again 6 After pairing successfully re start the Pafers APP If the problem is not resolved check if the Bluetooth device is correctly pair...

Страница 13: ...measurements KPH Press speed key to change the unit Press i Drive button to confirm Power saving This product is manufactured in compliance with the Erp Regulations and is fitted with a power saving...

Страница 14: ...1 0 KPH 1 6 2 4 3 2 3 2 3 2 3 2 3 2 3 2 3 2 3 2 3 2 3 2 3 2 3 2 3 2 3 2 3 2 3 2 3 2 3 2 3 2 3 2 3 2 3 2 3 2 3 2 3 2 3 2 2 4 1 6 P6 ELEVATION 0 0 1 0 1 0 1 0 1 0 1 0 4 0 1 0 1 0 1 0 1 0 4 0 1 0 1 0 1...

Страница 15: ...6 6 4 9 6 6 4 9 6 7 2 9 6 7 2 9 6 7 2 9 6 7 2 9 6 6 4 9 6 6 4 9 6 5 6 8 8 7 2 4 8 4 0 3 2 P6 ELEVATION 2 0 2 0 3 0 3 0 3 0 4 0 4 0 4 0 4 0 5 0 5 0 5 0 5 0 6 0 6 0 6 0 5 0 5 0 5 0 5 0 4 0 4 0 4 0 4 0...

Страница 16: ...9 6 8 8 9 6 8 8 9 6 8 8 9 6 8 8 9 6 8 8 9 6 8 8 9 6 8 8 8 0 7 2 4 8 4 0 3 2 P6 ELEVATION 0 0 0 0 0 0 0 0 0 0 1 0 1 0 1 0 1 0 1 0 1 0 1 0 1 0 1 0 1 0 1 0 1 0 1 0 1 0 1 0 1 0 1 0 1 0 1 0 1 0 0 0 0 0 0 0...

Страница 17: ...7 0 5 5 7 0 5 5 7 0 5 5 7 0 5 5 7 0 5 5 7 0 5 5 7 0 5 5 7 0 5 5 7 0 5 5 3 5 3 0 2 5 P6 ELEVATION 4 0 4 8 5 6 11 2 8 8 11 2 8 8 11 2 8 8 11 2 8 8 11 2 8 8 11 2 8 8 11 2 8 8 11 2 8 8 11 2 8 8 11 2 8 8...

Страница 18: ...0 7 5 7 0 7 5 7 0 7 5 7 0 7 5 7 0 7 5 7 0 7 5 6 5 5 5 4 5 3 5 3 0 2 5 P6 ELEVATION 4 0 4 8 5 6 7 2 8 8 9 6 10 4 12 0 11 2 12 0 11 2 12 0 11 2 12 0 11 2 12 0 11 2 12 0 11 2 12 0 11 2 12 0 11 2 12 0 10...

Страница 19: ...reebokfitnessequipment com productsupport...

Отзывы: