10
©2007 Recordex USA, Inc. All rights reserved.
Version: 1.1
User’s Guide
Recordex StudioJet
®
TM
C. Installing The Ink Cartridges
NOTE: Make sure the printer is powered on. You can not install the printer cartridges unless the unit is powered on.
1. Lift the front printer cover and wait until the ink cartridge cradle is all the way to the right of the printer and is idle.
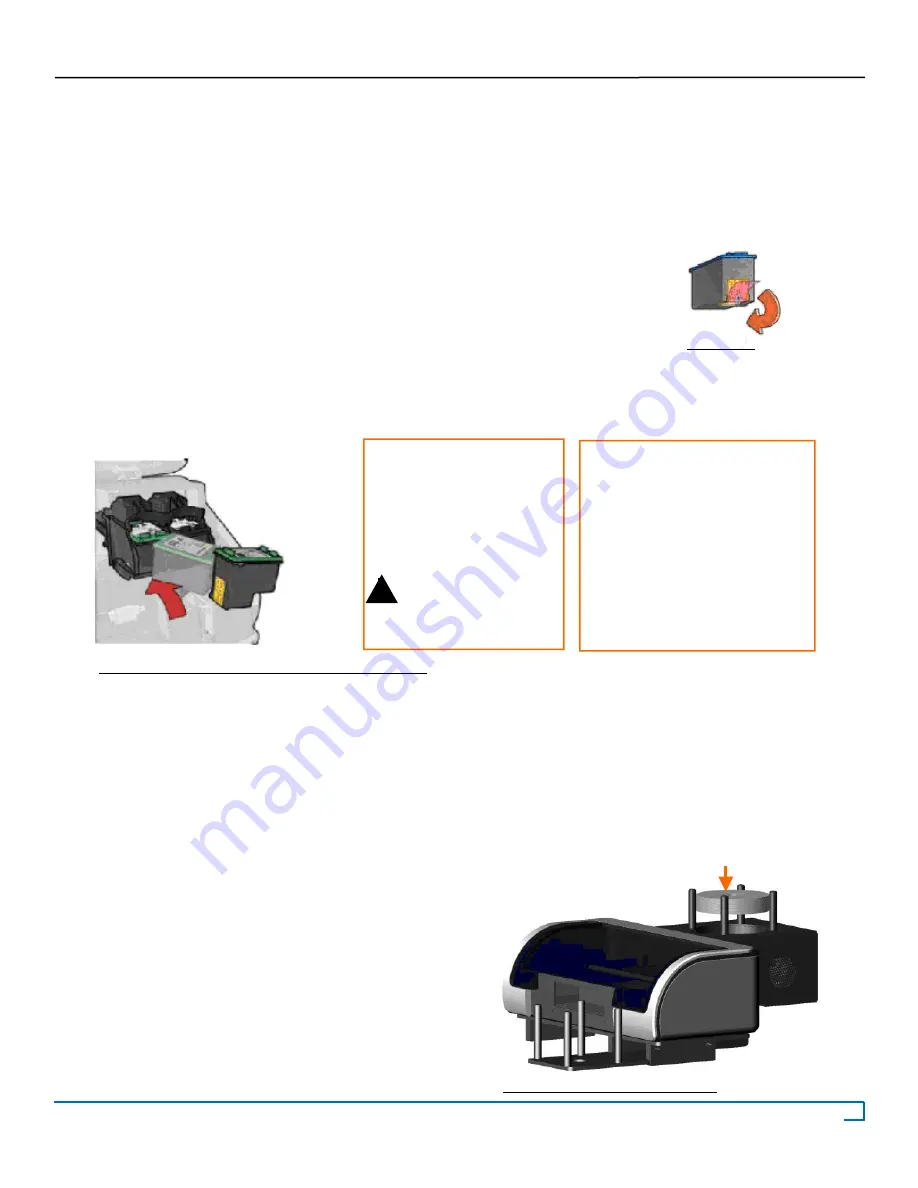
2. Remove the Black Ink Cartridge from its packaging. Remove the protective plastic tape being careful not to touch
the copper electrical contacts on the bottom and rear of the cartridge (figure 2.3).
3. Open the gray cartridge cover (56) and install the black cartridge. Hold the print cartridge so that the label side
is facing up and the text is facing you as shown in Figure 2.2 below. Slide the print cartridge in until it snaps into
place. Do not force the cartridge into place. After the cartridge has been installed snap the gray cartridge cover
closed.
4. Remove the Color Ink Cartridge from its packaging. Remove the protective plastic tape being careful not to touch
the copper electrical contacts on the bottom and rear of the cartridge.
5. Open the Blue cartridge cover (57) and install the color cartridge. Hold the print cartridge so that the label side is
facing up and the text is facing you as shown in Figure 2.2 above. Slide the print cartridge in until it snaps into place.
Do not force the cartridge into place. After the cartridge has been installed snap the blue cartridge cover closed.
6. Close the printer cover and wait for the cartridges to be initialized by the StudioJet printer. While the cartridges
are being initialized the green/orange LED’s on the left side of the printer will blink. Wait for the LED’s to stop blink-
ing before using the printer.
C. Load Inkjet Printable Media
1. Load up to 50 discs, with the print surface facing up,
into the disc input bin (see figure 2.4).
NOTE: Insert the
cartridge so that the
label side is up and
the text is facing you
as shown in the image
to the left.
Do not force the car-
tridge into place.
i
Figure 2.3 Proper Orientation of Inkjet Cartridges
Figure 2.3
!
Figure 2.4 Loading Disc Input Bin
NOTE: Your StudioJet™
printer uses standard Hewl-
ett Packard Ink Cartridges.
REPLACE WITH
HP 56 Black
HP 57 Color
i


