THE PVCore 3D PRINTER
12/28/2016
BY RCJOSEB
PAGE 56 OF 107
X AXIS SLIDE ASSEMBLY:
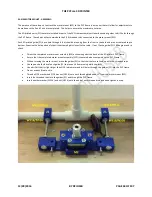
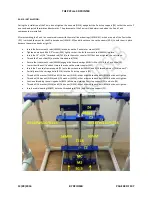
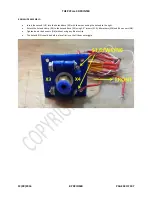
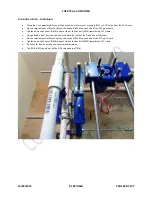
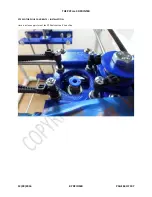
For this step, it is easier to remove the heat sink fan so just slide it off and re-install later.
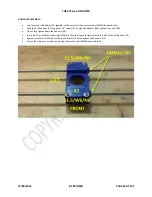
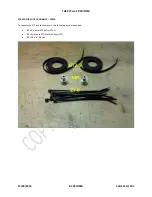
I had an issue with the linear bearings (LM6UU-3D) getting warped out of shape when tightening the 2.0” screws (S2.0) from
the previous step. This caused the 6mm smooth rods (S6MM) to bind. In order to prevent this from occurring, I installed 5/16”
washers (W516) between the two X slide halves (X2) on each side. This is optional as you may not have this issue.
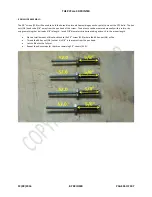
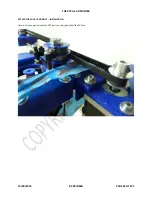
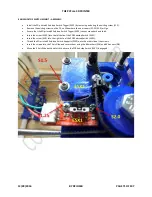
Partially insert the screws (S2.0) from the previous step into the top of the X slide body (X2) with #6 washers (W6).
Insert the 3D printed spacers (X1) onto the screws from the other side of the X slide (X2).
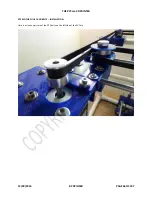
Fully insert the screws (S2.0) and place a #6 washer (W6) and a #6 hex nut (N6) at the end of each screw (S2.0).
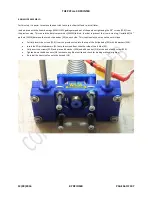
Tighten down the #6 hex nuts (N6) without using Blue Loctite and check for binding while you tighten.
Re-install he heat sink fan onto the hotend (HE).


