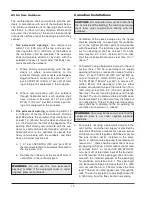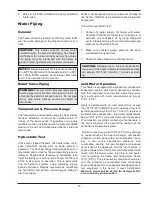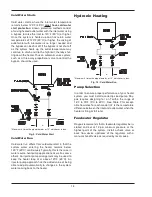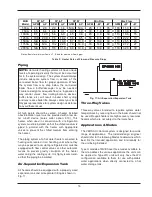
22
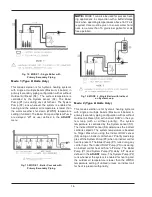
Fig. 21: Wiring Location
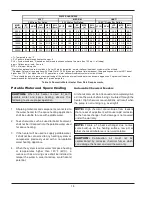
Fig. 22: Locator Dimples for Optional Components
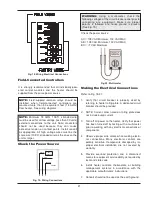
Fig. 23: Low Voltage Field Wiring
contact closure (including a remote thermostat) across
these terminals will enable the MVB unit to run.
Caution should be used to ensure neither of the termi-
nals becomes connected to ground.
Wiring the Outdoor Sensor
1. There is no connection required if an outdoor sen-
sor is not used in this installation.
2. If using an Outdoor Sensor (option B-32), connect
the sensor wires to the terminals marked OUT-
DOOR SENSOR (see wiring diagram). Caution
should be used to ensure neither of these termi-
nals becomes connected to ground.
3. Use a minimum 18 AWG wire for runs of up to 150
feet.
4. Mount the outdoor sensor on an exterior surface of
the building, preferably on the north side in an
area that will not be affected by direct sunlight and
that will be exposed to varying weather conditions.
NOTE:
A grounding electrode conductor shall be
used to connect the equipment grounding
conductors, the equipment enclosures, and the
grounded service conductor to the grounding
electrode.
Field Wiring Connection
CAUTION:
Label all wires prior to disconnection
when servicing controls. Wiring errors can cause im-
proper and dangerous operation. Verify proper
operation after servicing.
DANGER: SHOCK HAZARD
Make sure electrical power to the heater is discon-
nected to avoid potential serious injury or damage to
components.
Wiring the Enable/Disable
Connect the Enable/Disable terminals to the field
wiring terminal (shown in Fig. 23). Alternately, any dry
Содержание 503A
Страница 43: ...43 WIRING DIAGRAM Models 503A 2003A...
Страница 59: ...59...
Страница 60: ...60 www raypak com Raypak Inc 2151 Eastman Avenue Oxnard CA 93030 805 278 5300 Fax 805 278 5468 Litho in U S A...

