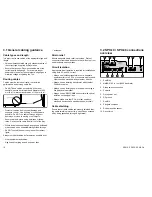
4.1 Location requirements for
SPX course computers
The installation location must take into account the
following requirements:
• Install below decks in a dry area.
• Mount on a vertical surface, the sides and top must
be level.
• Location must be at least 1 m (3 ft.) away from any
magnetic compass.
• Safe from physical damage and excessive vibration.
• Away from any source of heat.
• Away from any potential flammable hazard, such as
fuel vapors.
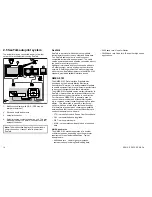
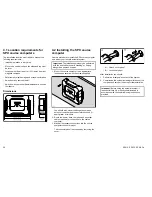
Dimensions
D11947-1
64.5 mm
(2.5 in)
285 mm (11.2 in)
261 mm (10.3 in)
21
1.
5
m
m
(
8.
3
in
)
4.2 Installing the SPX course
computer
Use this procedure to install the SPX course computer
as a part of your inboard autopilot system.
Important:
The installation must only be performed
with the boat either on hard standing, or tied up
alongside a pontoon or berth.
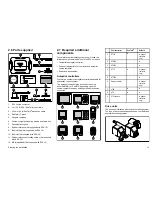
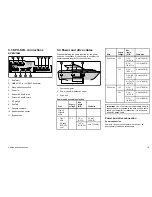
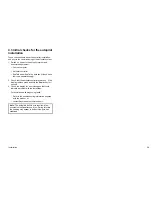
1. Mount the course computer in an appropriate
location and secure with the screws supplied.
D10448-2
You should also mount the fluxgate compass,
autopilot controller and rudder reference unit (if
appropriate) at this time.
2. Route the power, data, compass and any other
cables required for connection to the course
computer.
3. Make all necessary connections into the course
computer connector panel.
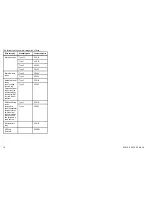
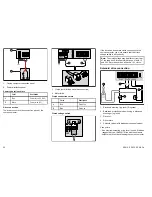
The connector panel is accessed by removing the
cover.
1.
2.
A
B
D10449-2
• A — Unlock cover panel
• B — Lock cover panel
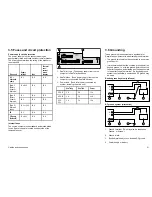
After installation you should:
1.
Perform an initial power-on test of the system.
2.
Commission the system including calibration of the
compass and setup of the autopilot characteristics.
Important:
Before using the autopilot system it
is essential that it is properly commissioned in
accordance with the commissioning instructions
provided.
28
SPX10, SPX30, SPX-SOL
Содержание SPX 10
Страница 2: ......
Страница 4: ......
Страница 6: ...6 SPX10 SPX30 SPX SOL ...
Страница 30: ...30 SPX10 SPX30 SPX SOL ...
Страница 36: ...36 SPX10 SPX30 SPX SOL ...
Страница 37: ......
Страница 38: ...www raymarine com ...

