

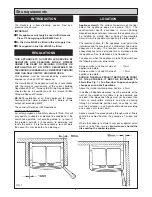
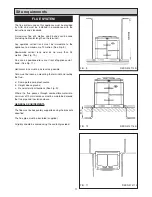
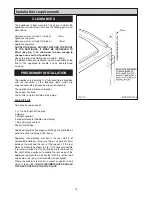


The appliance is floor mounted. The space in which the
appliance is to be fitted must have the following minimum
dimensions.
Between wall or unit and LH side of
- 10mm
appliance top plate
Between wall or unit and RH side of
- 10mm
appliance top plate
SHOULD THE WALL PROJECT BEYOND THE FRONT
OF THE APPLIANCE, IT MUST BE INCREASED TO
50mm (See Fig. 1). To allow door to open enough to
change oven and shelf positions.
Above the raised insulating cover handle - 60mm
In addition adequate clearance must be available at the
front of the appliance to enable it to be operated and
serviced.
The appliance is delivered in a fully assembled condition
with the exception of the following items which are
supplied separately packed and require assembly:-
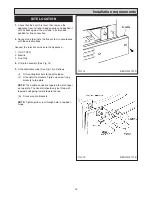
The appliance rear distance bracket.
The cooker handrail.
The oil filter and the flexible oil feed pipe.
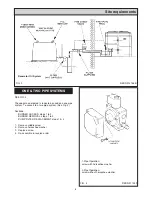
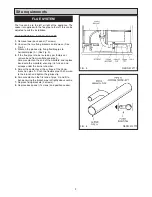
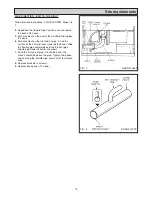
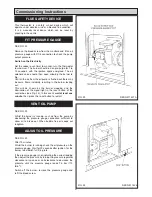
FLUE PIPE KIT
Flue pipe kit comprises of:-
3 x 1 metre length of flue pipe
3 elbows
3 straight couplers
6 support brackets (saddle and clamps)
1 tube ultra-grey sealant
Pack of fastenings
Additional length of flue pipes and fittings are available as
optional extras including a 45Þ bend.
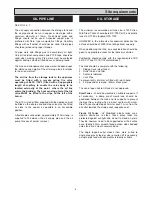
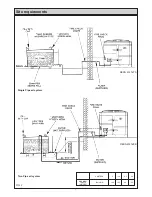
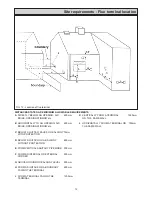
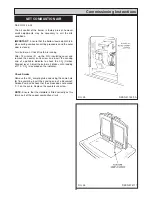
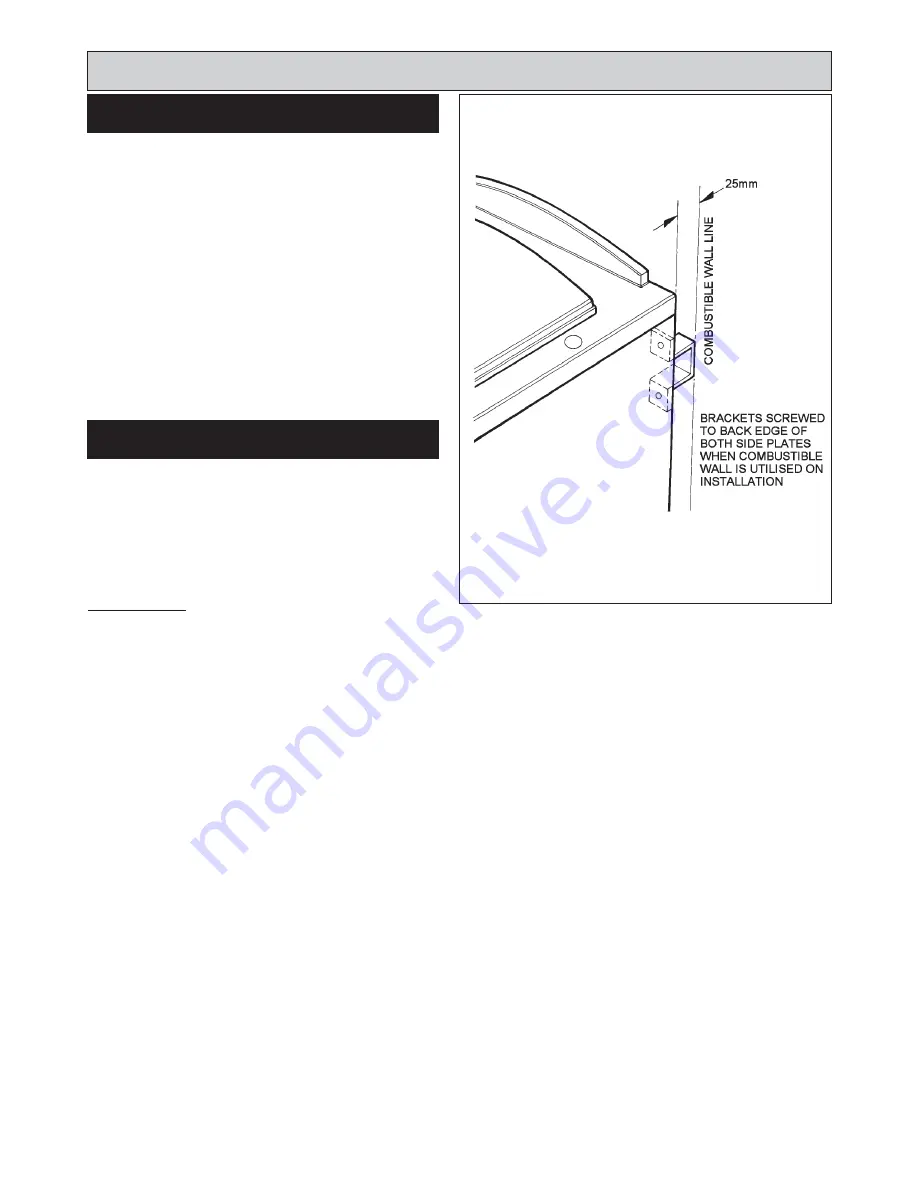
Appliance rear distance bracket: if the rear wall is of
combustible material, there must be an air gap of 25mm
between the wall and the rear of the cooker. Fit the rear
distance brackets as shown in Fig. 13. Whenever possible
it is recommended that the skirting board is removed for
the width of the appliance to enable the rear edge of the
appliance top plate to make contact with the vertical wall
and avoid a rear gap. (Combustible wall excepted).
Where the cooker is to stand in a recess or against a wall
which is to be tiled,
IN NO CIRCUMSTANCES SHOULD
THE TILES OVERLAP THE TOP PLATE.
Installation requirements
15
CLEARANCES
PRELIMINARY INSTALLATION
FIG. 13
DESN 514122
Содержание XT- Oil
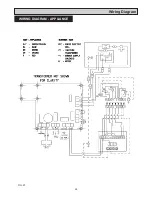
Страница 24: ...24 Wiring Diagram FIG 27 WIRING DIAGRAM APPLIANCE...
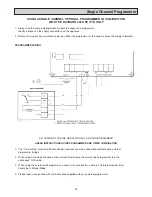
Страница 26: ...26...
Страница 27: ...27...


