


45
Caution!
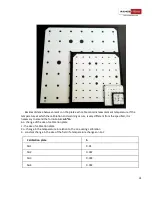
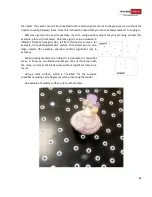
Markers should be attached as chaotic as possible. Avoid expressed patterns or curves, as
this may provoke incorrect detection of markers.
When using auxiliary surface, object should not move in relation to the markers during the
scan!
Scanning procedure:
●
Stick markers on the object or auxiliary surface
●
Prepare the object to be scanned (if needed)
●
Create new project with markers, specifying its size or open an existing one
●
If the reference grid of 3D-marks is already created - load it through File → Load reference
grid
●
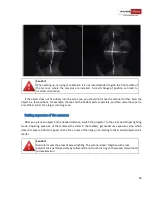
Using the
Cross
mode determine the correct distance to object
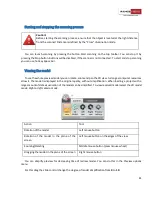
●
Adjust exposure using the slider
●
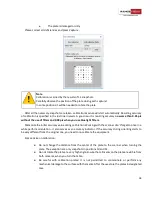
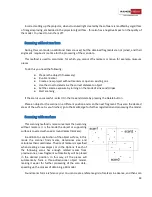
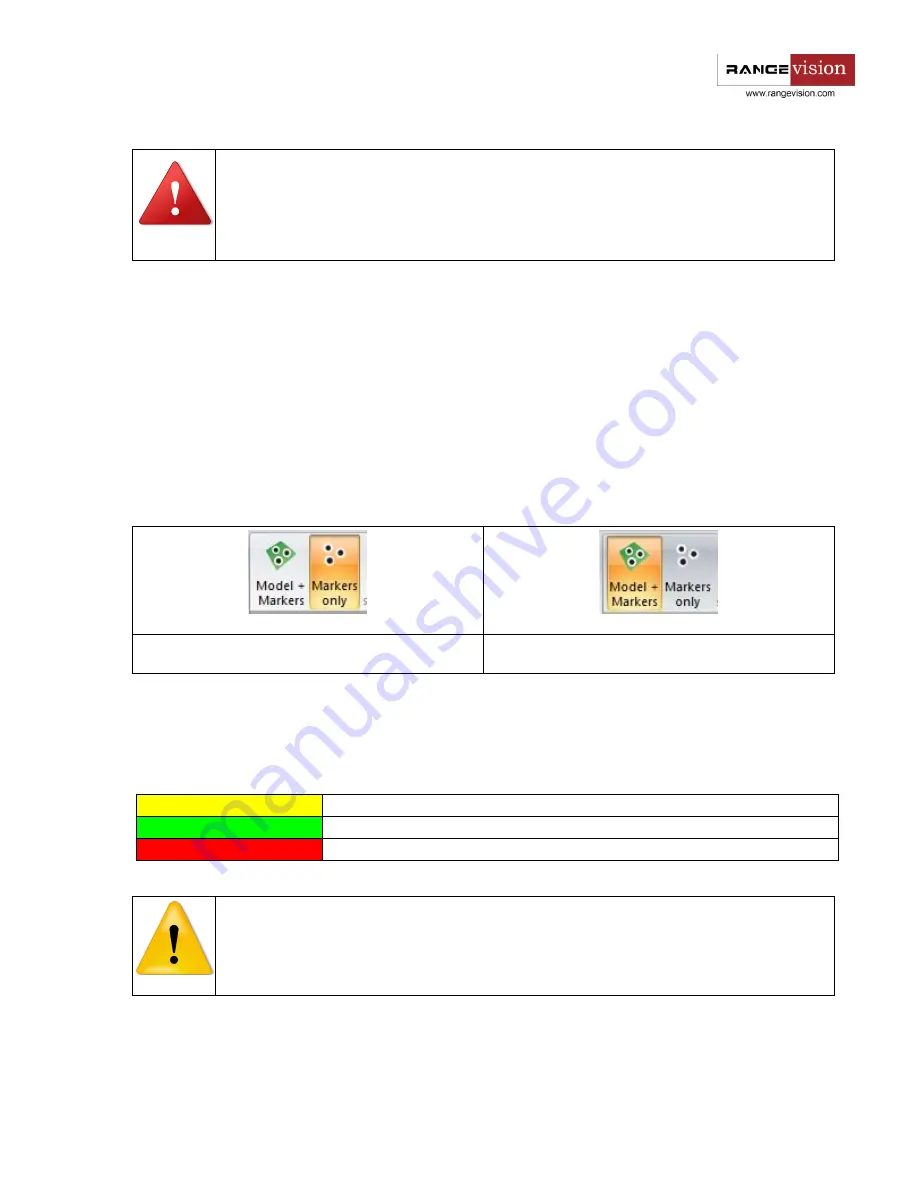
If you are creating a reference grid, select the
markers
mode (left picture below) on the top
toolbar. If you are scanning the object itself (with the grid or without it), select the Model
and markers mode (right picture below) on the top toolbar.
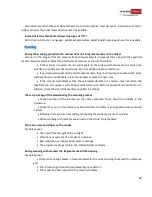
Creating a reference grid
Scanning the object surface
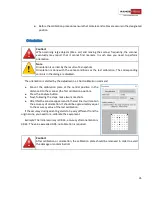
●
Start scanning
●
Place the object/scanner to the following position and then start the scanning process.
Do
not change the position of the object regarding the marks!
●
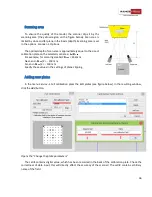
In order to view all scans, click on the title of the project.
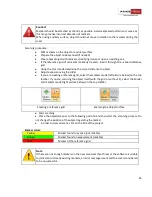
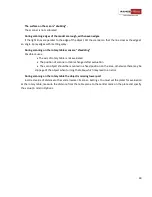
Marker colors:
Yellow
Marker found only once (not reliable)
Green
Marker found on several scans (reliable)
Red
Marker of the reference grid
Note
If there are not enough markers on the new scan (less than three) or the software is unable
to joint scan to already existing markers, an error message is sent and the scan is considered
to be unsuccessful.


