
40
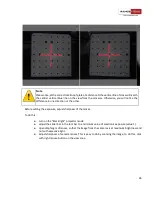
Caution!
When setting up, carrying or calibration it is not recommended to grab the front profile of
the scanner, where the cameras are installed. A small change of position can lead to
incorrect orientation.
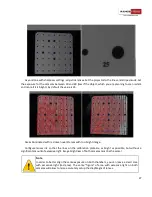
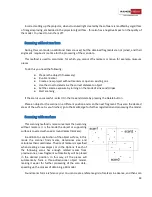
If the object does not fit entirely into the scan area, you should not move the scanner further. Scan the
object in a few positions, for example, the top and the bottom parts separately, and then unite these parts,
or set the scanner for a larger scanning zone.
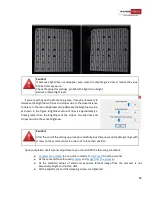
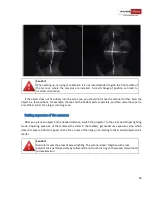
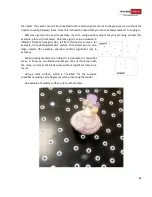
Setting exposure of the cameras
After you place an object at the needed distance, switch the projector to the
Lines and Stripes
lighting
mode
.
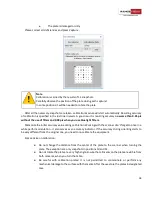
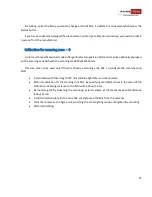
Adjusting exposure of the cameras (the slider in the toolbar), get maximum exposure value, which
does not cause red dots to appear on the lines. Areas of the image, not relating to the scanned object, don't
matter.
Caution!
Red color marks the areas of excess lighting. The scanner doesn't digitize such areas.
Adjustment is performed only by software! Do not touch Iris ring on the lensed, this will lead
to decalibration.


