RANE SL4 FOR SERATO SCRATCH LIVE • OPERATOR’S MANUAL 2.4.4
9
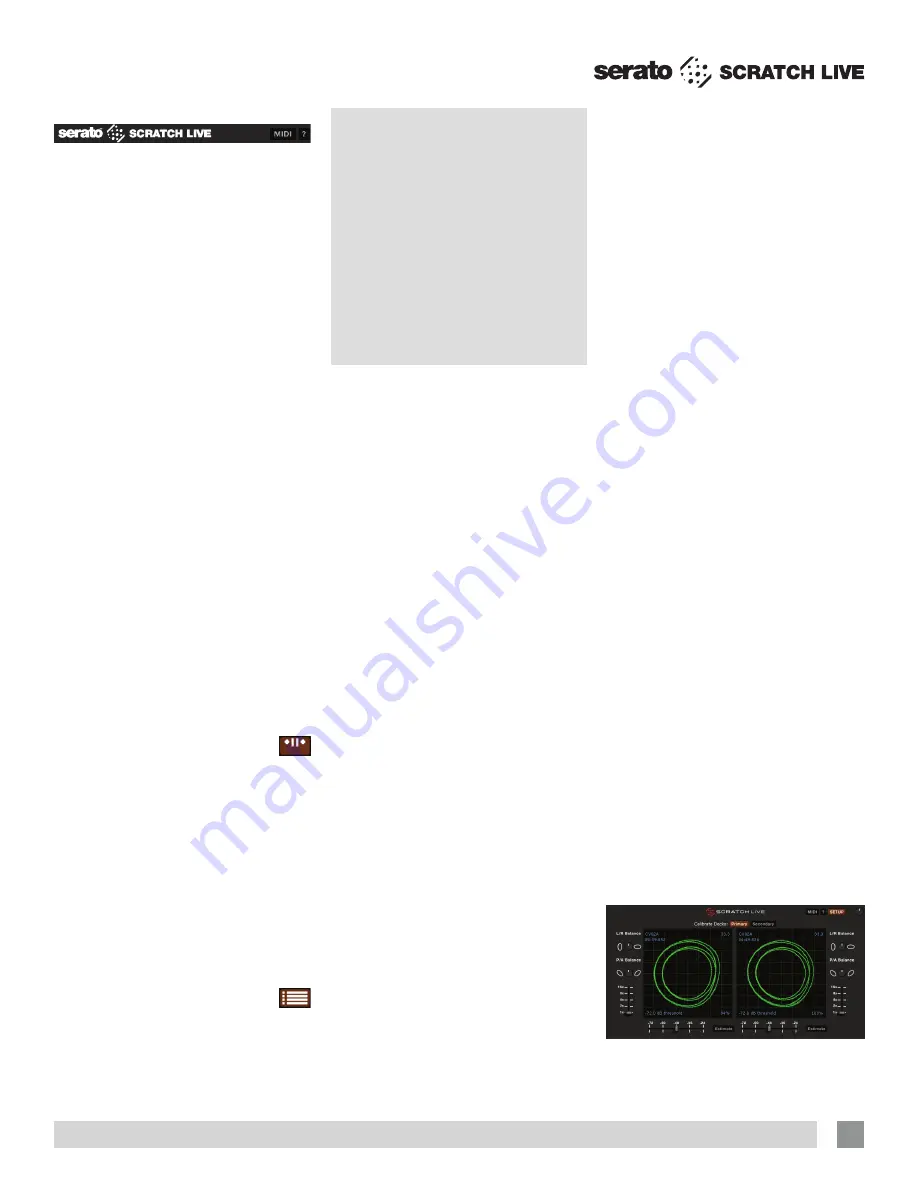
How to Calibrate Scratch Live
Switch between calibrating the Primary
and Secondary Decks by clicking the
Primary
and
Secondary
buttons above
the scopes.
With music playing in the background
(from any source), put your needle on
the record with the turntable
stopped
.
If you are using CD players, the same
rules apply. Have the CD deck paused
or stopped while calibrating. Ensure the
Phono / CD switch on the SL4 is set
correctly.
Click and hold the
Estimate
button
until the slider stops moving. Moving
the threshold slider to the left will make
Scratch Live more sensitive to slow record
movement, but also more sensitive to
background noise.
Repeat the process for each deck.
Things to remember:
• Your needle must be on the record.
• Your turntable (or CD player) must be
stationary.
• The background music playing must be
at a similar level to which you will play
your set at.
• Calibrate Scratch Live every time you
play.
TIP: If the slider jumps to the far right,
then you have a problem with noise
in your turntables/CD players/mixer.
Check all connections and make sure
your equipment is well-grounded. In
some situations you will not be able
to improve the signal quality, and you
will have to play on regardless. In
this situation, stick to REL mode. See
“Calibration Troubleshooting” on page
10.
The Scopes
The scopes on the Setup screen in
Scratch Live display the input signal as a
Calibrating
Scratch Live
Since Scratch Live is controlled by an
analog signal, there is no guarantee of
what state that signal will be in by the time
the software gets to interpret it. Therefore,
Scratch Live needs to be able to handle a
wide range of signals, and be configurable
to use them optimally. Calibrating is just
configuring the software to your situation.
Calibration is equally important for both
vinyl and CD users of Scratch Live.
There are two parts to the Scratch Live
control signal: The directional tone, and
the noise map. Listening to the control
vinyl, the directional tone is the 1 kHz
tone. The noise map sounds like random
noise over the top of the tone.
The directional tone provides the
current speed and direction of the record,
while the noise map tells the software
precisely where on the record the needle
is currently.
The Noise Threshold
A threshold is a lower limit, below which
a process will not occur. In the case of
Scratch Live, the noise threshold is the
limit below which the input signal will not
be interpreted as control signal; in other
words if it’s below the threshold, it is
considered noise and ignored.
This setting is necessary because a
stylus is very sensitive, and will inevitably
pick up noise from the environment as
well as the signal on the record, especially
in the noisy environment of a live show.
Using the Tool Tips
Click on the
?
icon to enable tool tips.
Tool tips provide a handy way to learn the
various features of Scratch Live. Move
the mouse over a section to bring up a
context-sensitive tool tip. Holding the
mouse over the
?
button with tool tips
turned on shows you a list of all keyboard
shortcuts. Tool tips are available in several
languages. Scratch Live displays tool tips
in the language your computer is set to.
If your language is not available, the tool
tips are displayed in English.
Virtual Deck Setup
It’s important to understand how your
turntables and CD players are connected
to each Virtual Deck in Scratch Live
before calibrating or playing tracks. These
options allow you to customize the layout
of your DJ setup. We recommend learning
Scratch Live with just two decks.
Starting with two turntables or CD
players, select these as “Primary Decks.”
In a multi-deck setup, this defines the
sources you will play the majority of your
tracks from. Select Primary Decks in the
Hardware
tab of the
Setup
screen.
See
“Select Primary Decks” on page 32
.
To set a USB Source in Scratch Live,
click the USB Source dropdown above
each Virtual Deck.
See “USB Sources &
Analog Inputs” on page 13
.
Change your Display Mode to
Classic Vertical mode if you don’t
see the dropdown above the Deck.
See
“Display Modes” on page 15
.
Start with the Left Deck, select
“Channel 1.” This Deck is now controlled
by the turntable / CD player plugged into
Input 1 on the SL4, and the audio from
Scratch Live will be sent to Output 1.
On the Right Deck select “Channel 2.”
This Deck is now controlled by the
turntable / CD plugged into Input 2 on the
SL4, and the audio from Scratch Live will
be sent to Output 2.
Changing the Display to 4-Deck
Stack Mode allows you to see
and assign all four Decks at once. Your
Primary Decks will have a white border
around them. Repeat the above steps for
the remaining two Decks.


