


Manual-9
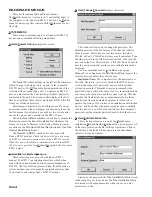
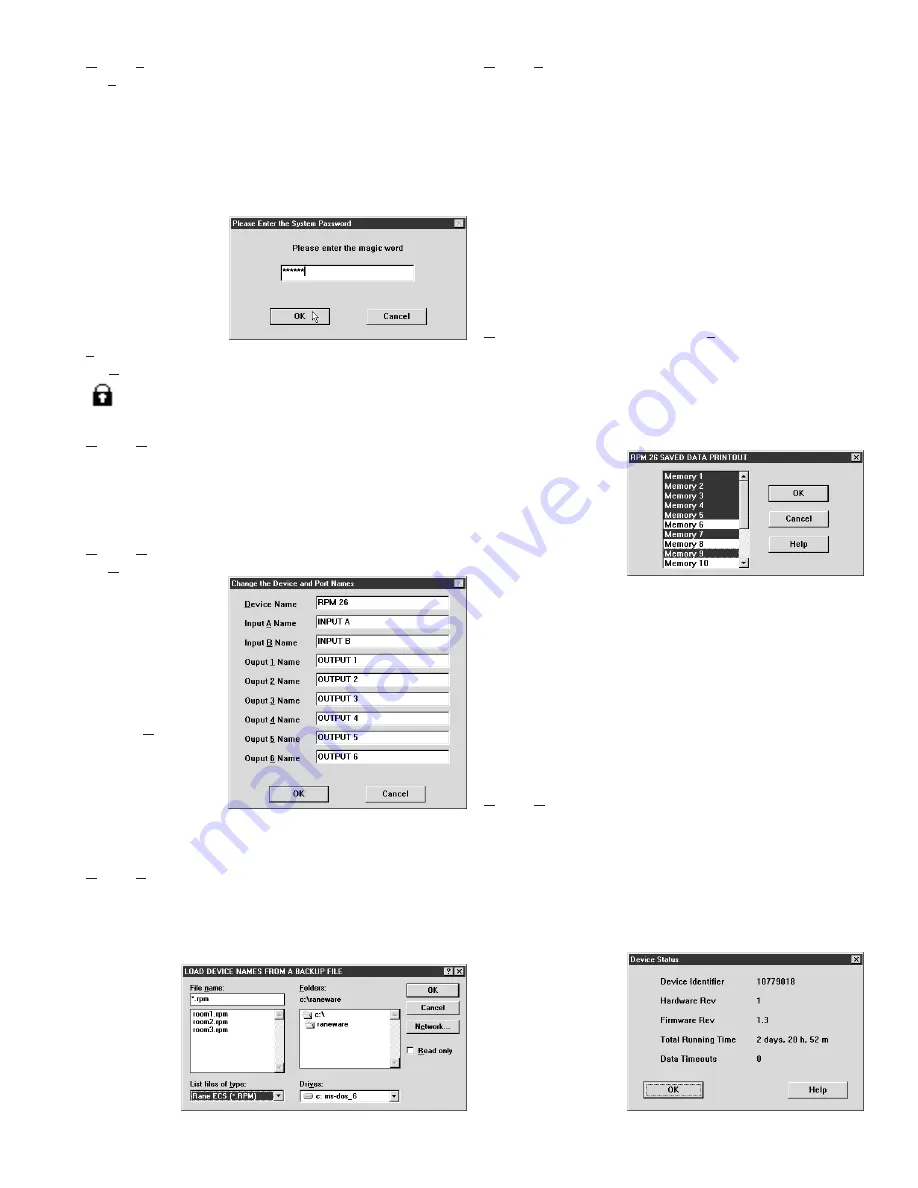
To Lock a
device, type in the
password in the
dialog box shown
above after selecting
Lock Device
from
the
Device
menu.
When a device is locked, this icon appears to the right
of the Local Edit button on the button bar.
Device|Unlock Device
This menu selection restores a device to its unlocked state,
allowing changes to the data previously stored in its memo-
ries. You must type in the correct password before the device
will unlock and the lock icon disappears.
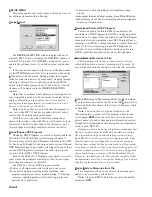
Device|Name Device
Name Device
allows you to name
each RPM 26 and
their channels. The
device and channel
names are stored in
the unit. Type the
unique name you
want for each RPM
26 in the
Device
Name
field, then
press the
Tab
key to
move the focus to
the next field. Type
the names you want
for each channel in the remaining fields, then click
OK
.
Device|Restore Names from File
This selection allows you to restore the Device, Input and
Output names from saved memory backup files without
changing any of the device’s current settings.
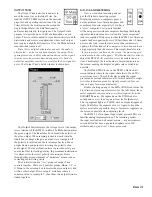
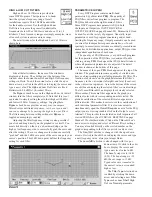
Device|Print Device Report
Selecting this item prints the current device settings from
the current or working memory. The control settings are
printed in a tabular format so you know precisely where each
control is set. Also printed is the Project, Site, and System
Engineer information you entered in the Edit Installation Info
dialog box, plus four blank lines for handwritten comments
and the report date.
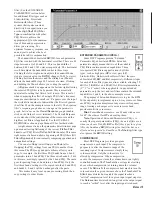
Each of the RPM’s parameters are printed including the
DSP Program with its description, the device address, device
name, the memory number and memory name. The device
report for each RPM 26 memory is 7 pages, one for the Input
parameters and one page for each Output which includes each
output’s overall response curve.
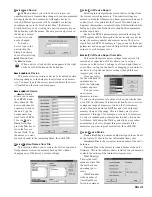
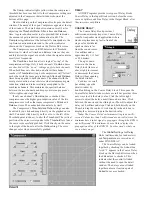
Device|Print Device Report from File
This menu item prints device settings from a stored file
instead of a connected unit. This allows you to setup a
system, save the system’s settings to a file and print them at
your office; saving you the hassle of dragging your printer to
each site just to print out device settings (though this may
impress your client).
Once you select
the file with backed-
up memories to
print, the following
window appears:
You can select
one or more
memories to print.
To select a single memory to print, click on your choice then
click
OK
. As with many Windows selection boxes, to select a
contiguous range of memories, click on the first memory
choice, then hold down the
Shift
key and click on the last
memory choice of the range. This is a handy way to print
memories 1 through 5 for example, or even all 16 memories.
To select a random group of memories to print, click on the
first choice, hold down the
Ctrl
key and click on any subse-
quent memory choices. Repeat this process until all the
memories you want to print are selected, then click
OK
.
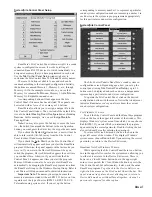
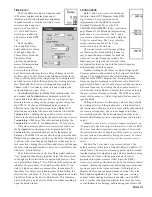
Device|Device Status
Device Identifier
is a unique number assigned to each unit
by the factory. It’s more for our information than yours.
Hardware Rev
is the current revision number of the unit’s
hardware.
Firmware Rev
is the current revision number of the unit’s
firmware. This is the software that is installed in each unit and
controls the actions of the internal microprocessor.
Total Running
Time
is the total
amount of time that
the unit has been
operating (pow-
ered).
Data Timeouts
is the number of
times RaneWare
failed to communi-
Device|Lock Device
Lock Device
allows you to lock a device to prevent
unauthorized users from making changes to your programmed
settings in the device’s memories. Although a device is
locked, different presets can still be recalled by selecting
another memory via the Site Control Panel, the Remote
Switch Interface, or by clicking on a desired memory key on
the button bar with the mouse. The data previously stored in
the device’s memo-
ries, however, can
not be changed.


