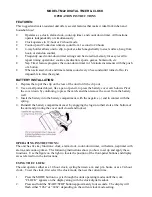
We suggest you replace the battery once a year. When replacing the
battery, be sure not to unplug the transformer, or you will lose your
programmed schedules.
CAUTION: Do not plug in the transformer until all valves have been
connected.
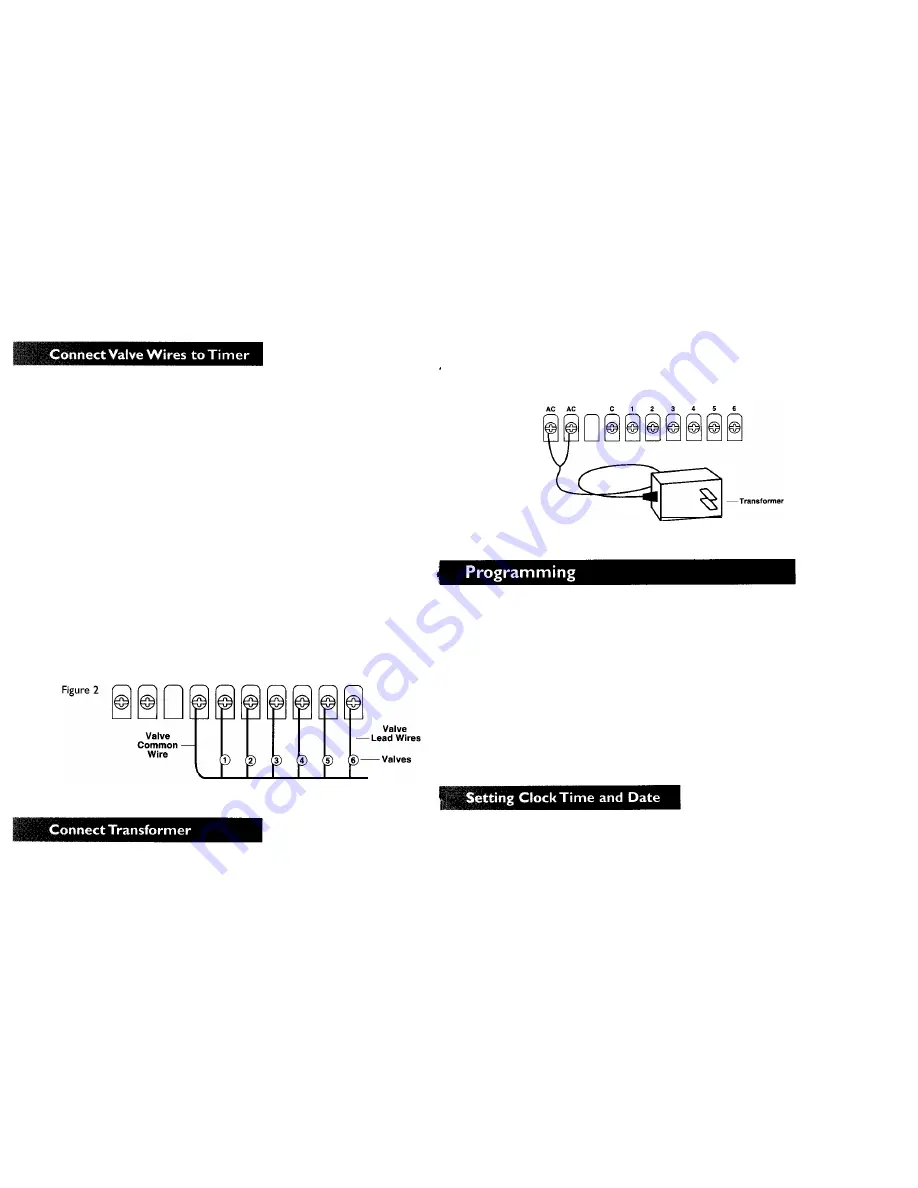
Each valve has two wires. One wire is connected as the “common”
wire.The common wire for all of the valves should be spliced together to
become a single wire that will connect to the terminal screw labeled “C”. Back
the terminal screw out until the head is 1/8” (3.2 mm) above the surface.
Expose only 3/8” (I 0 mm) of bare copper from the end of the wire to reduce
short-circuiting of two adjacent wires, slip under screw head, and tighten.
The second wire is the “lead” wire. Connect the lead wire from each
valve to one of the terminal screws numbered l-6, depending on the number of
valves you’re using. Connect wire from valve I to terminal screw I, from valve 2
to terminal screw 2. and so on. (Figure 2)
CAUTION: Wire only one valve to each terminal screw. Wiring more
than one valve per terminal may result in damage to the timer. Do not
use valves that exceed maximum output holding current (0.25 amps}.
Also, fusing more than one timer, do not share common wires. Run a
separate common wire for each timer.
AC
AC
c 1 2 3 4 5 5
Lift the terminal cover and locate the two terminal screws labeled “AC”. Make
sure the transformer is not plugged in.
Insert power leads from the transformer under each of the two
terminal screws and tighten. (Figure 3)
Plug in transformer. 12:00 AM will be displayed.
CAUTION: Use with supplied transformer only. Do not plug in the
transformer until you have completed and checked all wiring connec-
tions. Do
not link two or
more timers together with a single transformer.
Always check local plumbing and electrical codes for requirements
when installing timer, transformer and sprinkling system. Use only with
appropriate transformer that matches your household voltage and plug type.
Figure 3
A program is simply your instructions to the timer, telling it which areas you
want watered on which days, at what time and for how long.
In general, when programming the timer, numbers or text will be
flashing on the display.The +/ON and -/OFF buttons will change the flashing
item. Holding down the +/ON or -/OFF buttons for longer than one second will
cause the timer to rapidly scroll through the digits.This allows for faster setting
of all items.
Pushing the NEXT button will enter the flashing digit(s) and will
move you to the next program step.
If a programming button (e.g.,TIME/DATE,WATER DAYS, etc.) is
pressed at any time during that programming sequence, the controller will take
you back to the beginning of that sequence.
I. PressTIME/DATE.The hour, minutes and AM or PM will flash.
2. Press +/ON or -/OFF to change to the current time. Press NEXT
to enter the time.
3. Year will be flashing. Press +/ON or -/OFF to change to the
current year. Press NEXT to enter the year.


