15
and chiselling, SDS-plus tools are required that are inserted in the SDS-plus drill chuck.
The SDS-plus drill chuck allows for simple and convenient changing of drilling tools without
the use of additional tools.
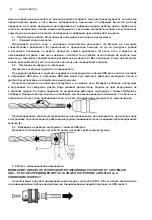
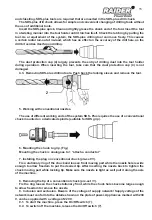
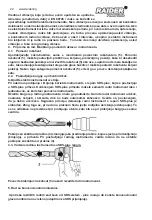
Insert the SDS-plus quick. Clean and lightly grease the shank end of the tool. Insert the tool
in a twisting manner into the tool holder until it latches itself. Check the latching by pulling the
tool. As a requirement of the system, the SDS-plus drilling tool can move freely. This causes
a certain radial run-out at no-load, which has no effect on the accuracy of the drill hole, as the
drill bit centres itself upon drilling.
The dust protection cap (4) largely prevents the entry of drilling dust into the tool holder
during operation. When inserting the tool, take care that the dust protection cap (4) is not
damaged.
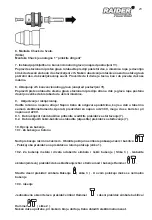
4.3. Removing SDS-plus drilling tools. Push back the locking sleeve and remove the tool.
5. Working with conventional nozzles.
The use of different working ends of the system SDS - Plus requires the use of a conventional
chuck mounted on a dedicated spindle (suitable for SDS grip).
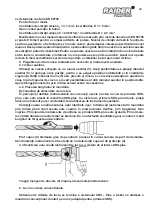
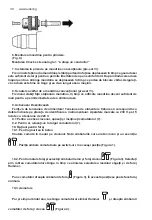
6. Mounting the chuck to grip. (Fig.)
Mounting the chuck is analogous to 1 “attach a conductor”
7. Installing the plug on conventional chuck (pre-set !!!).
Fix a stationary ring of the chuck and loosen front moving part while the nozzle hole is wide
enough to allow freedom to put the desired tip. After inserting the nozzle back to tighten the
chuck moving part while locking tip. Make sure the nozzle is tight as well pull it along the axis
of the machine.
8. Removing the tip of a conventional chuck (pre-set !!!).
Fix the ring loosen the chuck stationary front, while the chuck holes become large enough
to allow freedom to remove the nozzle.
9. Inclusion and exclusion. Beware of the voltage of supply network! Supply voltage of the
network must conform to the details shown on the plate of power. Appliances marked with 230
V, can be supplied with a voltage of 220 V.
9.1. To start the machine, press the On/Off switch (7).
9.2. To switch off the machine, release the On/Off switch (7).
Содержание RD-HD37
Страница 3: ...3 ...
Страница 63: ...63 EXPLODED VIEW OF RD HD37 ...
Страница 78: ...78 www raider bg ...
Страница 81: ...81 ...
Страница 84: ...84 www raider bg ...
Страница 85: ...85 ...


