


Note
Do not turn off the SCOPIA XT Series before the upgrade procedure is completed.
Upgrading the SCOPIA XT Series Software Using a USB Drive
Your SCOPIA XT Series comes with a USB drive containing the latest firmware version available
at the time the system was shipped. We recommend that you always access the RADVISION
site to check if a later version is available.
Before you begin
Check if a later version is available by accessing the RADVISION site as explained in
“How to
Update the Software for SCOPIA XT Series” on page 16
.
If a later version is available, download it and copy onto the USB drive.
Procedure
Step 1
Turn on the SCOPIA XT Series.
Wait for the menus to appear on the monitor.
Step 2
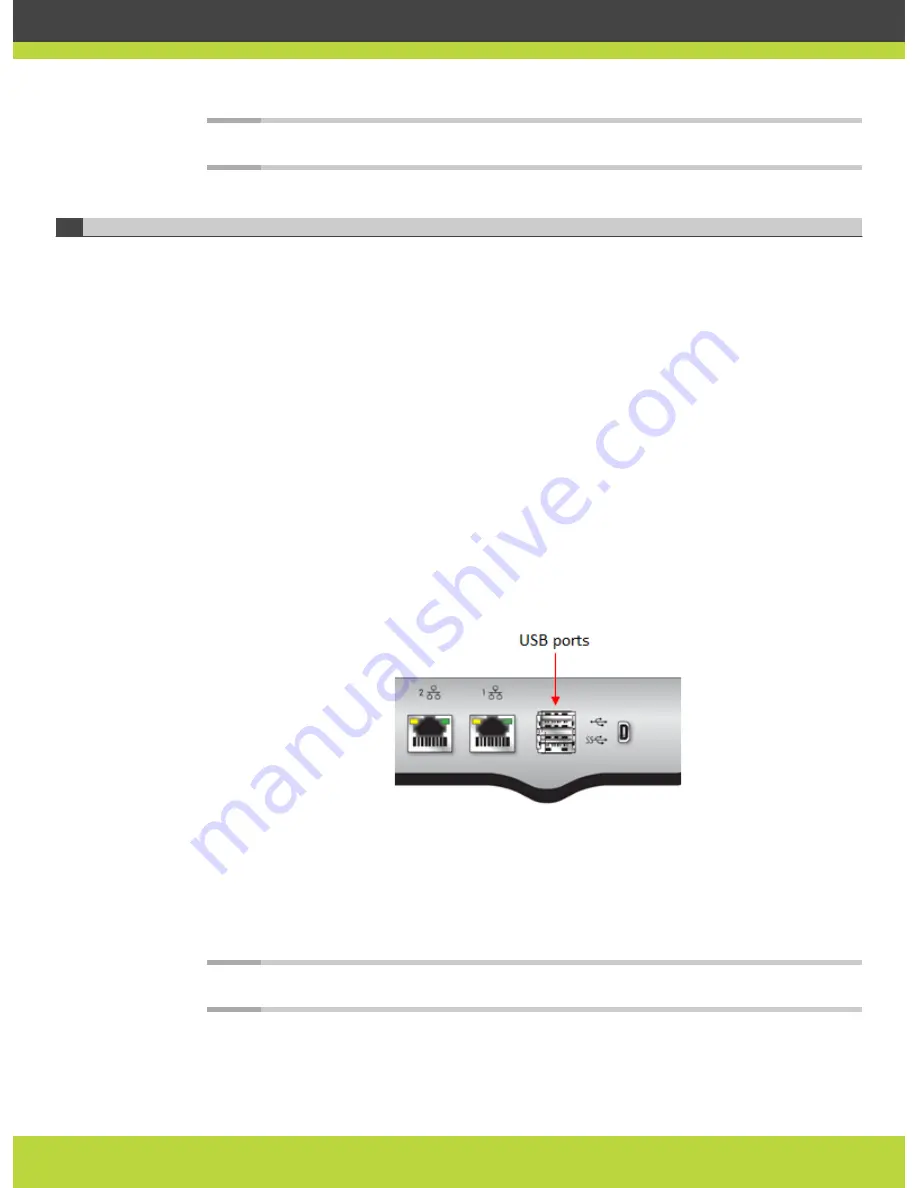
Insert the USB drive into one of the USB ports on the rear panel of the XT Codec Unit.
Figure 2-7
The USB ports on the rear panel of the SCOPIA XT Series
The upgrade procedure begins automatically.
Step 3
Follow the instructions displayed on the screen.
The system restarts automatically after the upgrade procedure is completed.
Step 4
Wait for two minutes to ensure that the upgrade procedure is completed.
The upgrade procedure may automatically continue after the reboot.
Note
Do not turn off the SCOPIA XT Series before the upgrade procedure is completed.
RADVISION | Administrator Guide for SCOPIA XT5000 Series Version 3.0
Maintenance Tasks | 19


