


O
per
at
ion
6
1.
Remove the plastic plugs from both test
leads.
2. Plug the black test lead’s right-angled end
into
–COM
(common) on the front of the meter.
3a. Plug the red test lead’s right-angled end
into
+V.
Ω
.
mA
on the front of the meter.
OR
3b. To measure current higher than 400 mA,
plug the red test lead’s right-angled end into
+ 10A MAX
on the front of the meter.
Ô
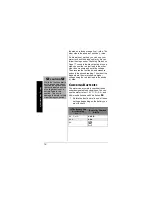
OPERATION
T
AKING
A
CCURATE
M
EASUREMENTS
For the most accurate reading, the
temperature should be between 65
°
and
83
°
F (18
°
and 28
°
C) (75% RH maximum).
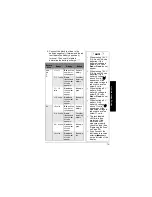
T
URNING
THE
M
ETER
O
N
/O
FF
AND
T
ESTING
THE
D
ISPLAY
To turn on the meter, rotate the function dial
to any function except
OFF
. To turn off the
meter, rotate the function dial to
OFF
.
To test the meter’s display, turn off the
meter, and then hold down any button while
turning on the meter. The meter turns on
and all segments on the display appear.
Release the button you are holding down to
turn off the test.
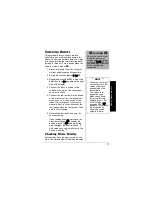
CAUTION
•
Be sure to select the
correct function
before you touch the
test leads to the
circuit or component
to be tested.
•
When the meter is not
in use, always leave
the function dial set to
OFF.
Ô
NOTE
Ô
•
The meter sounds a
warning tone when
you set it to measure
anything except
current and connect
a test lead to
+ 10A
MAX
. This reminds
you not to touch the
circuit with the test
leads.
•
If the function dial is
not set to
OFF
and
nothing appears on
the display, the meter
might be in its auto
power shut-off mode.
Press any button or
rotate the function
dial to any position
except
OFF
to turn on
the meter. If the
meter remains off,
set the function dial
to
OFF
then set it to
any function except
OFF
. If the meter still
remains off, replace
the batteries (see
“Installing Batteries”
on Page 5).


