14
15
Configuring Your Scanner
Preprogrammed Frequencies
Your scanner includes 153 preprogrammed frequencies,
which you can load into Channels 1 to 153. For a list of
these frequencies, see “Preprogrammed Frequency List”
on page 26.
To load the preprogrammed frequencies:
1.
Turn off the scanner and then turn it on again.
2.
While
WELCOME
message appears, press
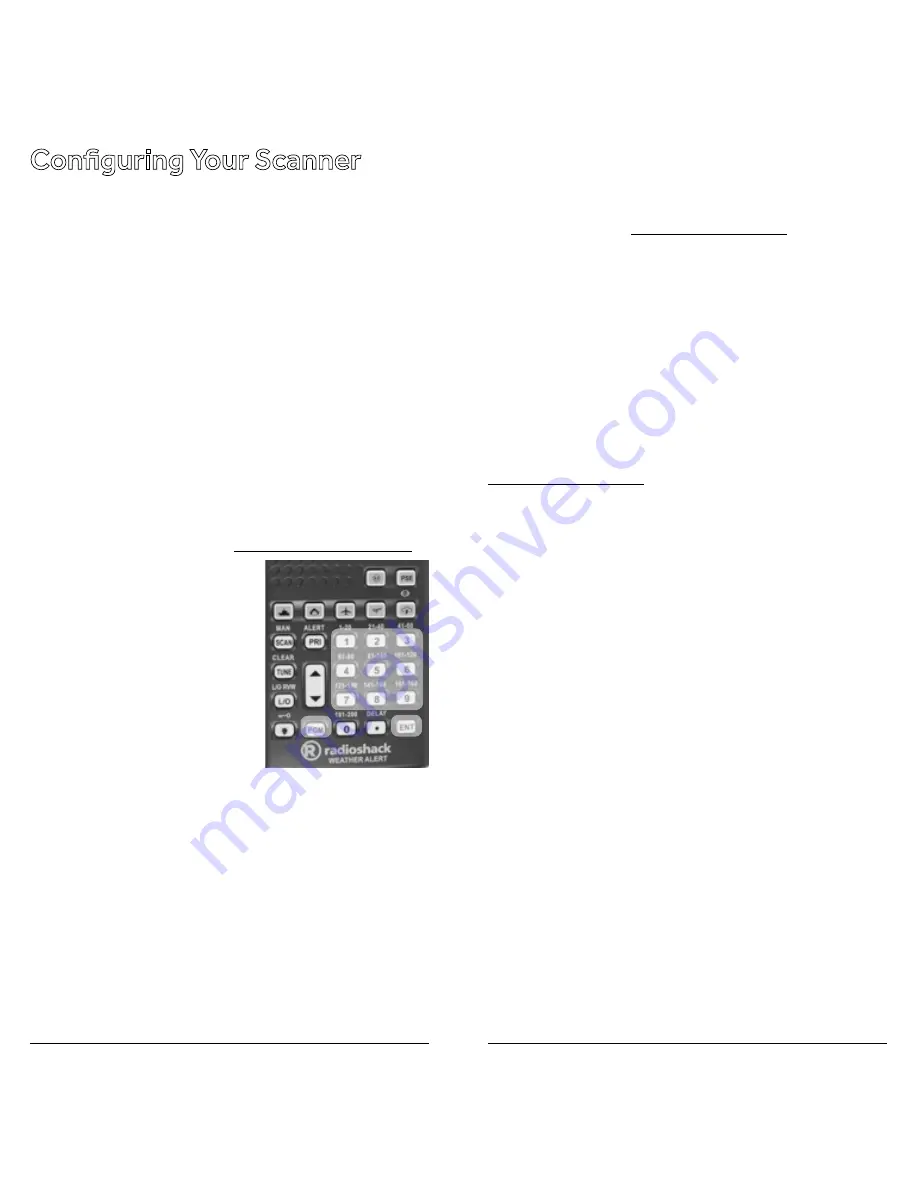
PGM.
3.
Load
–
Fr
– appears, then
YES
––
Ent
and
No
––
CLEAr
appear alternately.
4.
Press
ENT
to load frequencies or
CLEAR
to cancel.
Programming Channels
If you do not have a list of frequencies in your area, refer
to an online resource such as www.radioreference.com.
1.
Press
PGM
.
PGM
appears.
2.
Enter the channel number
(1–200) where you want to
store a frequency,
3.
Press
PGM
again.
4.
Use the number keys to
enter the frequency,
5.
Press
ENT
.
6.
To program the next
channel in sequence, press
PGM
and repeat Steps 4 and 5.
• Your scanner automatically rounds down to the
closest valid frequency. For example, if you enter
151.473, your scanner rounds it to 151.470.
• If
Error
appears and the scanner beeps three times
when you press
ENT
, start again from Step 2.
• If the frequency is already stored in another channel,
the scanner beeps three times and displays
-dUPL-
(duplicate) and the lowest channel number where
the frequency is already stored. Press
TUNE/CLEAR
to cancel. Press
ENT
if you still want
to store the frequency.
Programming with a Computer
You can upload or download programmed data to or
from a PC using a USB cable available from your local
RadioShack store or www.RadioShack.com.
The application software is available online. Use a search
engine to find “scanner programming software.” Follow
instructions in the software package to upload and
download data.
Cloning Programmed Data
You can transfer the programmed data to and from a
PRO-649 scanner using an optional connecting cable
with
Ç
-inch (3.5mm) stereo phone plugs on both ends
(available from your local
RadioShack
store or
www.RadioShack.com
).
1.
Turn on both scanners.
2.
Connect the connecting cable to each scanner’s
PC/
IF
jack.
CLOnE
and
UP to SEnd
appears.
3.
Press
e
on the host scanner.
4.
SEndInG
appears at the host scanner.
To exit clone mode after the data transfer is complete,
remove the cable.
No ConnEct
appears if you try to connect to another
model scanner. The PRO-649 does not clone with other
scanner models.
1,3,6
5
2, 4


