73
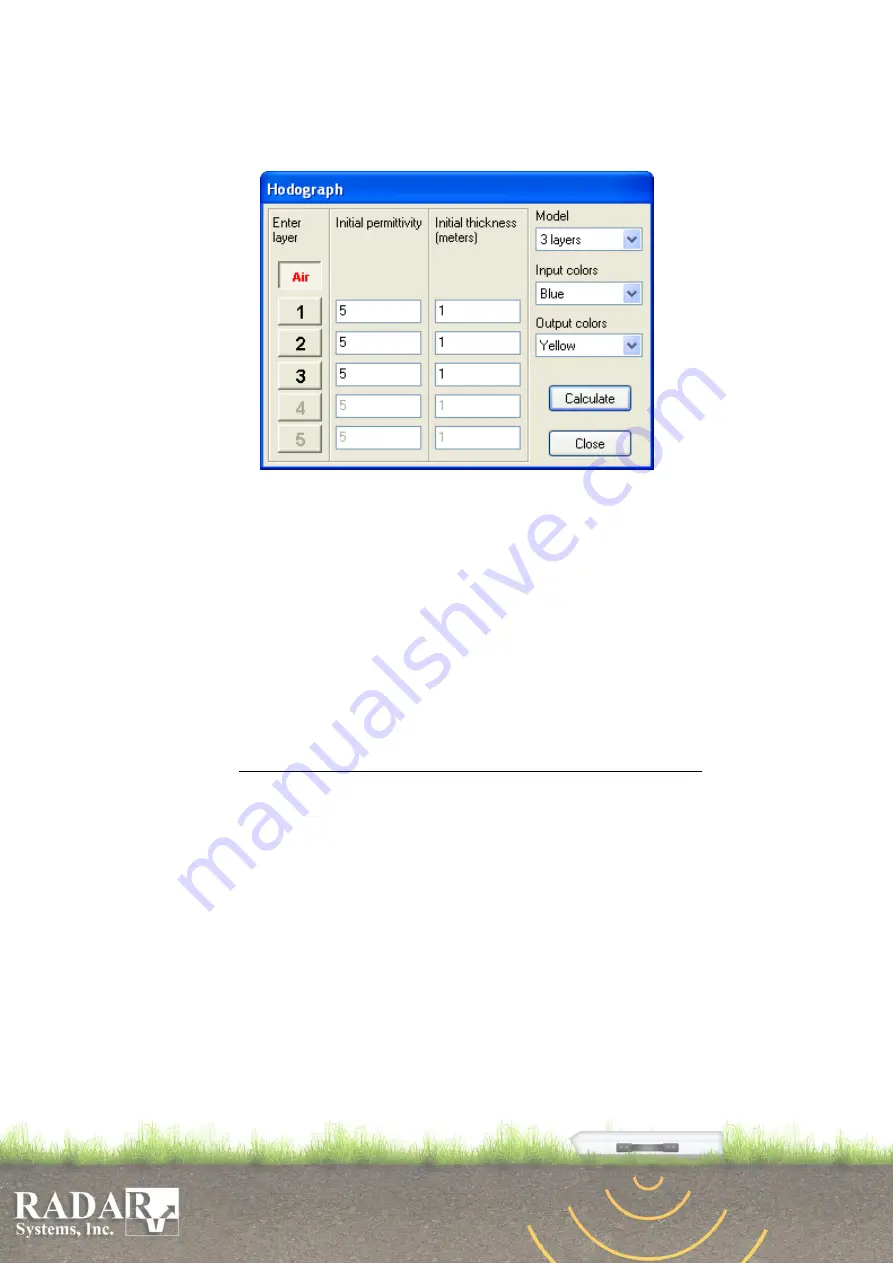
To calculate medium characteristics (wave velocity or permittivity) by hodographs of
the received signals, activate
Hodograph
button in the
Main menu
or use
Tools/Mouse
actions/Hodograph
menu option. It will open the Hodograph dialog box.
Fig. 16.2. Hodograph Taking dialog box
1. Using
Model
option in the dialog box, select the quantity of calculation model
layers. This quantity depends on how many layer interfaces are visible in your
profile; it may range from 1 to 5.
2. Using
Input colors
and
Output colors
options, determine input and output data
line drawing colors. Colors should be chosen so as to be well visible on a profile.
By the default red and blue colors are set, as they are clearly visible on the black-
and-white image.
3. In the
Initial permittivity
, enter initial (estimated) permittivity values for the
layers. By default, the value is set to 5, and for most cases is quite sufficient. You
should adjust that value only when software is failed to find a solution.
4. In the
Initial thickness (meters)
, enter initial (estimated) layer thickness values in
meters.
Attention
! Layer thicknesses should be entered, not the depths! By default,
1 m is set for all layers. This is quite sufficient for most cases. Adjustment shall be
made only in cases where the software fails to find a solution.
5. Now, enter the air wave position which is fully determined by a single point,
because the electromagnetic wave velocity in the air is known and remains constant
(30 cm/ns). For this purpose, press button
Air
in section
Enter layer
of the dialog
box. Move the cursor to the profile. It’ll take the shape of crosshair which should
be brought to the wave; click the left-hand key of the mouse. In this location, a
cross will appear. For more accurate calculations, position the cross on the air wave
at the large distances. The software will immediately ask you to enter
Offset
(meters)
, i.e. the spacing between the antennas is in meters. Here, the entry field
will be already filled by the software computed value on the basis of the profile
length and the location where the cross is positioned. If it does not contradict with
the truth, press
OK
. Otherwise, you’ve made a mistake when entering the initial
and final spacing between the antennas.
6. Enter the first layer interface. To do that, you have to activate button
1
in
Enter
layer
section. Note, that interfaces are numbered from top to bottom. An interface
is entered by the several points in series from left to right by moving the crosshair


