background image

1 6

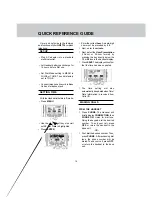
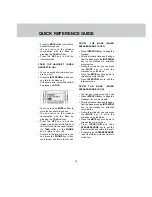
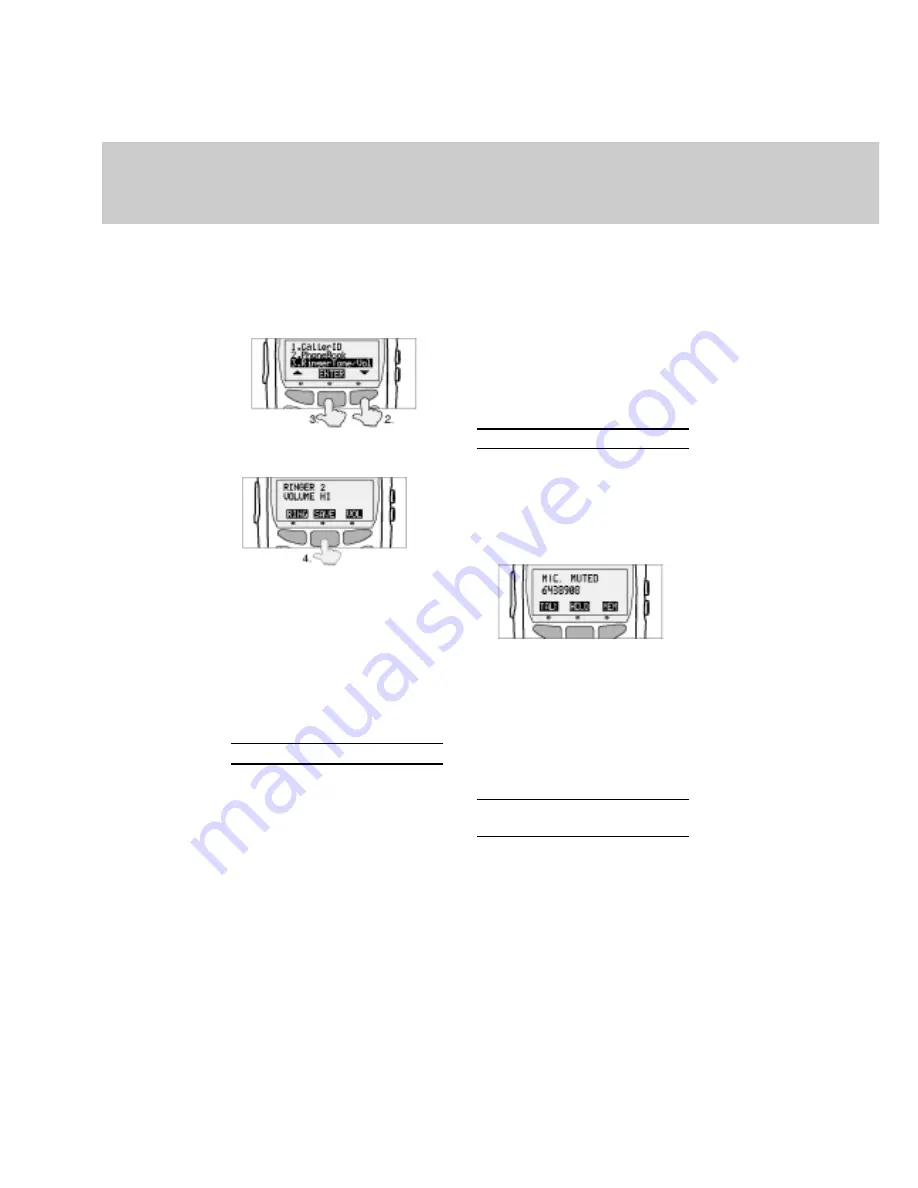
Press  ENTER

Use the RING soft key to select the
Ringer Type (there are 4 ring styles)
and Vol soft  key to select the ringer
volume (High, Low or Off).


Press  SAVE to store your ringer
settings

To exit programming mode at any
time, press OFF  key .

FROM THE  BASE
•   The Base Unit ringer is controlled

independently, by a switch located
on the front, right hand side (antenna
side) of the Base.

The Base ringer has (3) settings:
High, Low and Off.

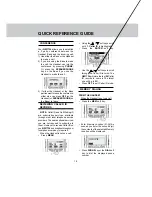
HOLD

FROM THE  HANDSET

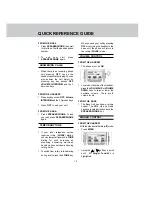
Press the HOLD soft key to place
an active call on hold.  Press  the
TALK soft key  or the PHONE key
to return to your call.

If an extension phone is activated
while the QW1734 has a call on
HOLD, the QW1734 will release the
call and turn itself OFF.

FROM THE  BASE

During a Speakerphone call, press
HOLD on the Base Unit. The red
light (LED) buit into the
SPEAKERPHONE key, will flash

rapidly while your call is on hold.

Press either HOLD or
SPEAKERPHONE  to return to
your call.

MUTE

FROM THE  HANDSET

Press the MUTE soft key to disable
the Handset microphone during an
active call.  Press the TALK  soft
key to return to normal 2-way
conversation.


FROM THE  BASE

During a Speakerphone call, press
MUTE to disable the Base Unit
microphone. The red light (LED) buit
into the MUTE key, will glow.

Press  MUTE again to return to a
two-way conversation.

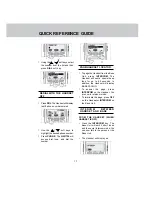
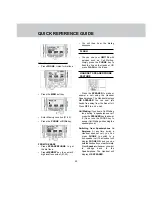
REDIAL WITH THE HANDSET
ON

Press the RDL soft key to display
the last three telephone numbers
you dialed.

QUICK REFERENCE GUIDE

Содержание QW1734

Страница 1: ...l by pressing any key other than the OFF VOLUME keys or 3 Services keys In addition the handset keypad and LCD illuminate while the handsetringstosignalanincomingcall Thisisveryusefulinadarkenvironmen...

Страница 2: ...e and keypad on the Base Unit Two wayintercombetweenHandset and Base Unit Removable handset battery pack Spare battery charger in the base unit Complete battery back up in case of powerfailure withadd...

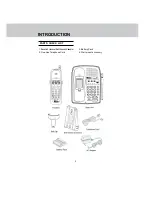
Страница 3: ...3 PARTS CHECK LIST 1 BaseUnit Handset BeltClipandACadapter 2 One Line Telephone Cord 3 Battery Pack 4 Wall mount accessory INTRODUCTION...

Страница 4: ...to this unit not expressly approved by the party responsible for compliance s couldvoidtheuser sauthoritytooperate theequipment The equipment has been tested and found to comply with part 15 of the F...

Страница 5: ...service The Base Unit contains no user serviceableparts TheHandsetcontains a user replaceable battery pack Ifitisdeterminedthatyourtelephone equipment is malfunctioning the FCC requiresthatitnotbeused...

Страница 6: ...type of power source indicatedonthemarkinglabel Ifyou are not sure of the type of power supply to your home consult your dealer or local power company IMPORTANT SAFETY INSTRUCTIONS 8 Do not allow any...

Страница 7: ...may result in damage and will often require extensive work by an authorized technician to restore the product to normal operation E Iftheproducthasbeendroppedand the cabinet has been damaged F If the...

Страница 8: ...s to maximize thechargecapacityofyourbatterypack The maximum battery life between charges is 7 hours of continuous talk time or 14 days of stand by INSTALLING THE BATTERY PACK Alternatively if a spare...

Страница 9: ...rmationonrecyclingorproper disposal consult your local solid waste collection or disposal organization 3 Do not open or mutilate the battery pack Released electrolyte is corrosiveandmaycausedamageto t...

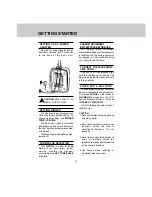
Страница 10: ...omaticallywhenevertheHandsetis intheBaseUnit Thebatterypackmust be charged for 16 hours before using your phone for the first time CONNECT THE TELEPHONE LINE CORD Plug one end of the telephone line co...

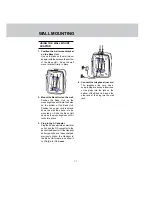
Страница 11: ...e wall the phone is to be mounted on Slide the Base Unit down on the mounting studs until it locks into place 3 Plug in the AC adaptor Plug the AC adaptor into an electrical outlet and the DC connecto...

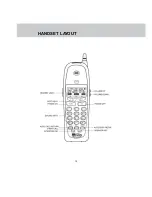
Страница 12: ...1 2 HANDSET LAYOUT...

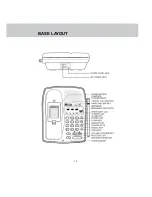
Страница 13: ...1 3 BASE LAYOUT...

Страница 14: ...ded by a 0 Next enter the minute Next select the Hour Presentation 12 hour or 24 hour format by pressing the key directly below the 12 or 24 icon in the handset display Press SAVE The display will con...

Страница 15: ...s SPEAKERPHONE then wait for dial tone Dial the desired phone number To end your call press SPEAKERPHONE again ANSWERING CALLS When there is an incoming phone call pressing OFF key on the handsetcanst...

Страница 16: ...ted while the QW1734 has a call on HOLD the QW1734 will release the call and turn itself OFF FROM THE BASE During a Speakerphone call press HOLD on the Base Unit The red light LED buit into the SPEAKE...

Страница 17: ...ase Unit press INTERCOM The Handset will emit a special beep tone for up to 60 seconds In addition the Handset will display BASE PAGING To answer the page press INTERCOM on the Handset You are now in...

Страница 18: ...d return to your call QUICK REFERENCE GUIDE FROM THE BASE WHEN SPEAKERPHONE IS OFF Press INTERCOM key to page the Handset After the Handset receives the page from the Base press the INTERCOM key on th...

Страница 19: ...ble through most local telephone service providers Theseareoptionalservices you are not required to subscribe to them However to receive Caller ID on yourQW1734 subscriptionthroughyour local phone com...

Страница 20: ...FEATURE Press the SPEAKER to make or answer a call using the Handset Speakerphone The Handset displays HS SPEAKER You can now talk hands free away from the Base Unit Press OFF to end a call CallWaitin...

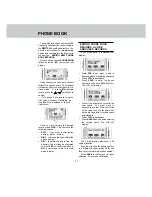
Страница 21: ...u want to add a 2 secondpauseinthedialingsequence Press CLR to backspace Press SAVE to save the phone number in the Phone Book directory The LCD will display Using the keypad enter the desired name 15...

Страница 22: ...d Press ENTER and speak after the beep You can re record as many times as you want Each time you re record or review the name the Handset shows When you are satisfied with your recording Press EXIT ME...

Страница 23: ...2 Phone Book 3 Ringer Tone Vol The second screen is 4 KeyBeep On Off 5 Set Time 6 Clear ALL MEM The third screen is 7 AutoAns Auto Answer On Off 8 Set Tone Pulse 9 Del delete MSG Icon And the fourth s...

Страница 24: ...SAVE PressSAVEwhilereviewingaCallerID record The screen will display Press PSE if you want to add a 2 second pause in the dialing sequence Press CLR to backspace Press SAVE to save the phone number in...

Страница 25: ...satisfied with your recording Press EXIT NOTE To cancel the operation press EXIT to return to the idle mode display at any time The screen will display DIAL PressDIALorPHONEwhenreviewing aCallerIDreco...

Страница 26: ...nit can be programmed to announce the caller s name or number from the Base CALLER ID Unit speaker while displaying the Caller ID information on the Handset If you want the phone to announce names you...

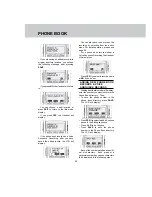
Страница 27: ...and dial the phone number DEL to delete the record from the directory You will then be prompted to press YES to confirm deletion or NO to cancel and return to the idle mode display EDITING PHONE BOOK...

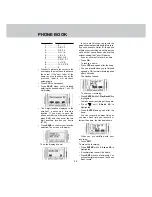
Страница 28: ...see page 29 For a phone book record without a Voice Announce Recording the Handset will prompt you PressYES ifyouwanttorecordaname or NO if you do not ADDING NEW PHONE BOOK RECORDS VOICE ANNOUNCE REC...

Страница 29: ...n Voice you can record the person snameassociatedwiththisrecord If you subscribe to Caller ID the phone will play your recording when this person calls so that you can hear who s calling without seein...

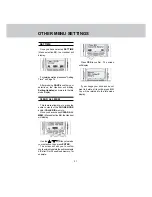
Страница 30: ...n to the idle modedisplay If you select Ringer Volume HI the idle mode screen will display If you select Ringer Volume LO the idle mode screen will display If you select Ringer Volume OFF the idle mod...

Страница 31: ...ase the entire contents of the PHONE BOOK and or CALLER ID memory OnceyouhavechosenCLEAR ALL MEM Menuselection 6 theHandset will display Use the scroll keys to make your selection then press ENTER The...

Страница 32: ...display Press ON or OFF if you re canceling Auto Answer then SAVE The screen willdisplaySettingUpdated andreturn to the idle mode display SET TONE PULSE Your QW1734 is preset for tone dialing To chan...

Страница 33: ...ss Handset The plug should fitsecurely Donotforcethe connection OPERATION NOTE Whenever a compatible Headset is connected to the cordless Handset themicrophoneontheHandset will be muted This is done t...

Страница 34: ...nit to make sure it has power MESSAGE WAITING INDICATOR for use with Voicemail YourQW1734iscapableofdetecting a visual Message Waiting signal generated by many phone service providers Ifyousubscribeto...

Страница 35: ...ot have the subscription service for 3 Way Calling pay per use charges may apply AUTO BUSY REDIAL repeatedly dials the last number you called over a time interval determined by your local company This...

Страница 36: ...touchservicesand thecustomfeaturesmaynotbeavailable LOW BATTERY INDICATION During a Low Battery condition the Handset LCD will display When this occurs you should either return the Handset to the Bas...

Страница 37: ...icalstormscansometimescause power surges harmful to electronic equipment For your own safety be cautious when using electrical appliances during storms CLEANING YOUR TELEPHONE Your telephone has a dur...

Страница 38: ...e to or relocate the Base Unit The layout of your home may be limiting the range Try moving the Base Unit to another position THE HANDSET DOES NOT RING WHEN YOU RECEIVE A CALL Make sure you have the H...

Страница 39: ...he package Include payment for any service or repair not by warranty as determined by Qwest Customer Service Ship the unit via UPS insured or equivalent to the address provided by Qwest Customer Servi...

Страница 40: ...ANGE MaximumpowerallowedbyFCCand IC Actual operating range may vary according to environmental conditions at the time of use SIZE Handset 19 x 6 x 3 5cm L x W xT Maximum Antenna excluded Base Unit 21...

Страница 41: ...4 1 91 5357 20 00 ISSUED 0 Printed in China...

Страница 42: ...TING TIME 14 MAKING CALLS 14 ANSWERING CALLS 15 TEMPORARY TONE 15 VOLUME CONTROL 15 RINGER CONTROL 15 HOLD 16 MUTE 16 R E D I A L W I T H T H E H A N D S E T O N 1 6 R E D I A L W I T H T H E H A N D...

Страница 43: ...FF 30 SET TIME 31 CLEAR ALL MEMORY 31 AUTO ANSWER ON OFF 32 S E T T O N E P U L S E 3 2 DELETE MSG ICON 32 HEADSET OPERATION 33 ADDITIONAL OPERATING TIPS 34 OUT OF RANGE INDICATION 34 MESSAGE WAITING...

Отзывы: