© Copyright Qvis ®. All documentation rights reserved.
11
Auto scanning setting
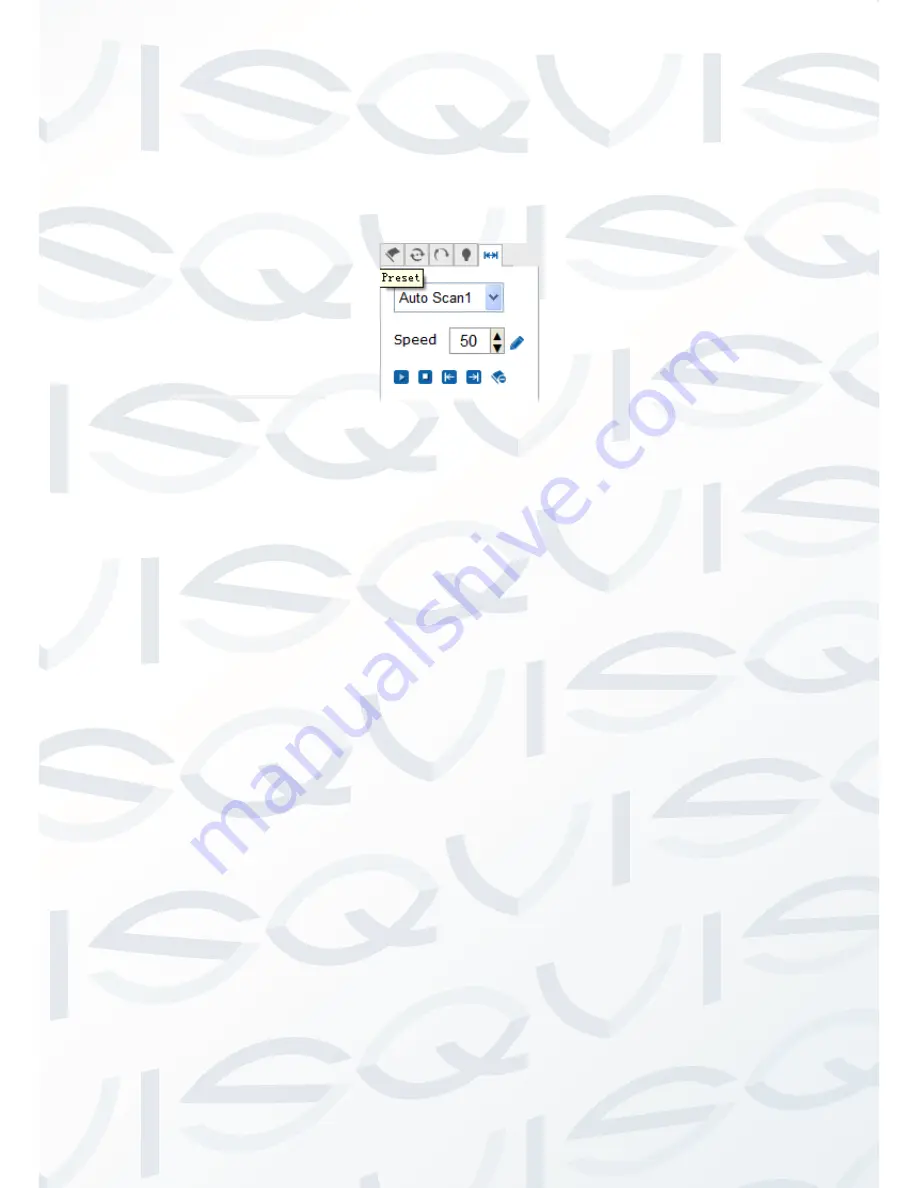
Enter the auto scan screen to set scan speed, left boundary, right boundary,
start scan, and to stop scan. Auto scanning include 8 scanning paths. See
2.2.2-7
Picture 2.2.2-8 Auto scans settings
1. Scanning speed: from 1~100, the larger the gap between numbers, the
more evident the effect will be.
2. To set left boundary and right boundary of the scan: first make the
camera move to a specified direction and then click the left boundary
icon. Move the camera to a right hand direction, stop camera
movement and then click the right boundary. Finally click the start key
and the camera will move in the range of the left and right limit. Click
stop to stop the movement.
3. It will be the same setting methods explained in the previous point
above to set other auto scanning paths.
2.2.3
Playback
Click
‘Playback’ to enter the video search playback screen. The Playback
screen can inquire, playback and download effective video that has been
saved on to the SD card of the camera.
Select the inquiry type, start & end time, then
click the ‘Search’ key, and the
eligible video files will be displayed in the right box. Select it and double-click
to open, and then the video files will start to playback. See 2.2.3-1.


