14
3. Getting Started
Place the POS Concerto / QTouch
2
on a stable or even surface. Use it only within the operating
temperature range (see technical data) and protect it from splashes and high humidity.
The POS Concerto / QTouch
2
come with an external power supply. First, please check if the
specifications printed on the label fit your local voltage. If so, connect the power pack to the
Concerto. The power plug is at the rear next to the interfaces. Now connect the power supply with
the power circuit and turn on the POS Concerto / QTouch
2
with the main switch.
The Concerto / QTouch
2
will now load the operating system and automatically launch the cash
register program. You may immediately start working with your new POS system.
4. Sign in and Register
4.1 Sign in a Clerk/Sales Person
A clerk is the person who is working on the point-of-sale and performing registrations. Before
starting any transaction, it is necessary to sign in a clerk. Now all sales and actions can be
assigned to each single clerk in the reports. Furthermore, it is possible to define individual access
rights for each clerk (e.g. for refund or program modifications).
Sales persons are employees who do not work directly at the POS but their sales data should also
be saved in the reports. This can be used to calculate commissions, for instance.
To sign in a clerk or sales person you may use either a Dallas-Key or the keyboard. The key has
the advantage of security, because each key is unique and cannot be duplicated. To sign in, simply
place your key on the respective magnetic lock. As long as the key is attached, you are logged into
the system. If you remove the key, you will automatically log out. The POS Concerto / QTouch
2
is
blocked until a clerk signs in again.
To sign in with the keyboard it is necessary to have a dedicated clerk button on the keyboard. If
you push this key, you will see a list of all programmed clerks. Use the scroll keys or enter a
number to select a certain clerk. Alternatively, you may also enter the clerk number directly on the
clerk button or define a dedicated key for each clerk. Depending on the programming, it may be
necessary to enter an additional code number to sign in.
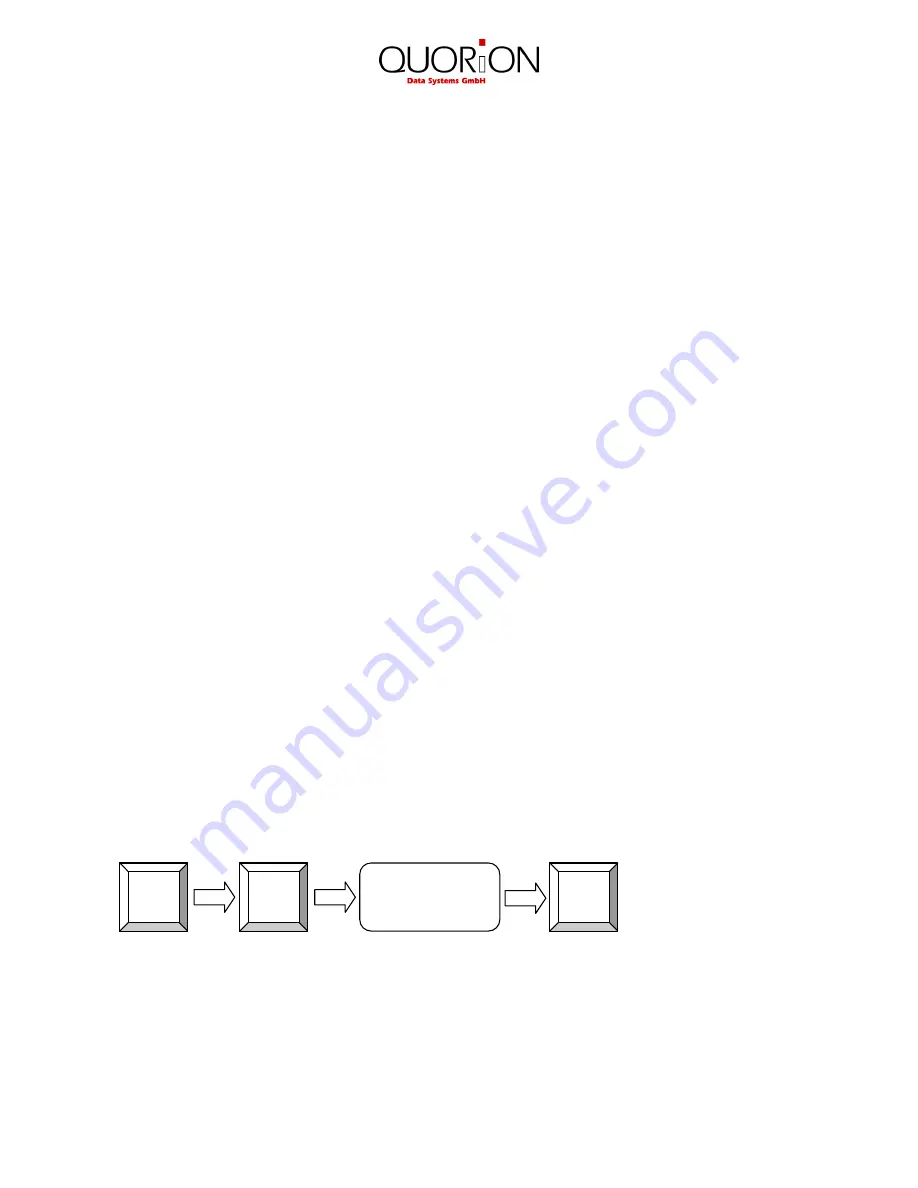
Example:
Clerk
#
Clerk
#
Enter
code number
1
Содержание CONCERTO
Страница 1: ...User Manual POS Systems QTouch 2 Concerto...


